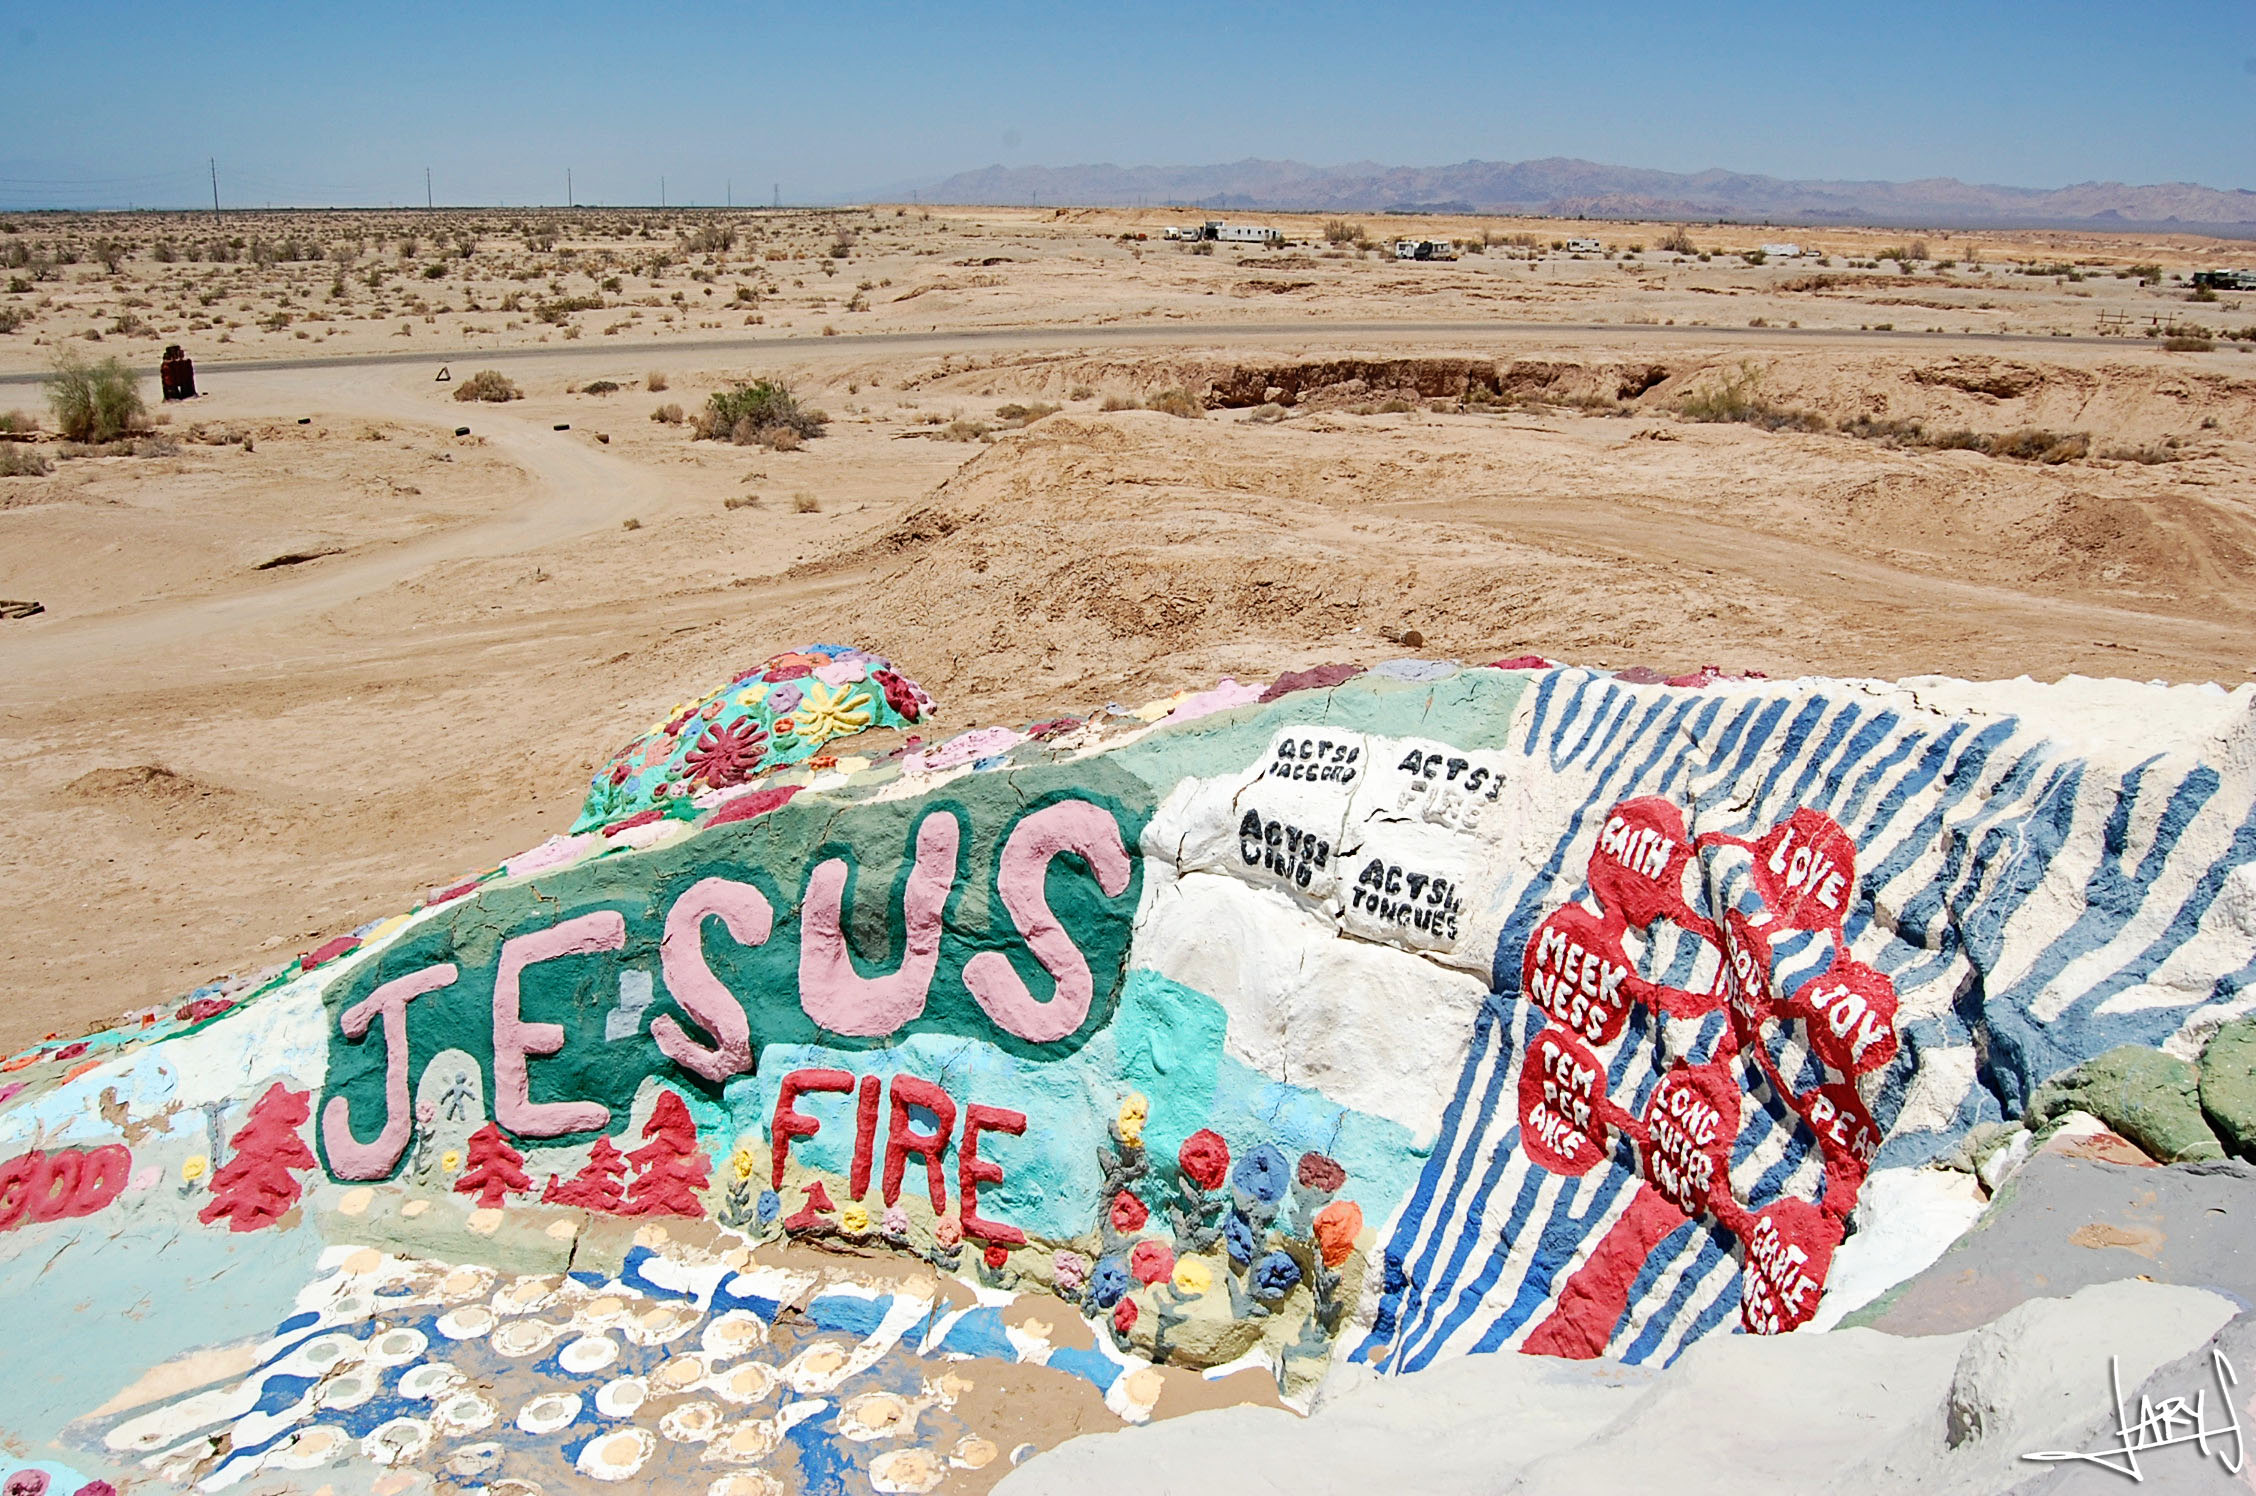
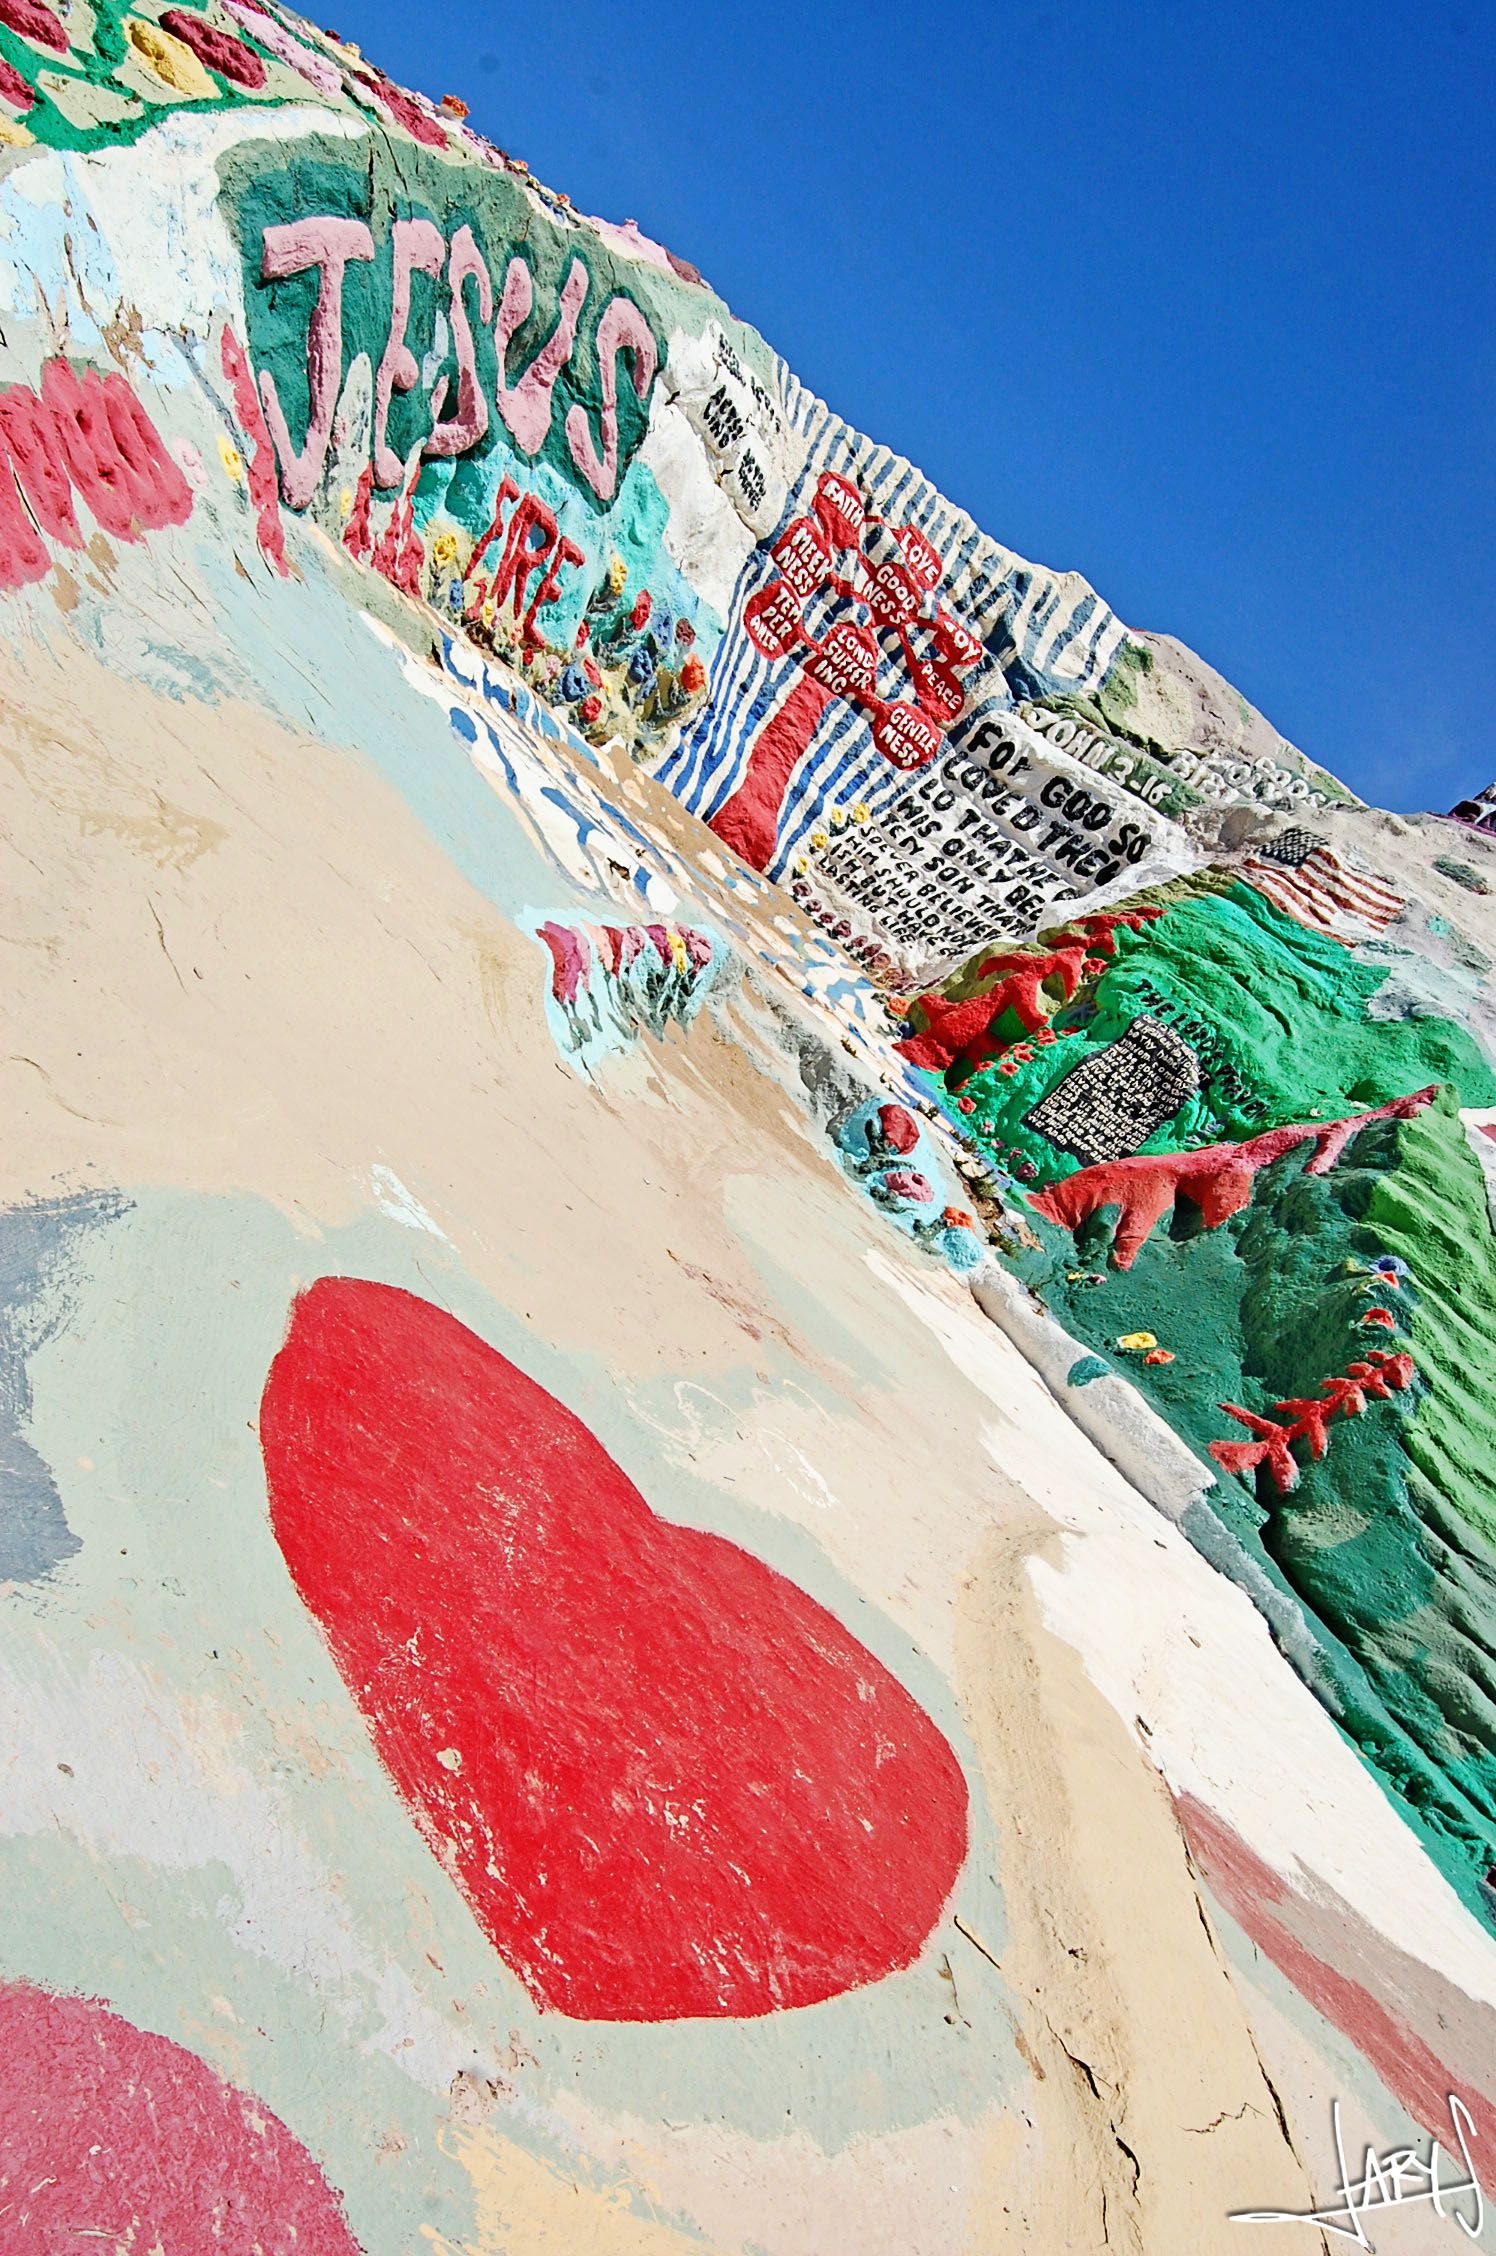
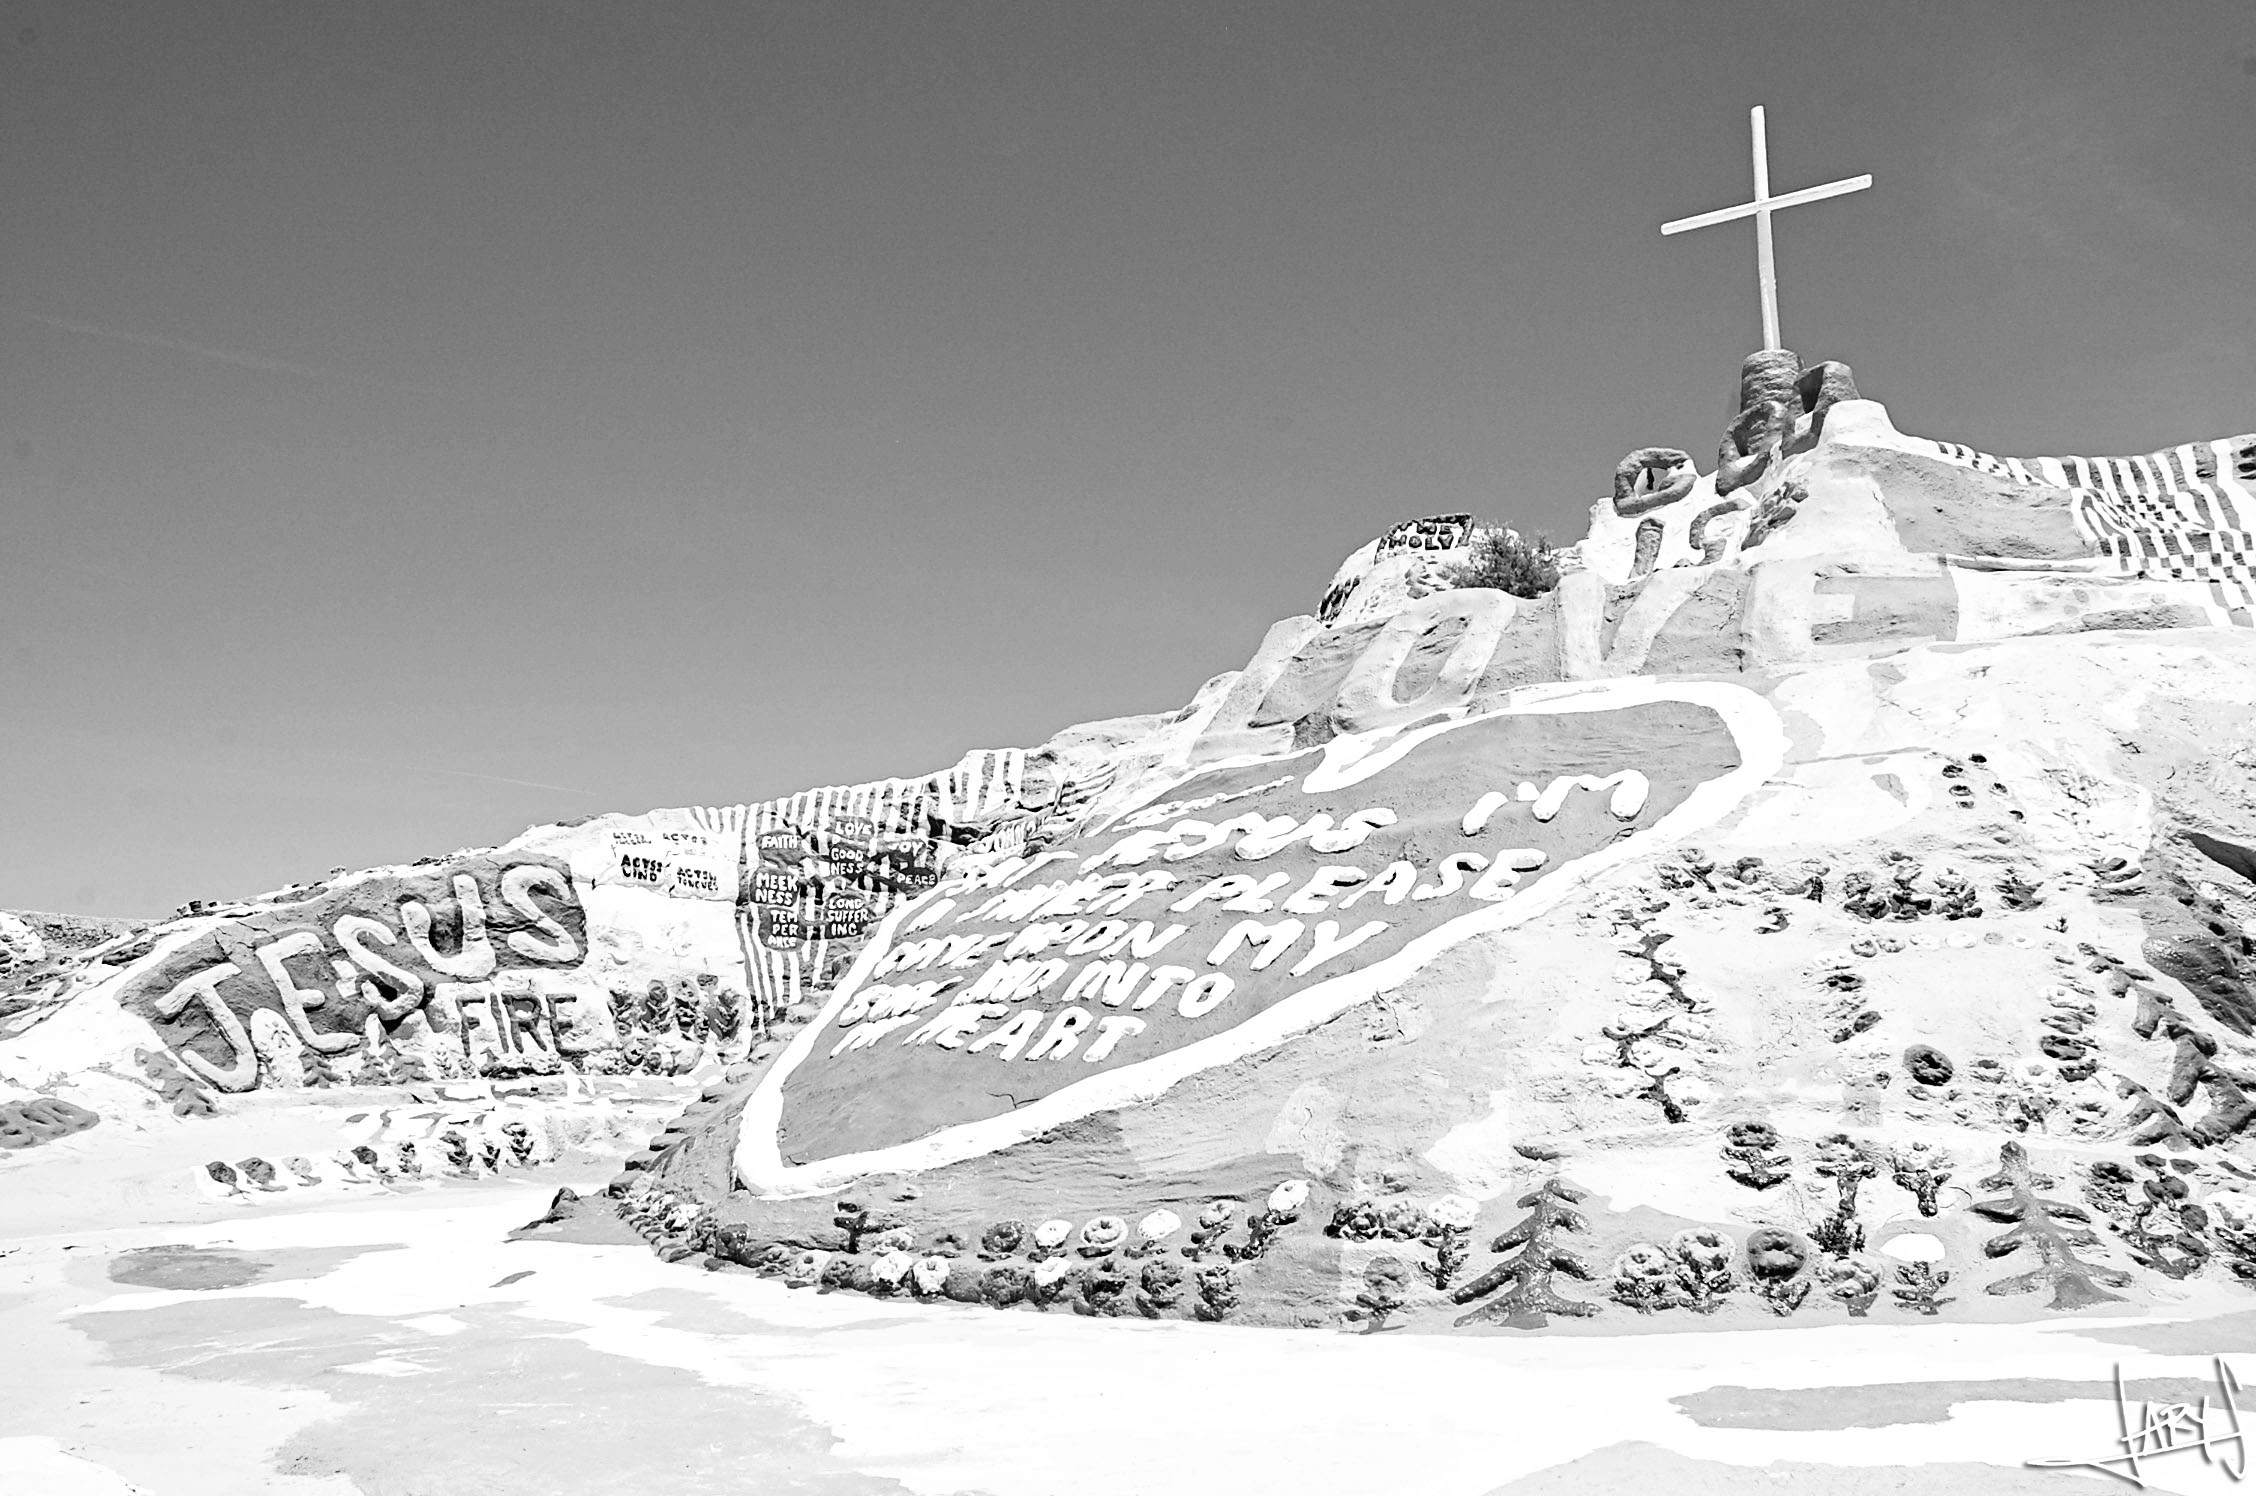
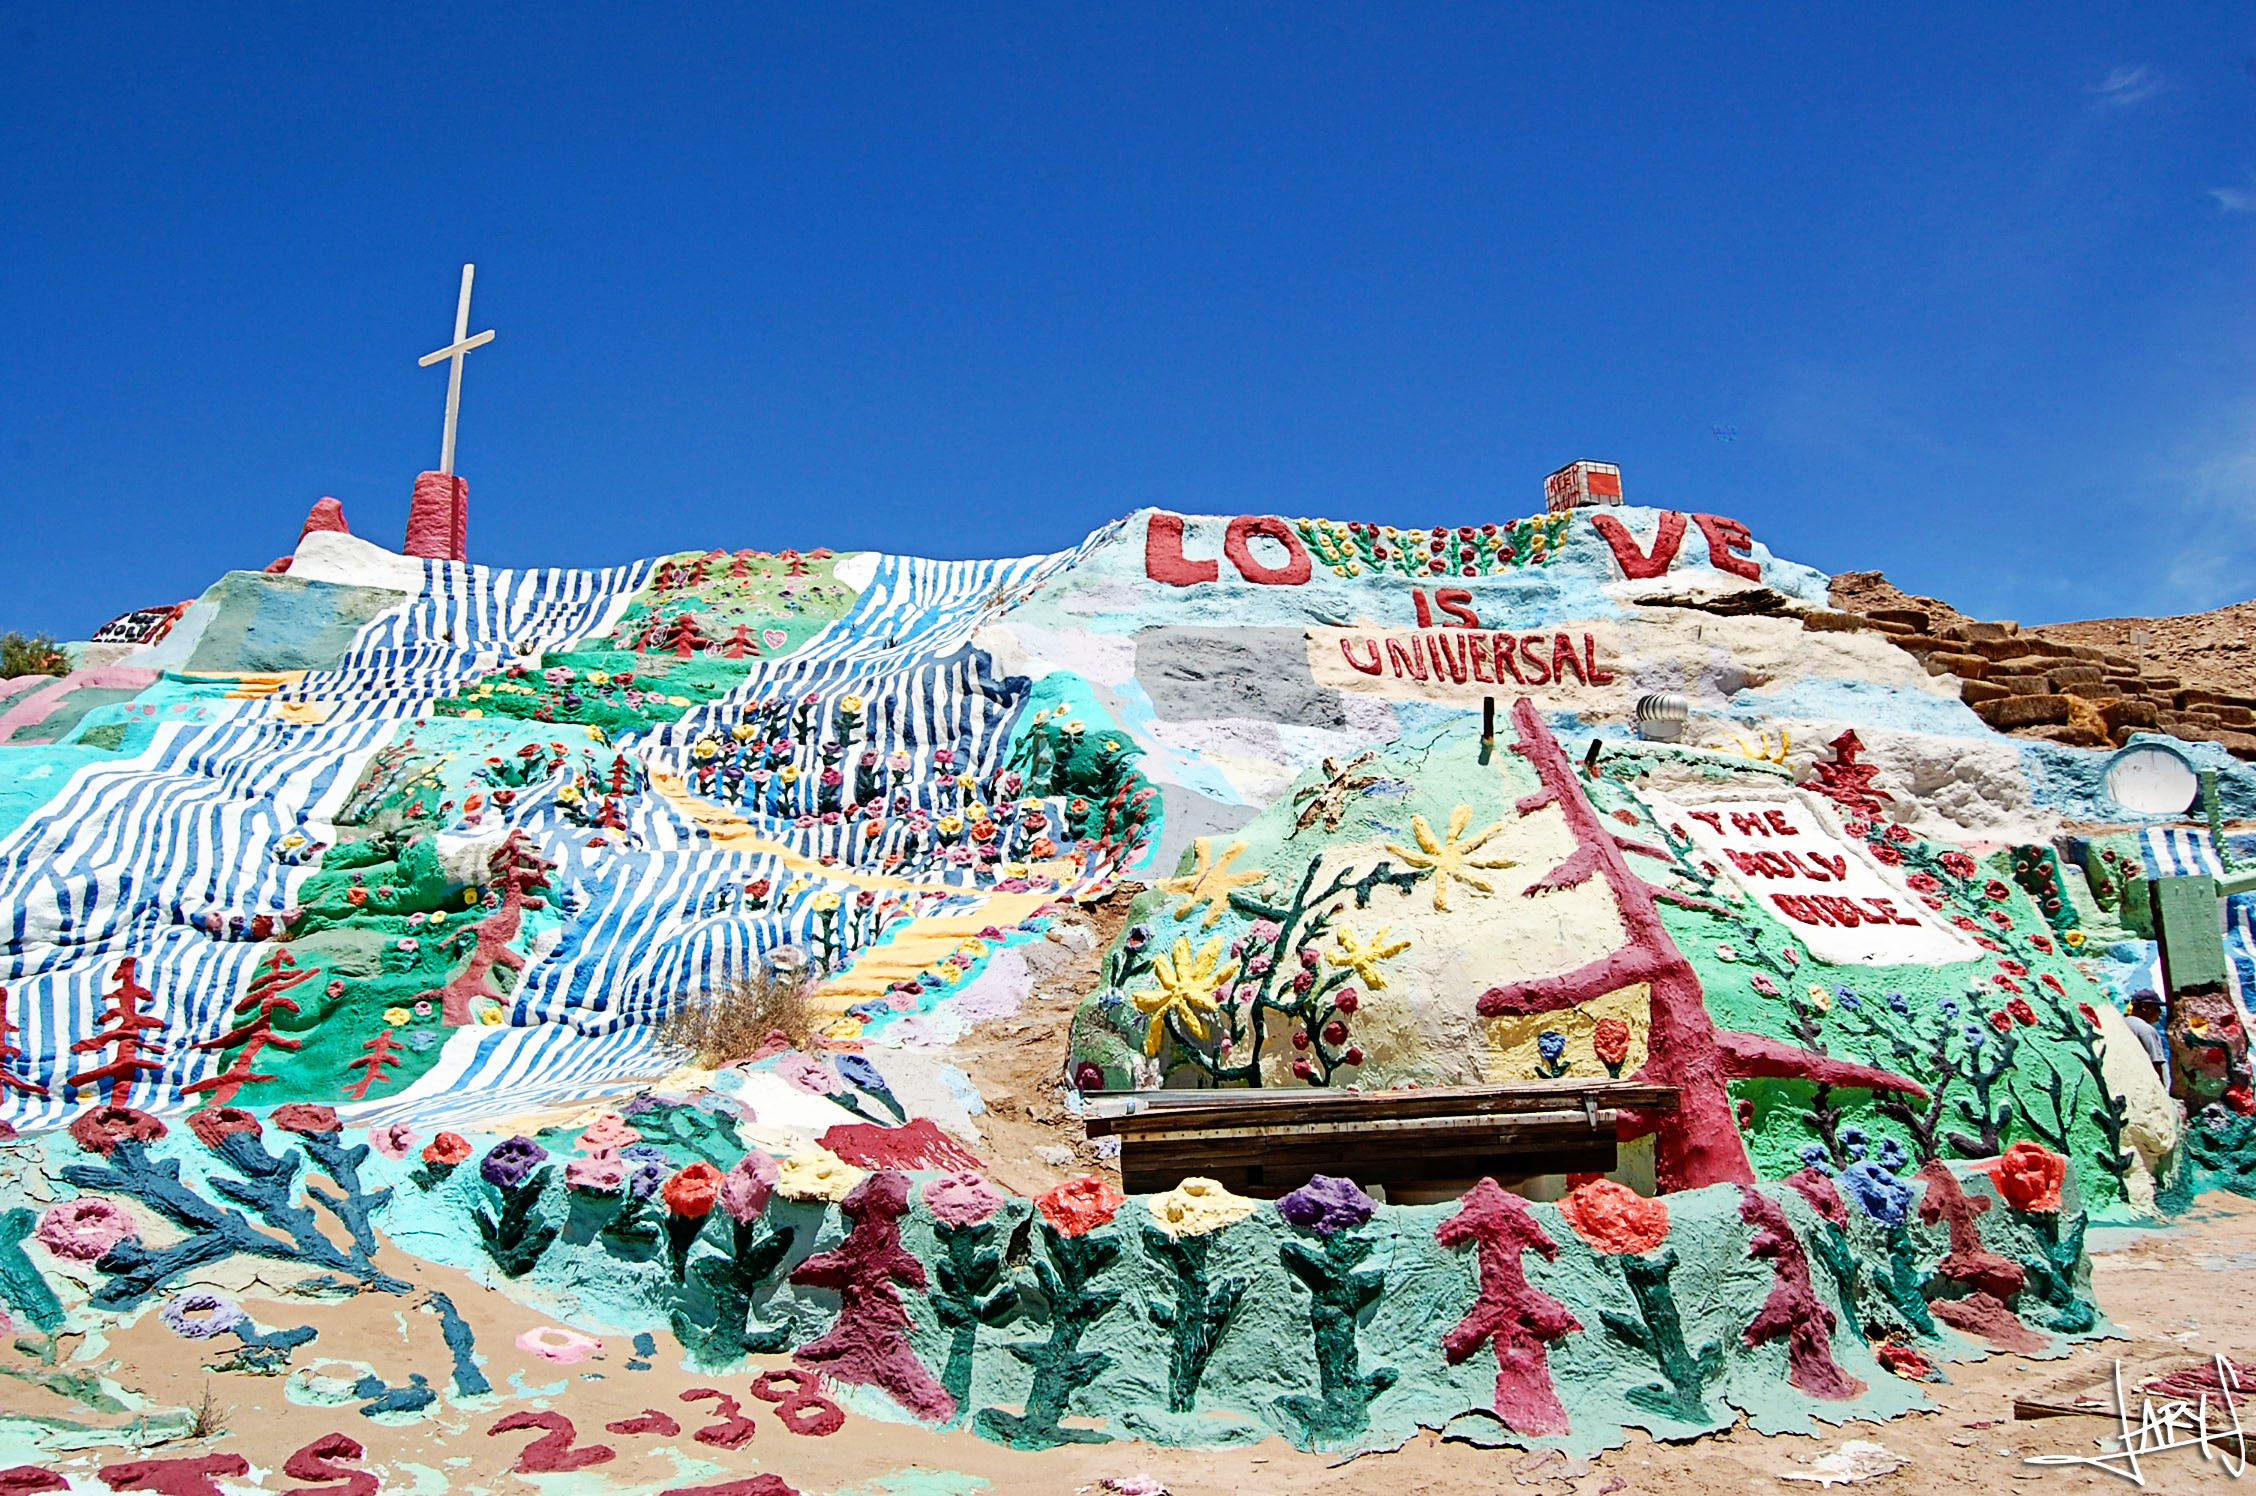
Thursday, June 6th, 2013
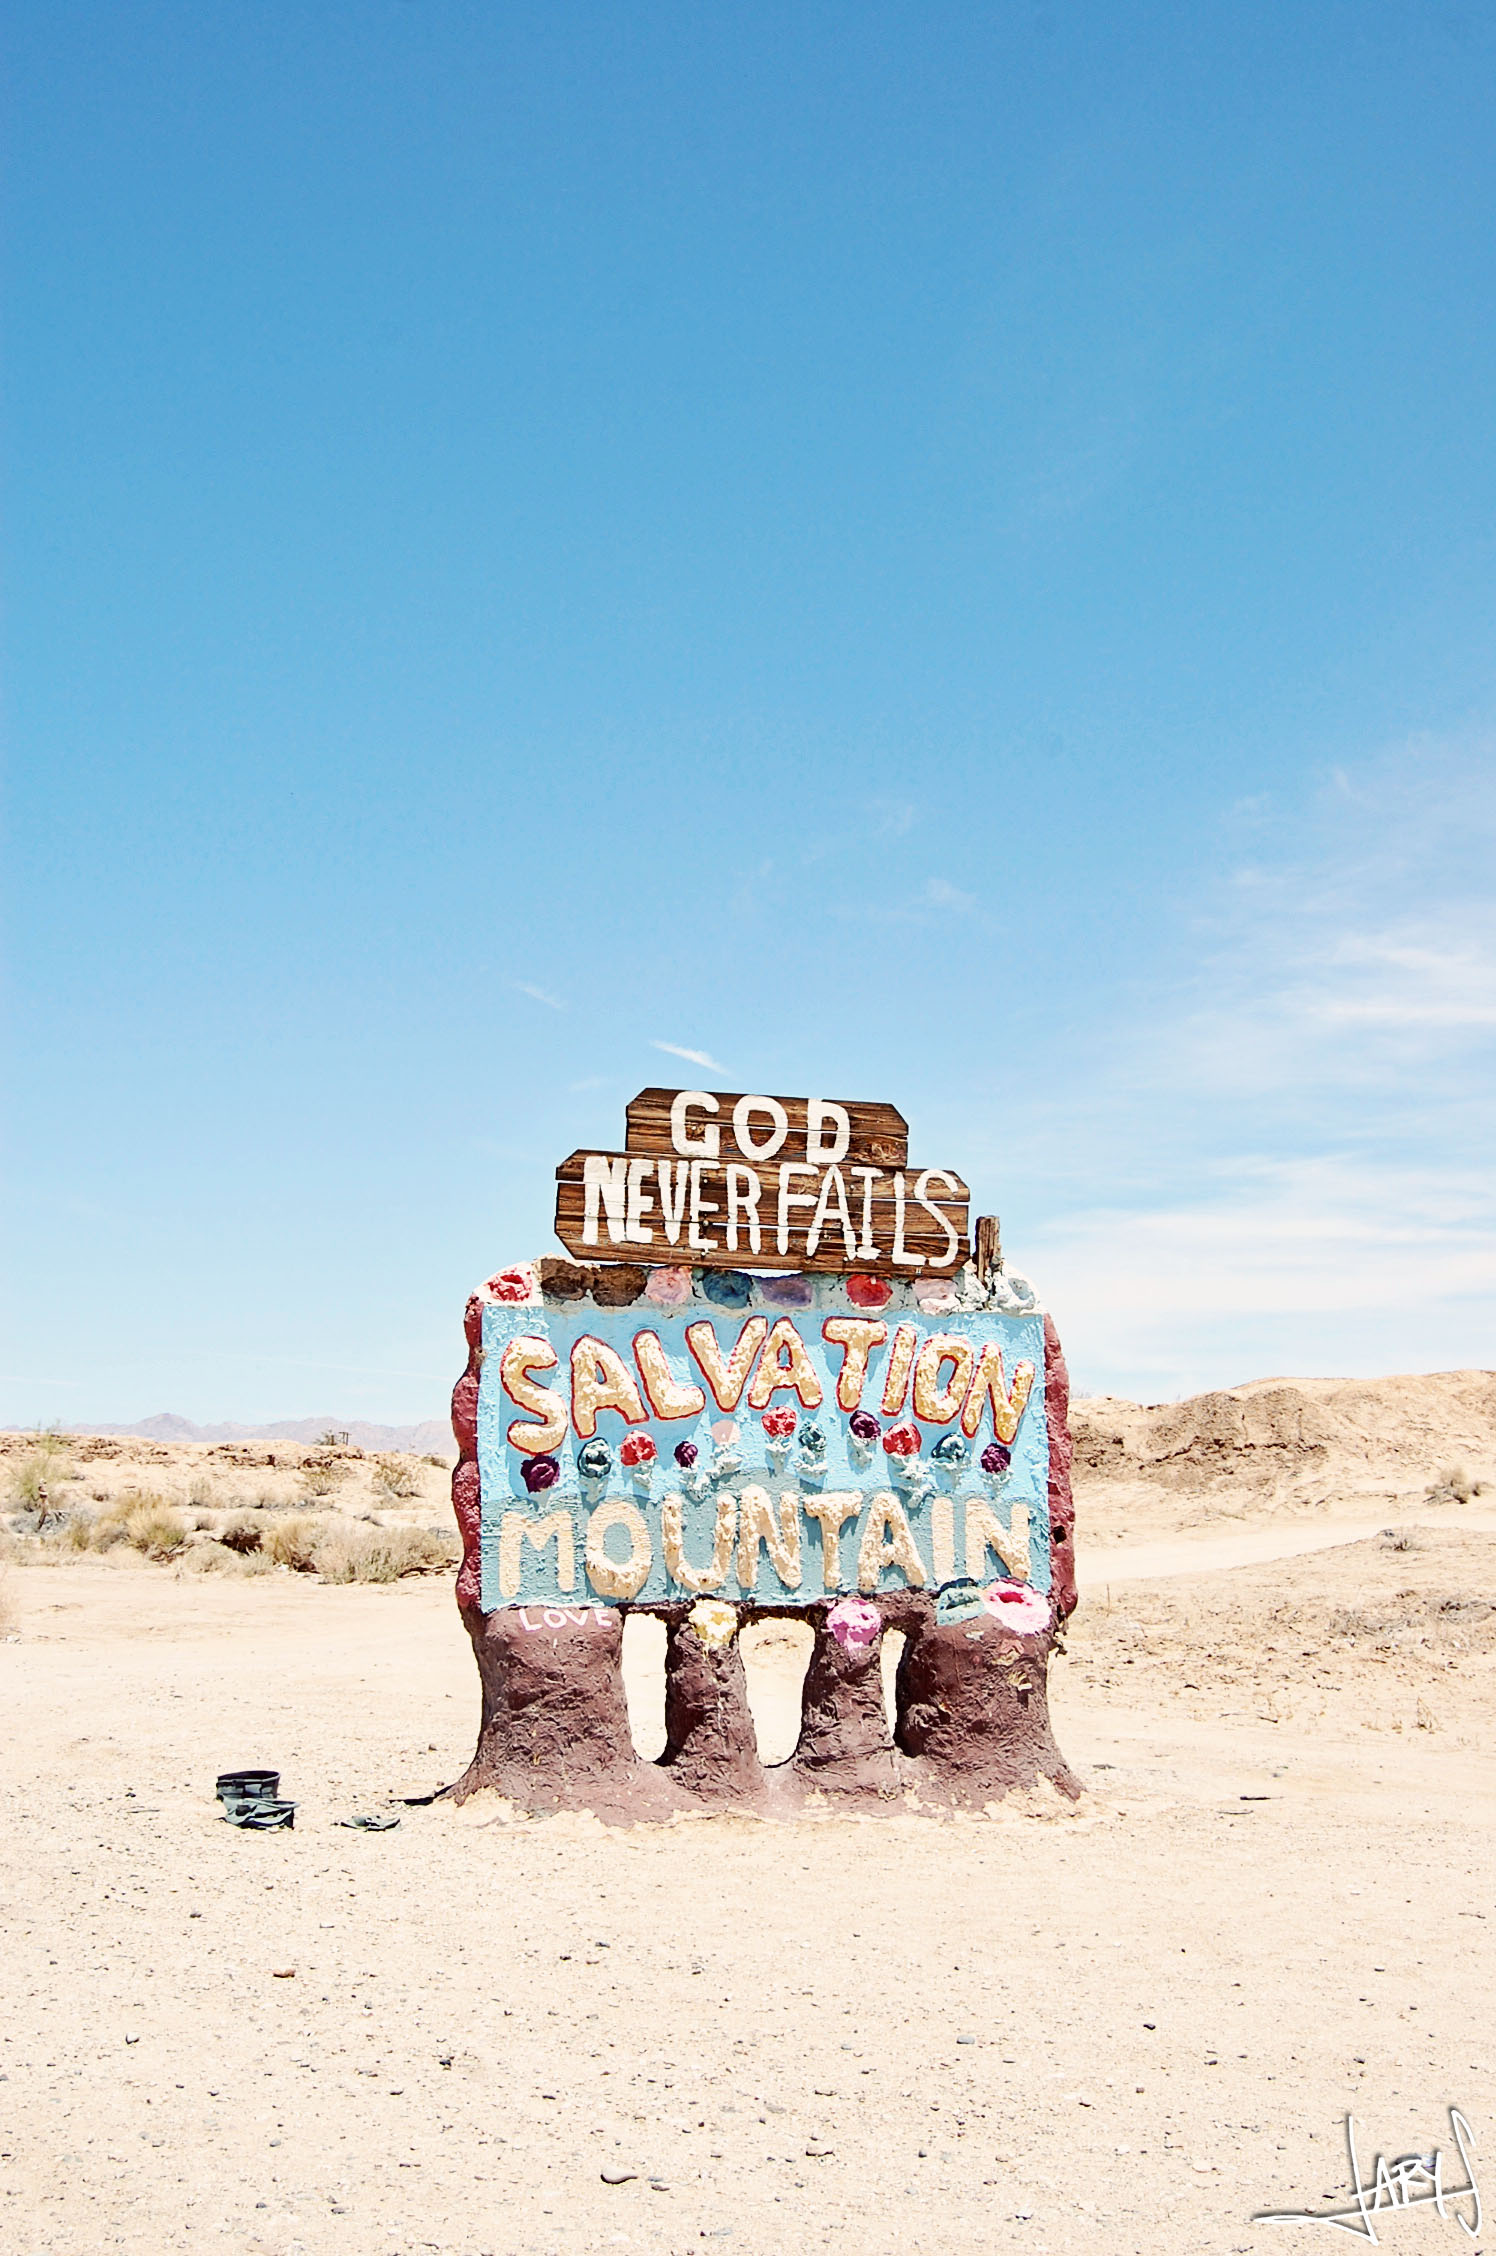
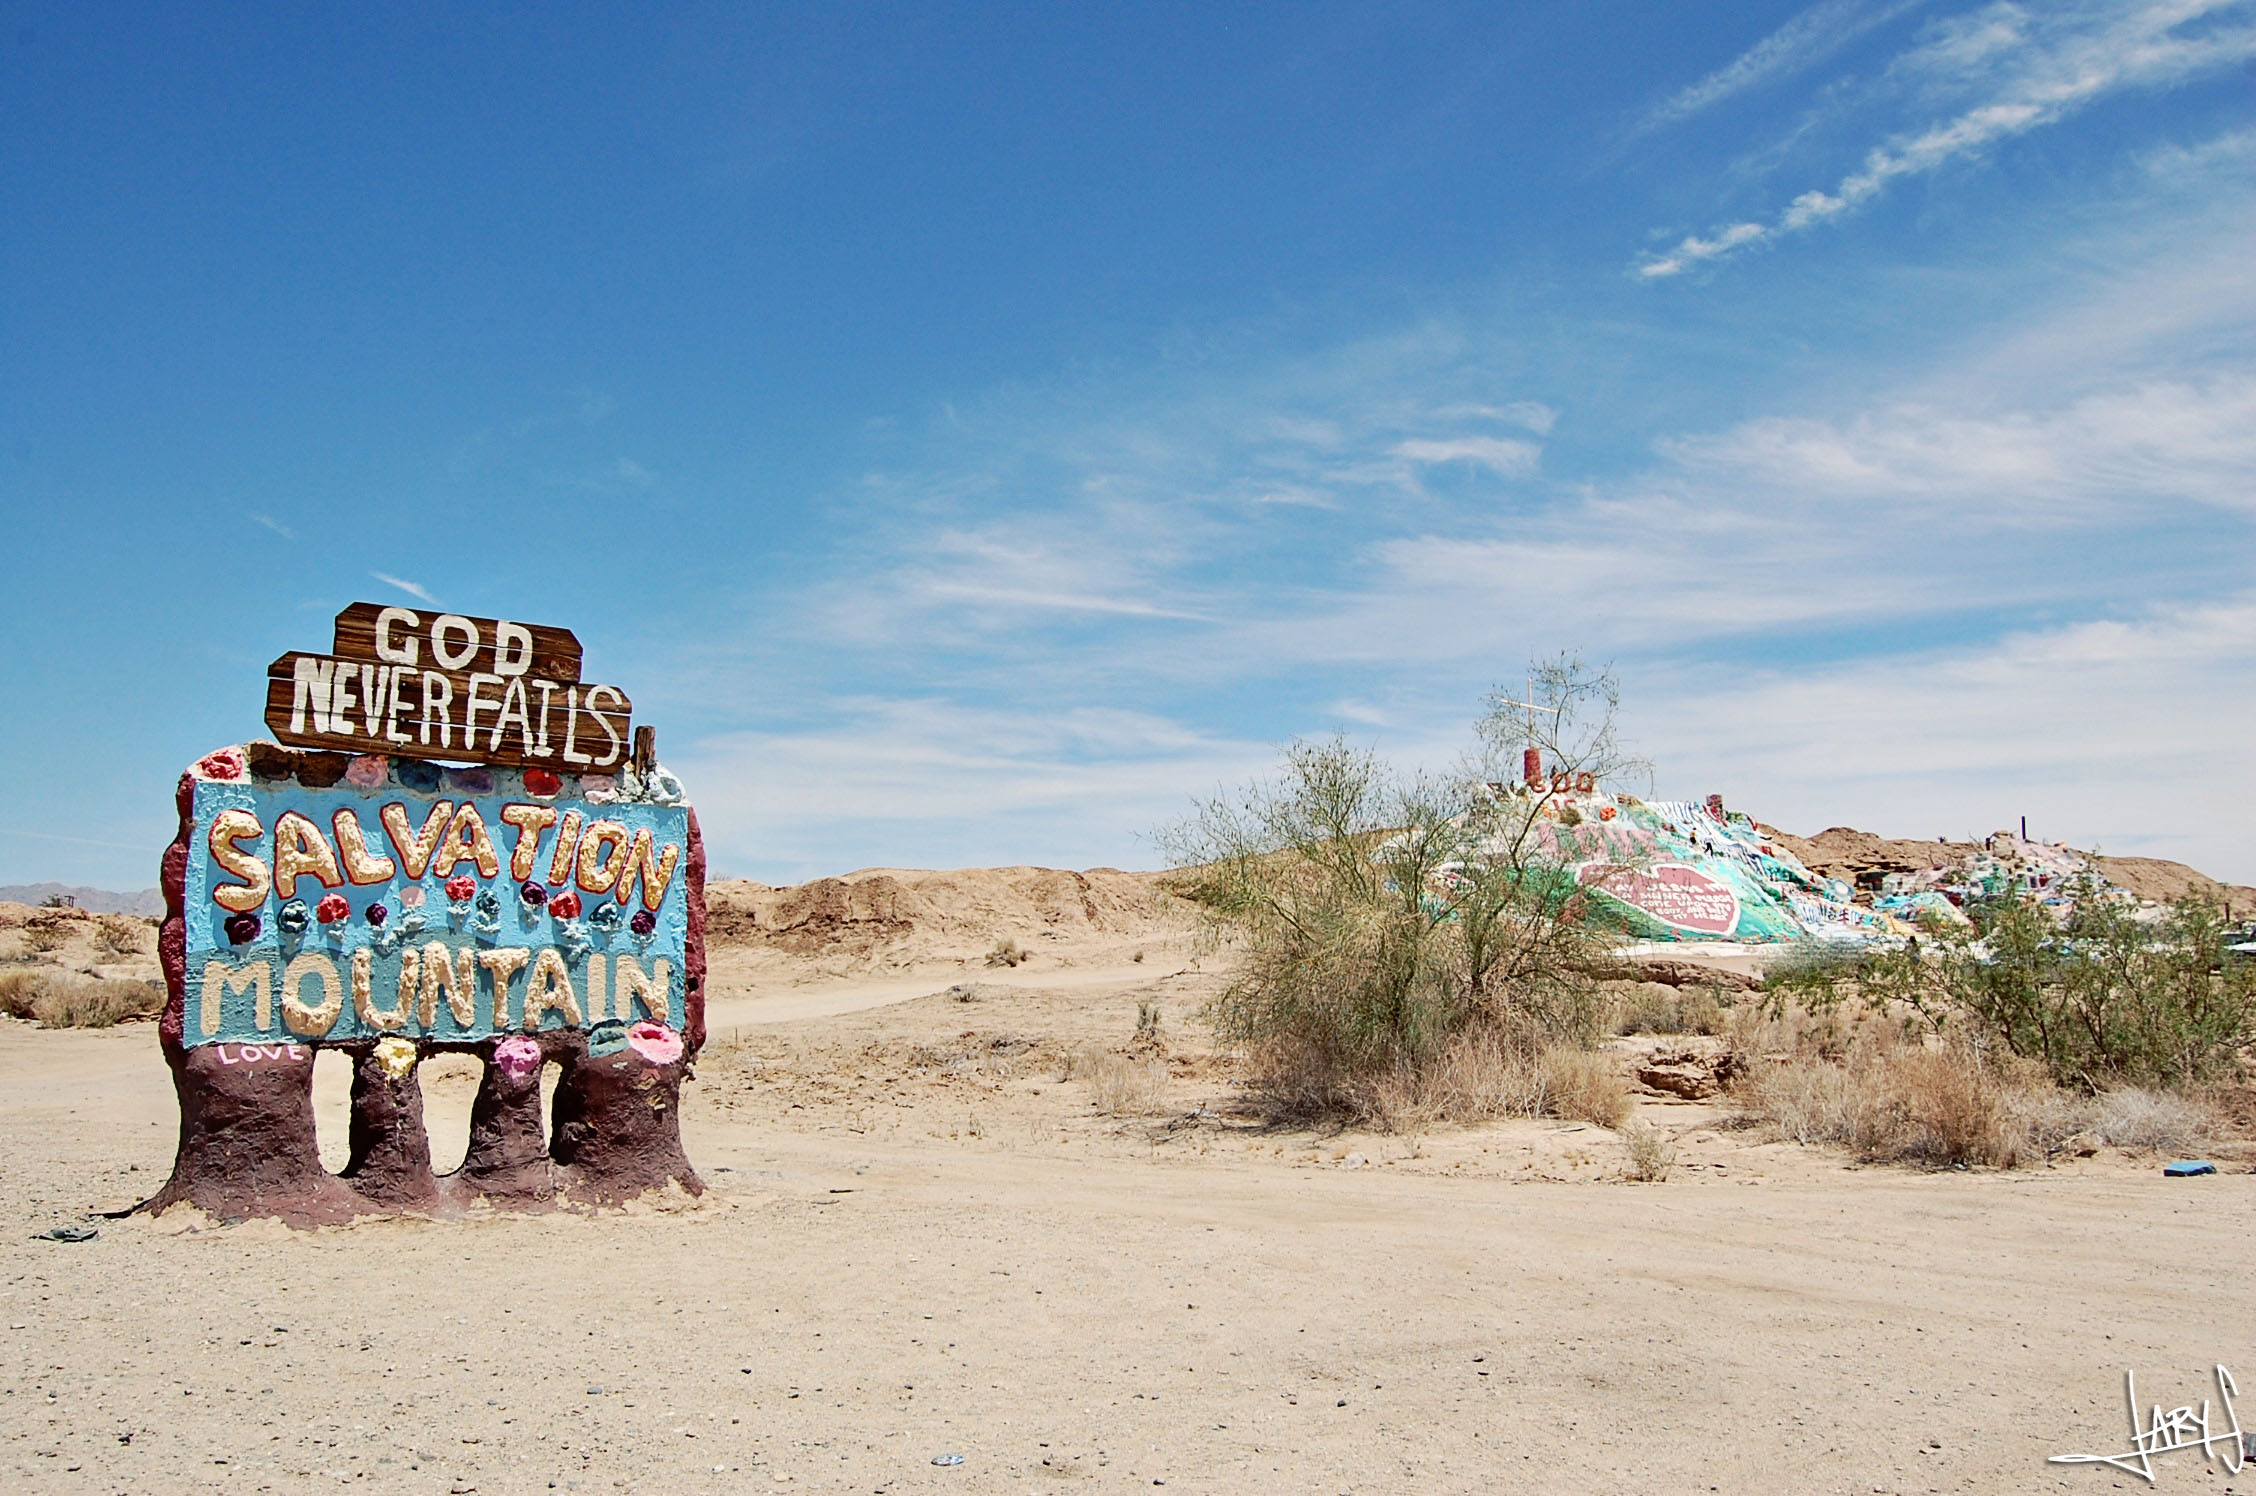
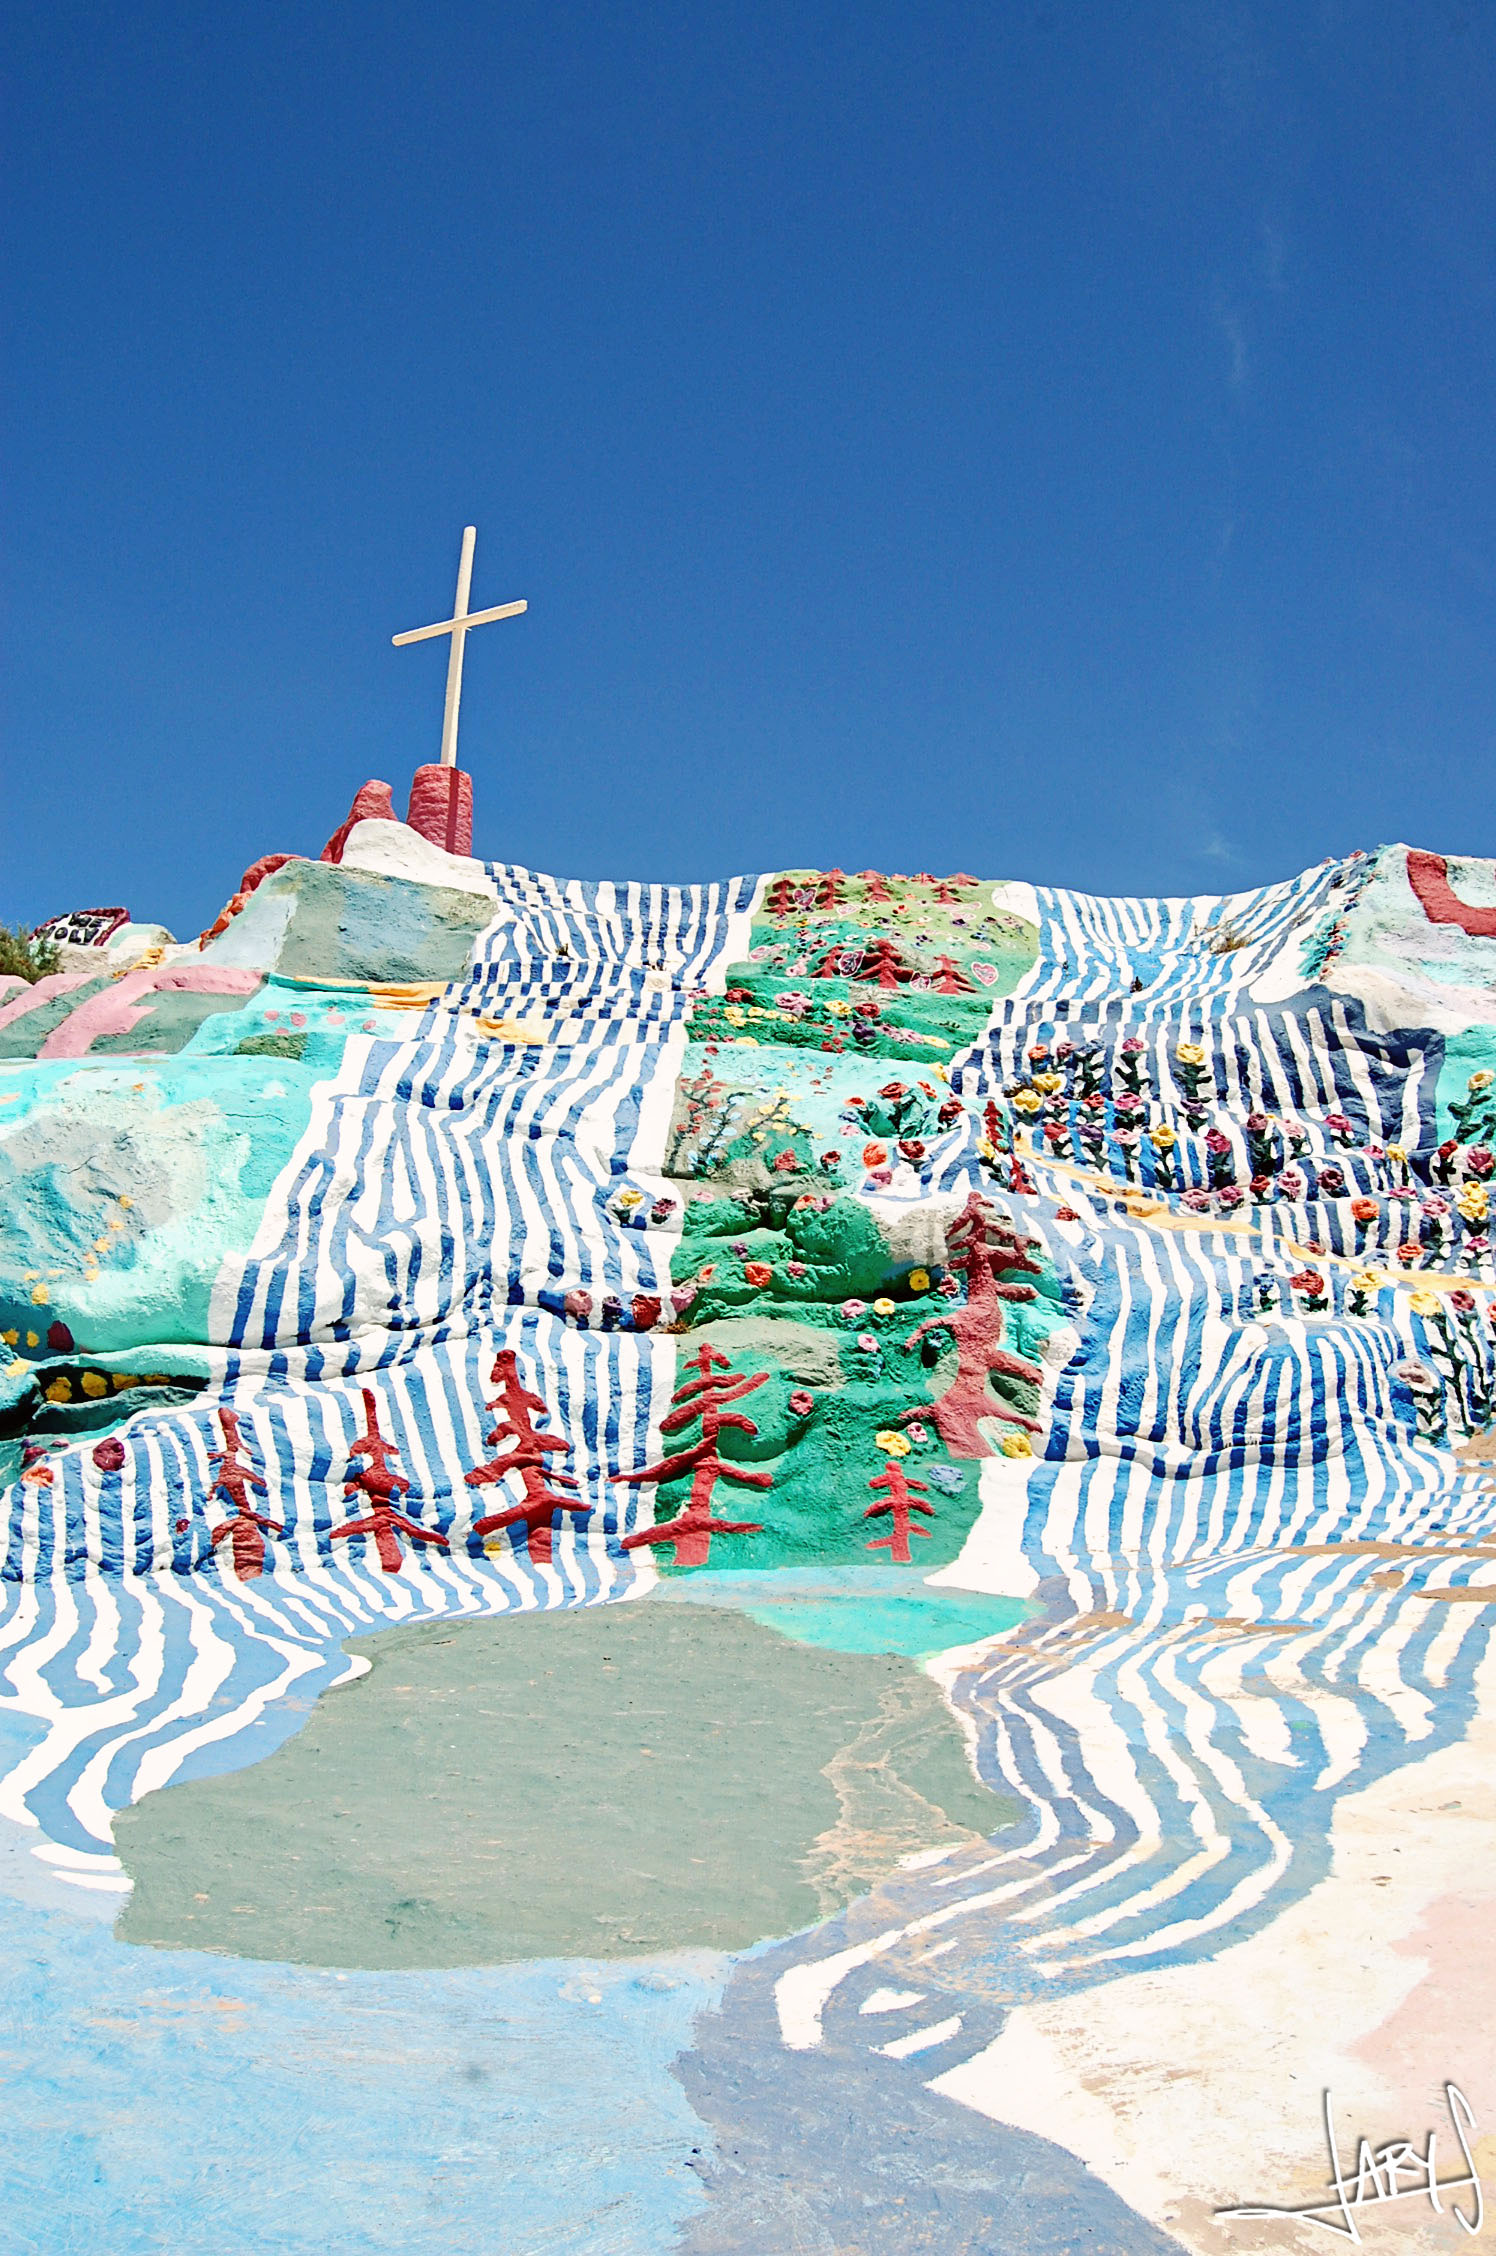
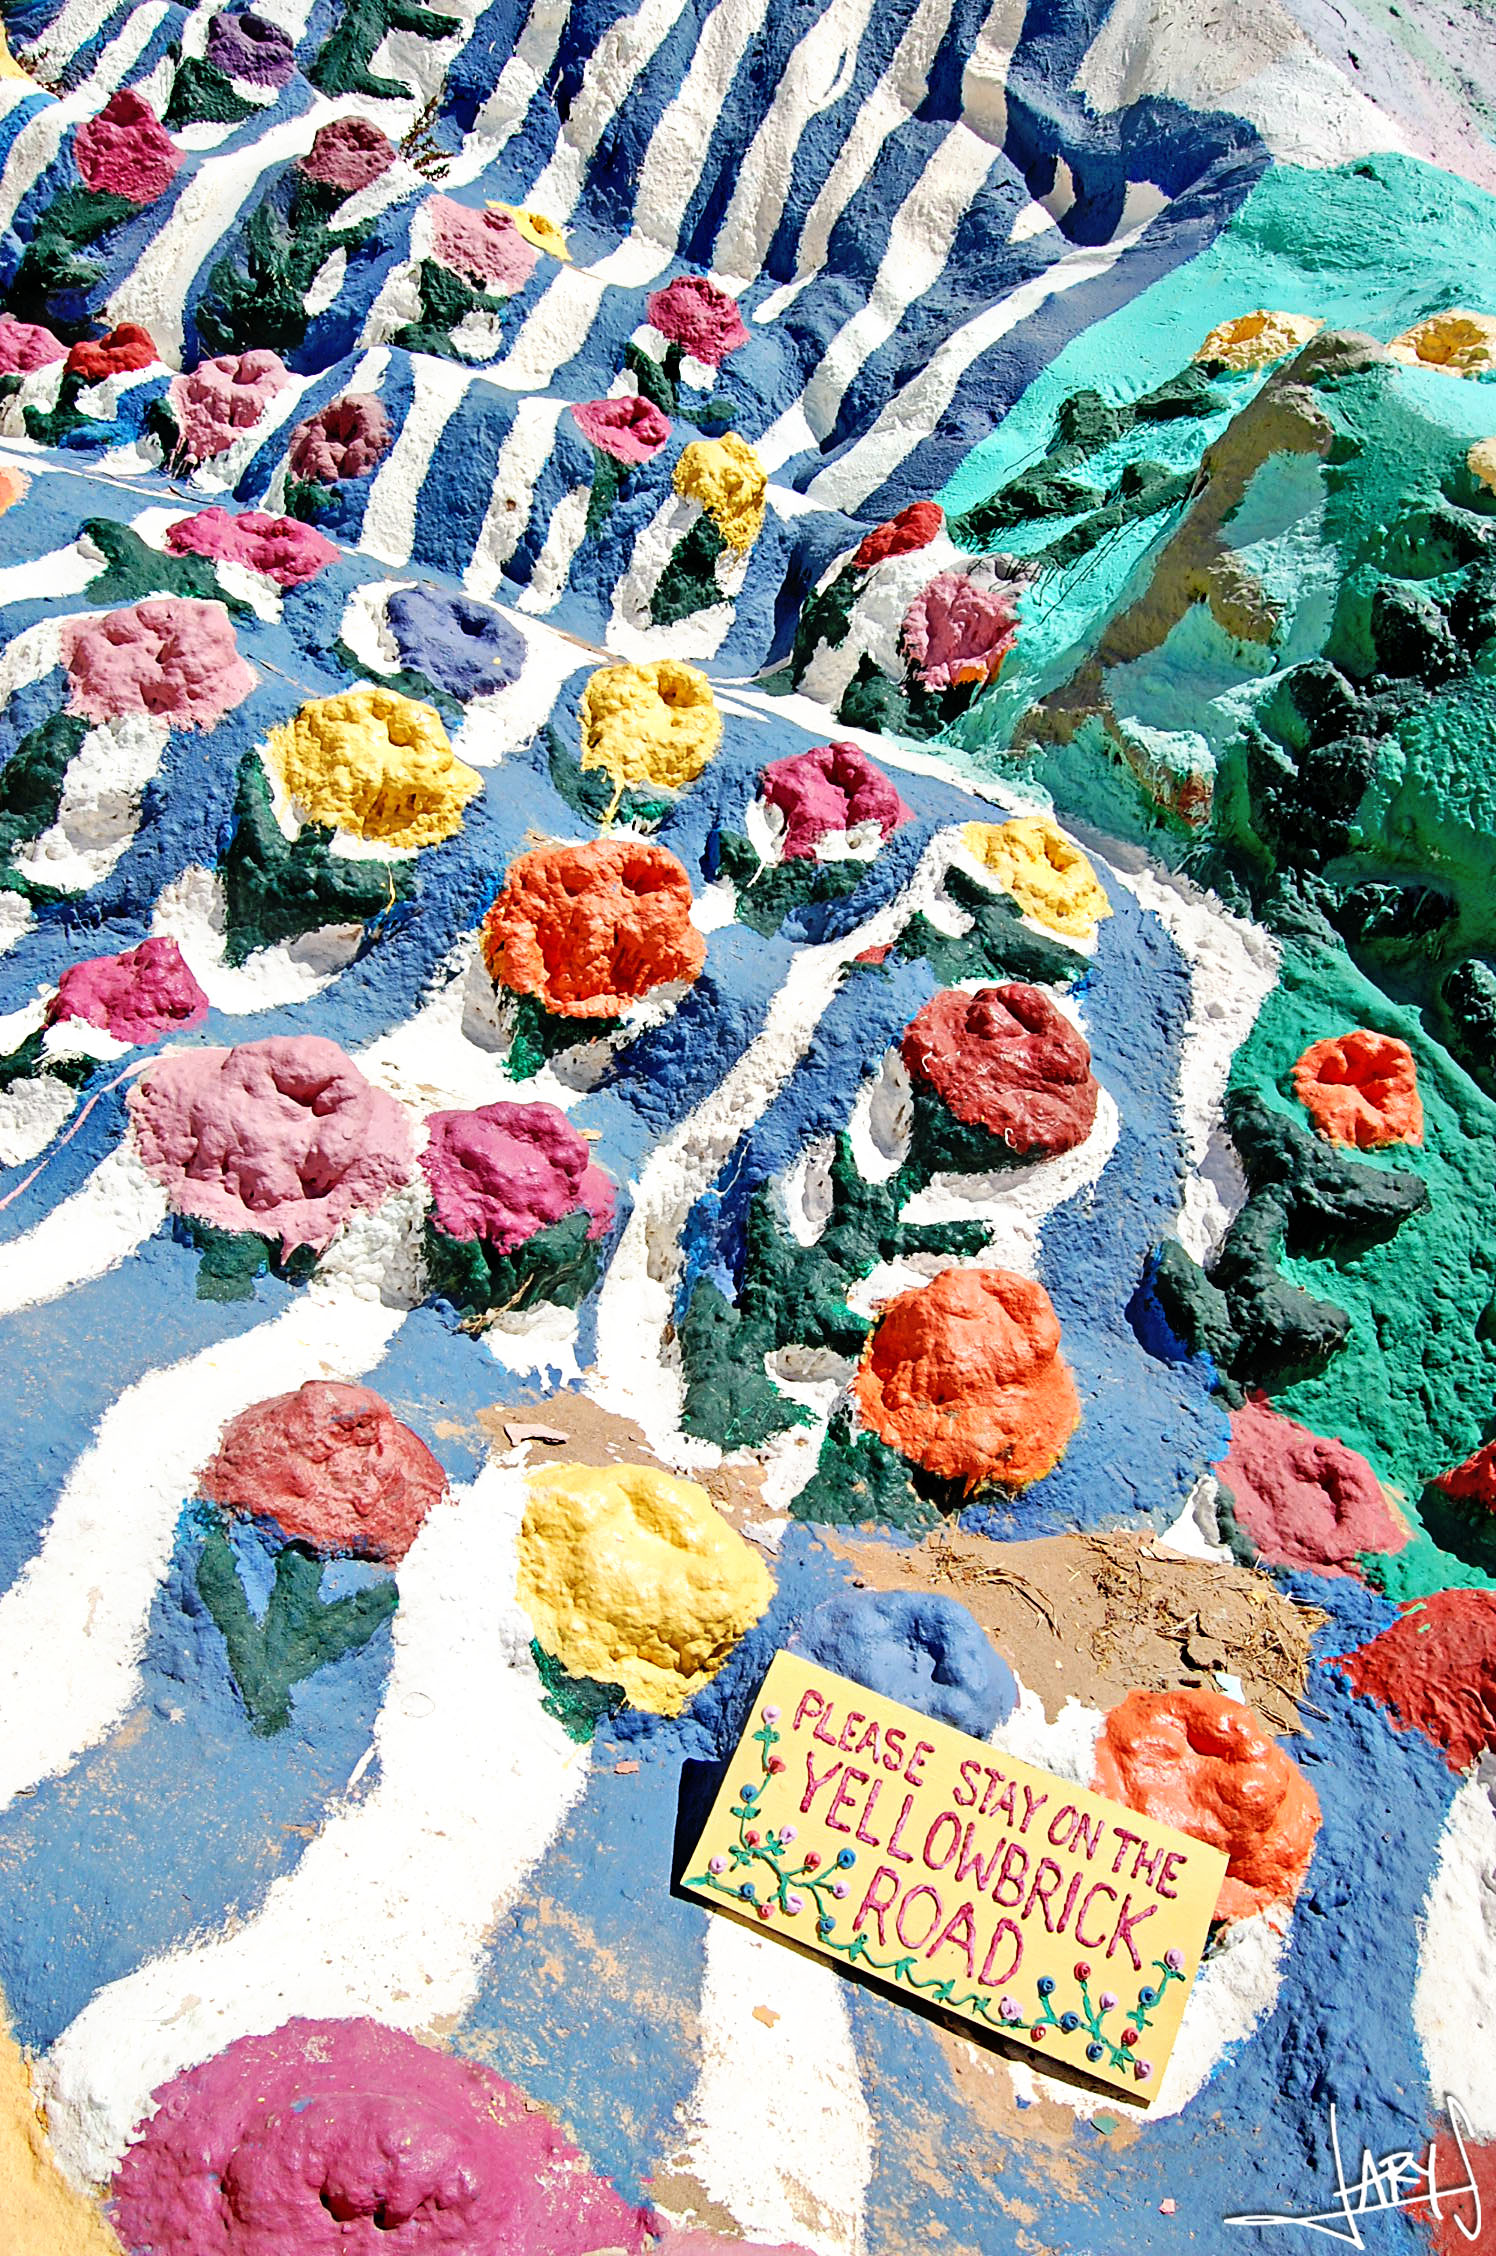
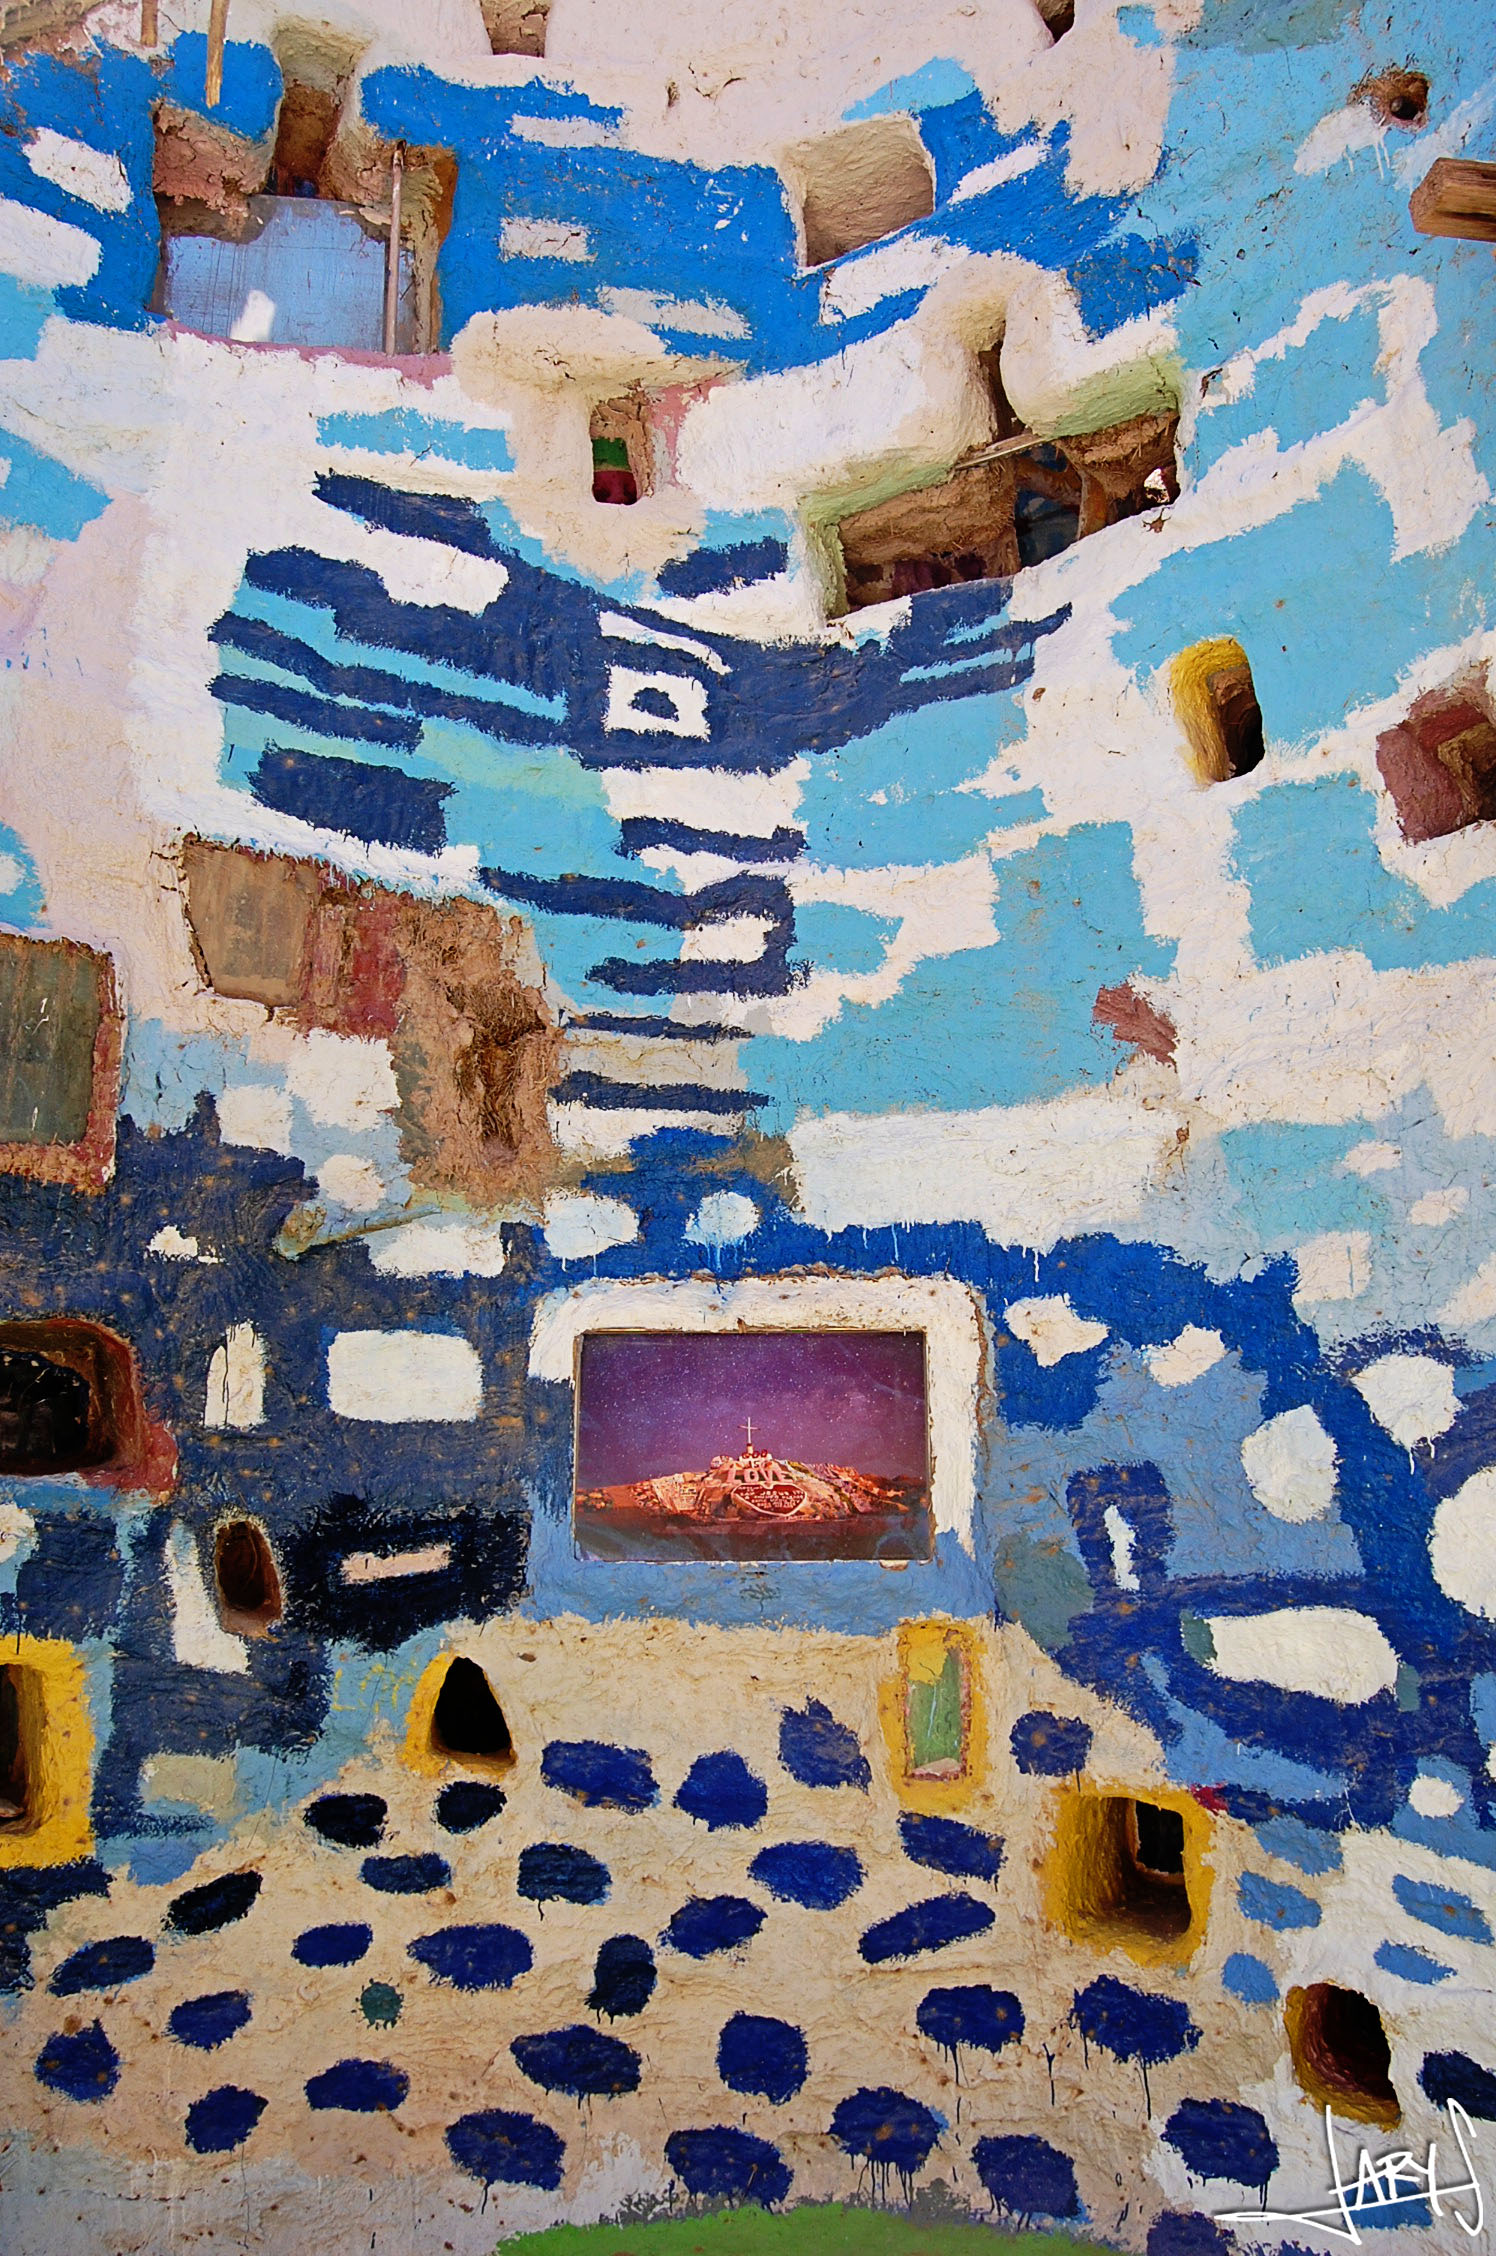
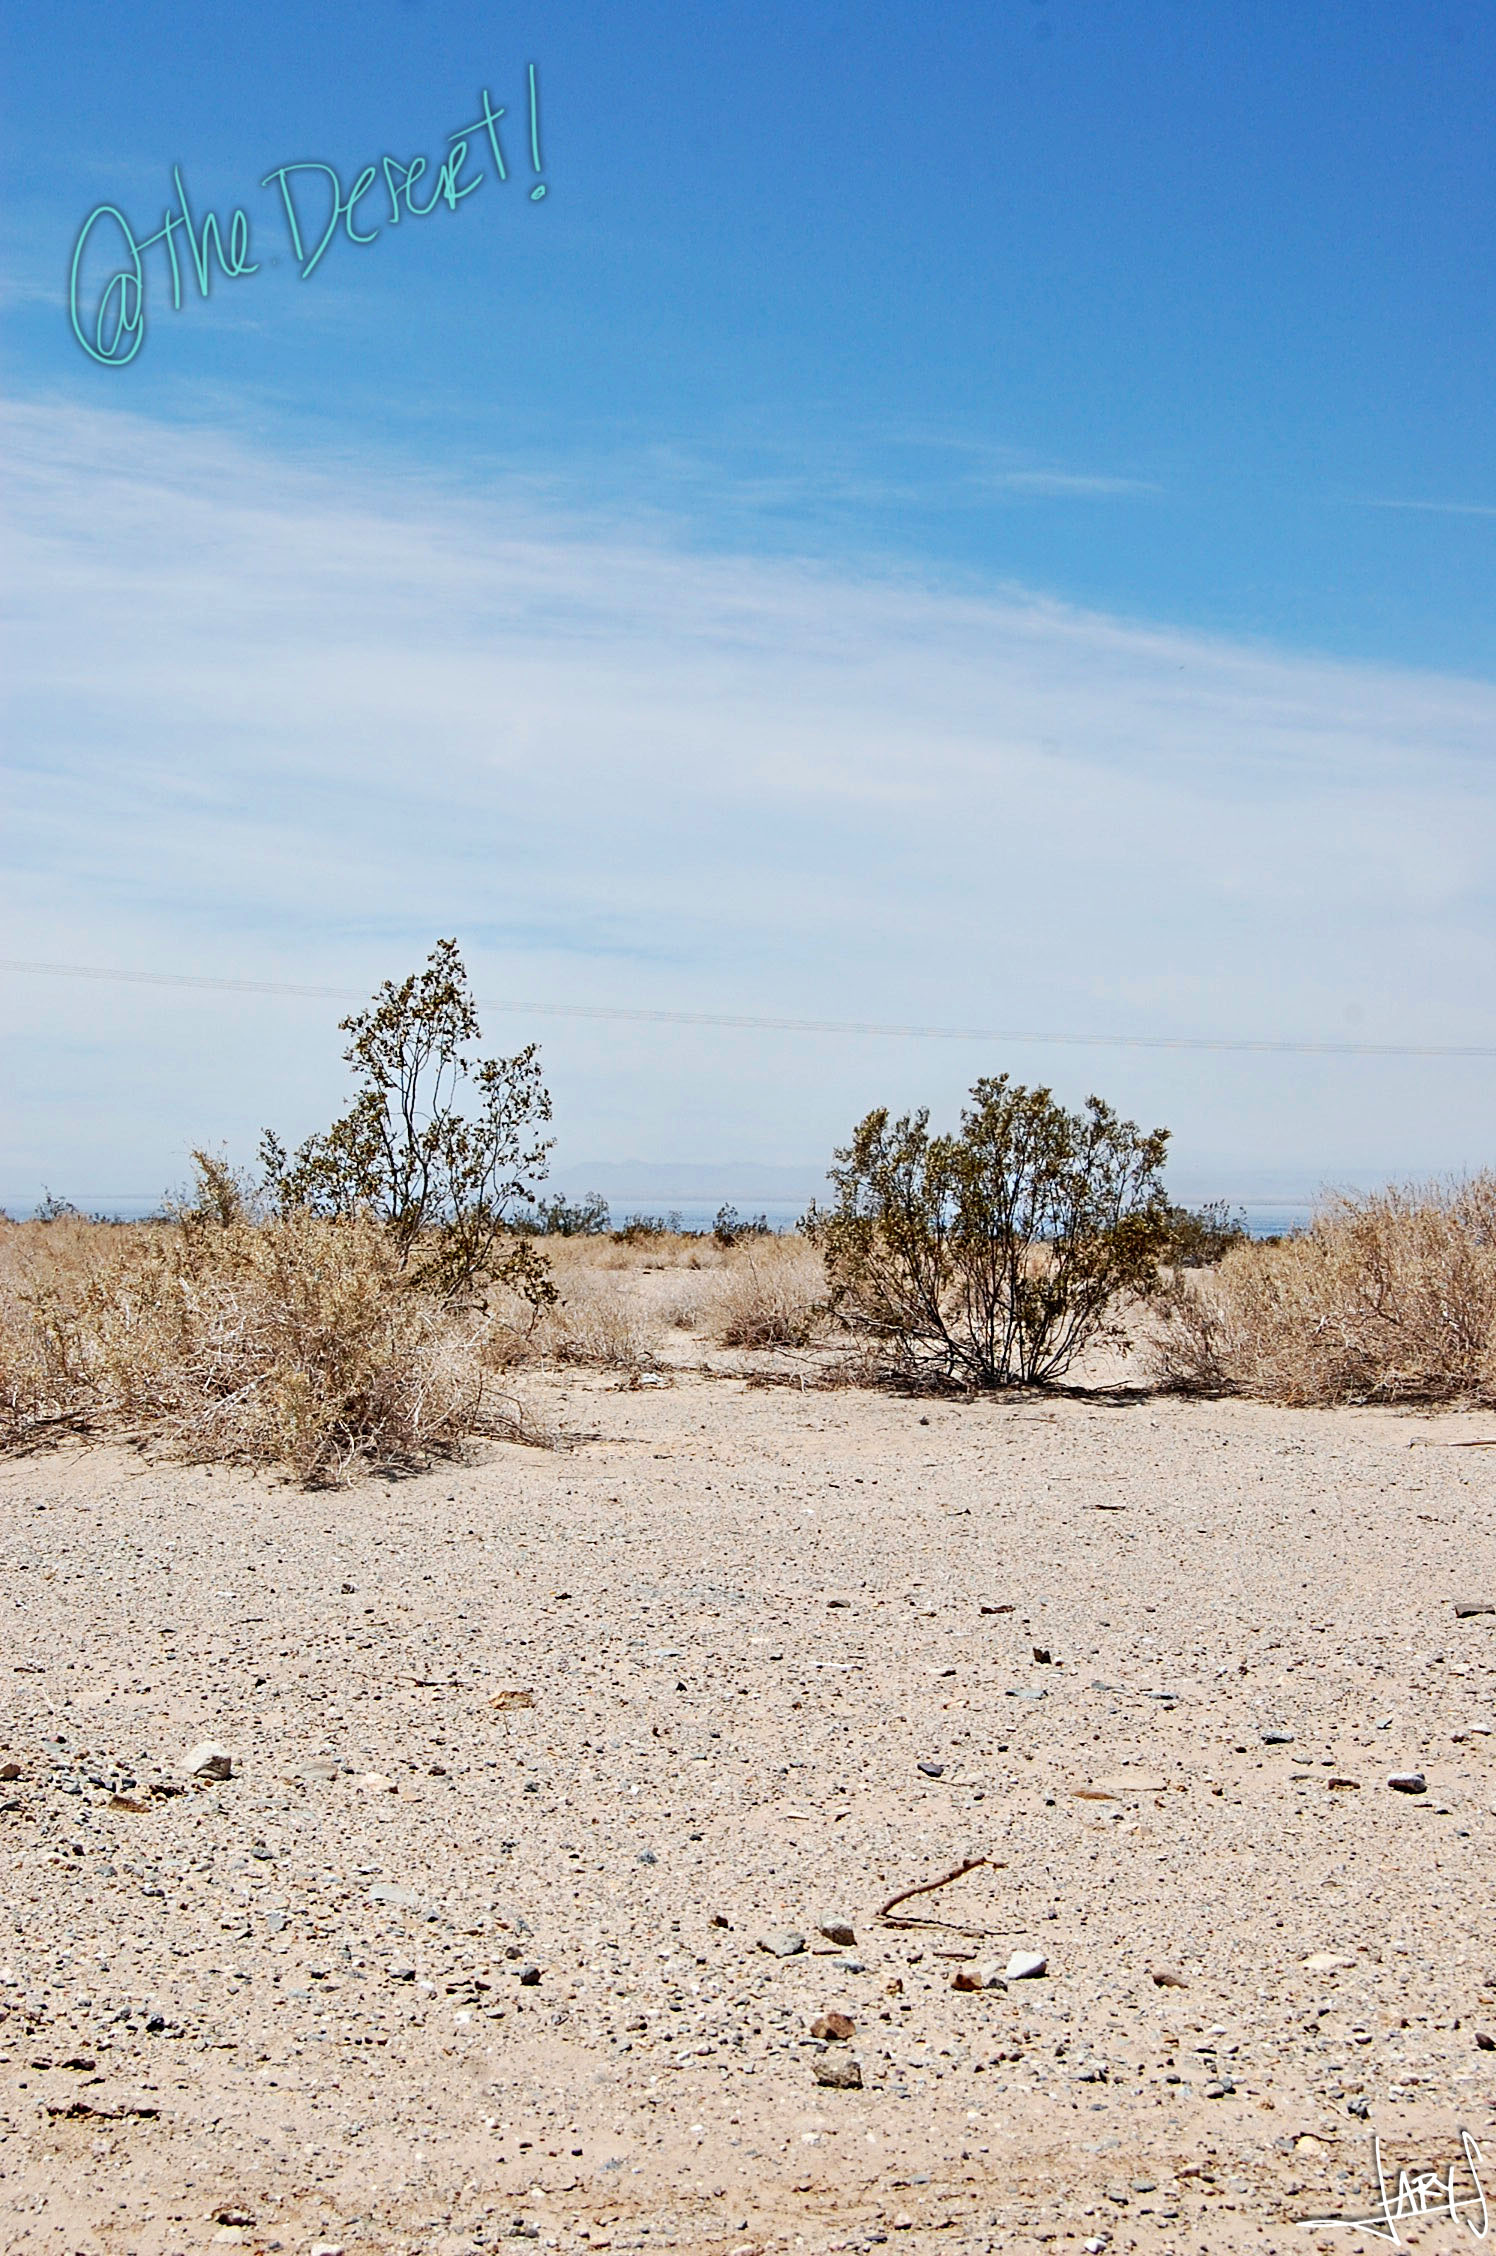
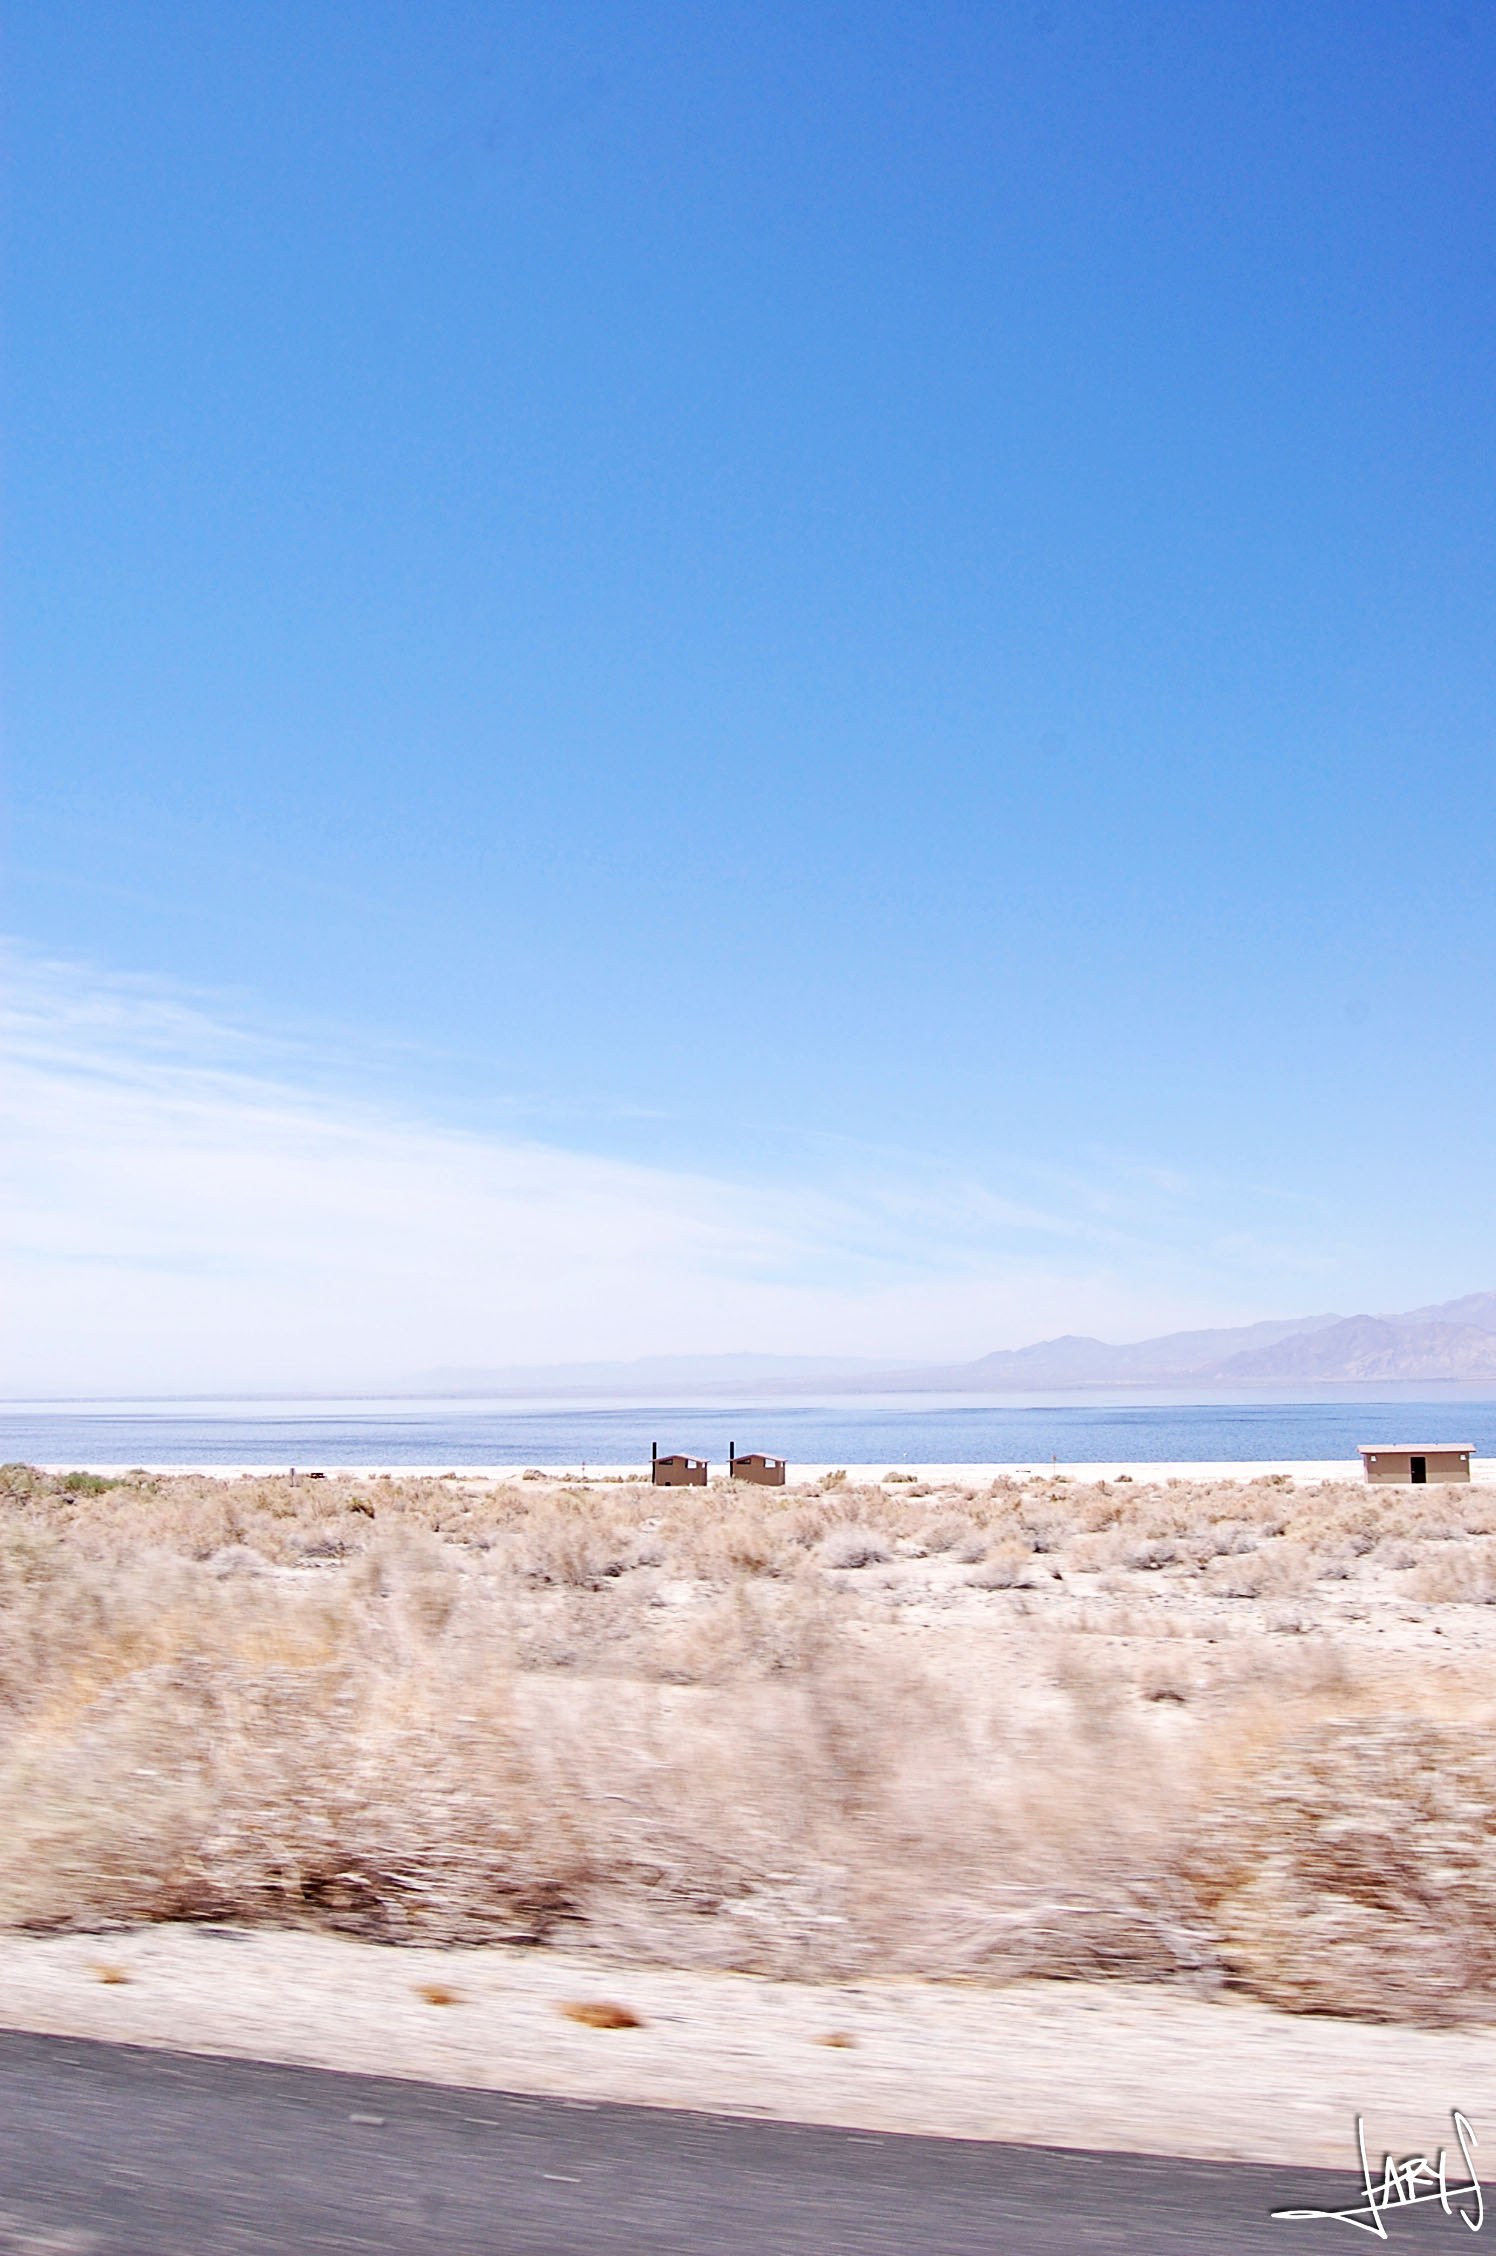
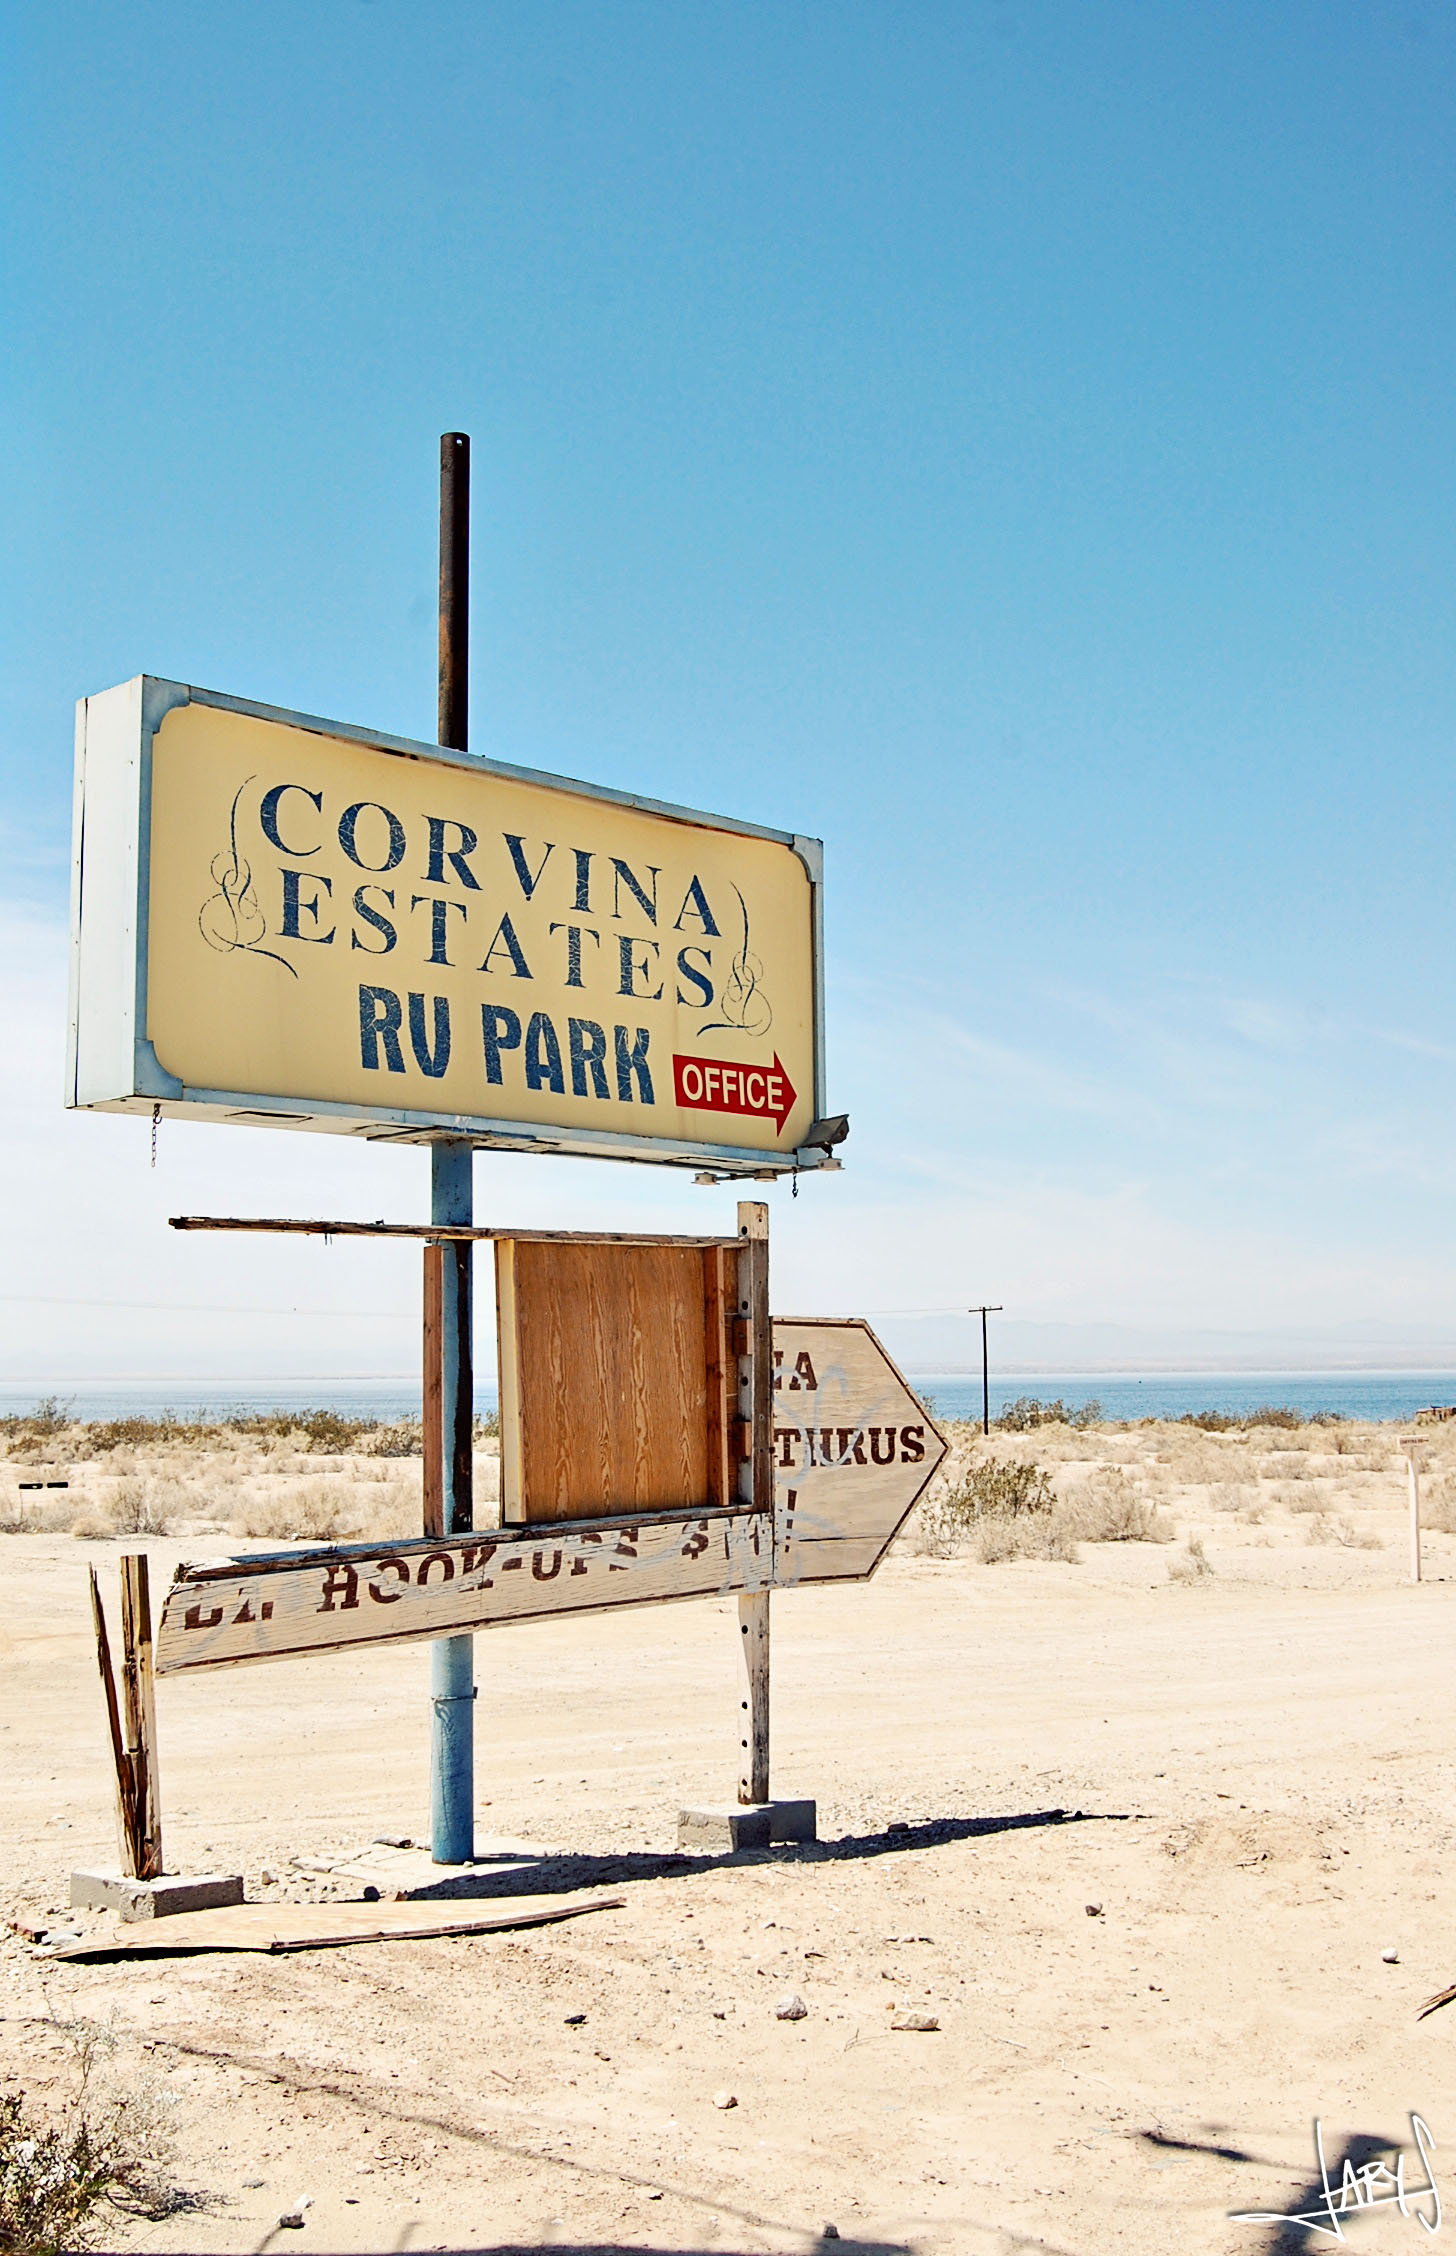
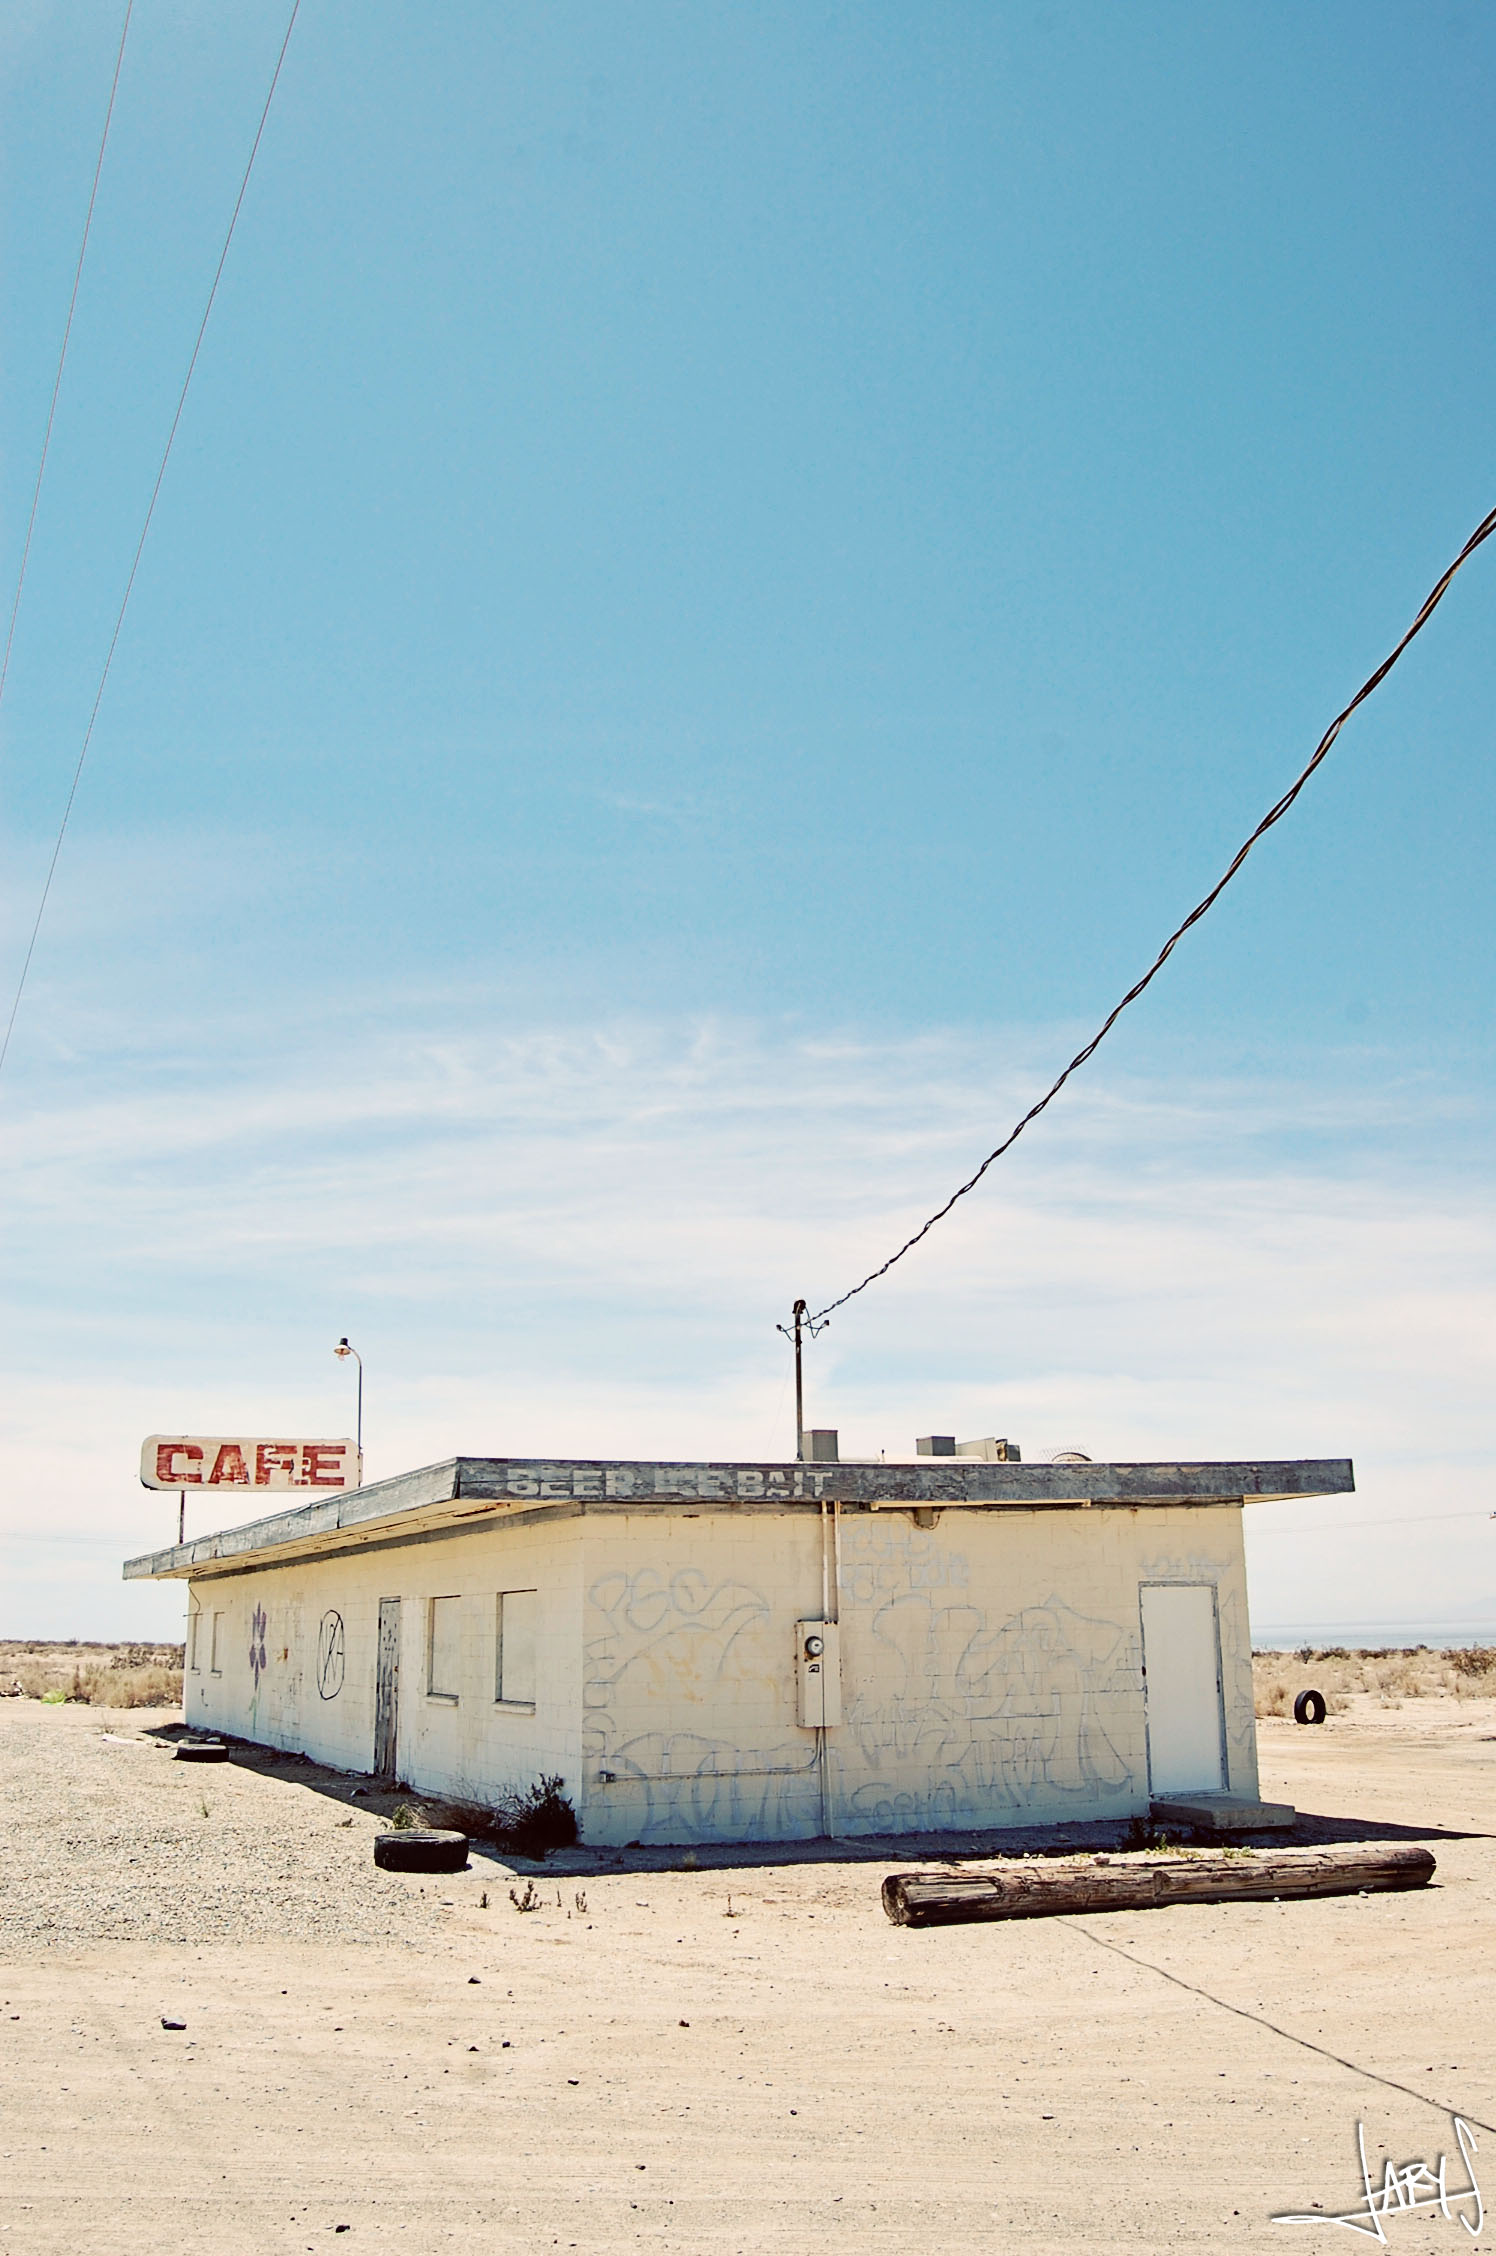
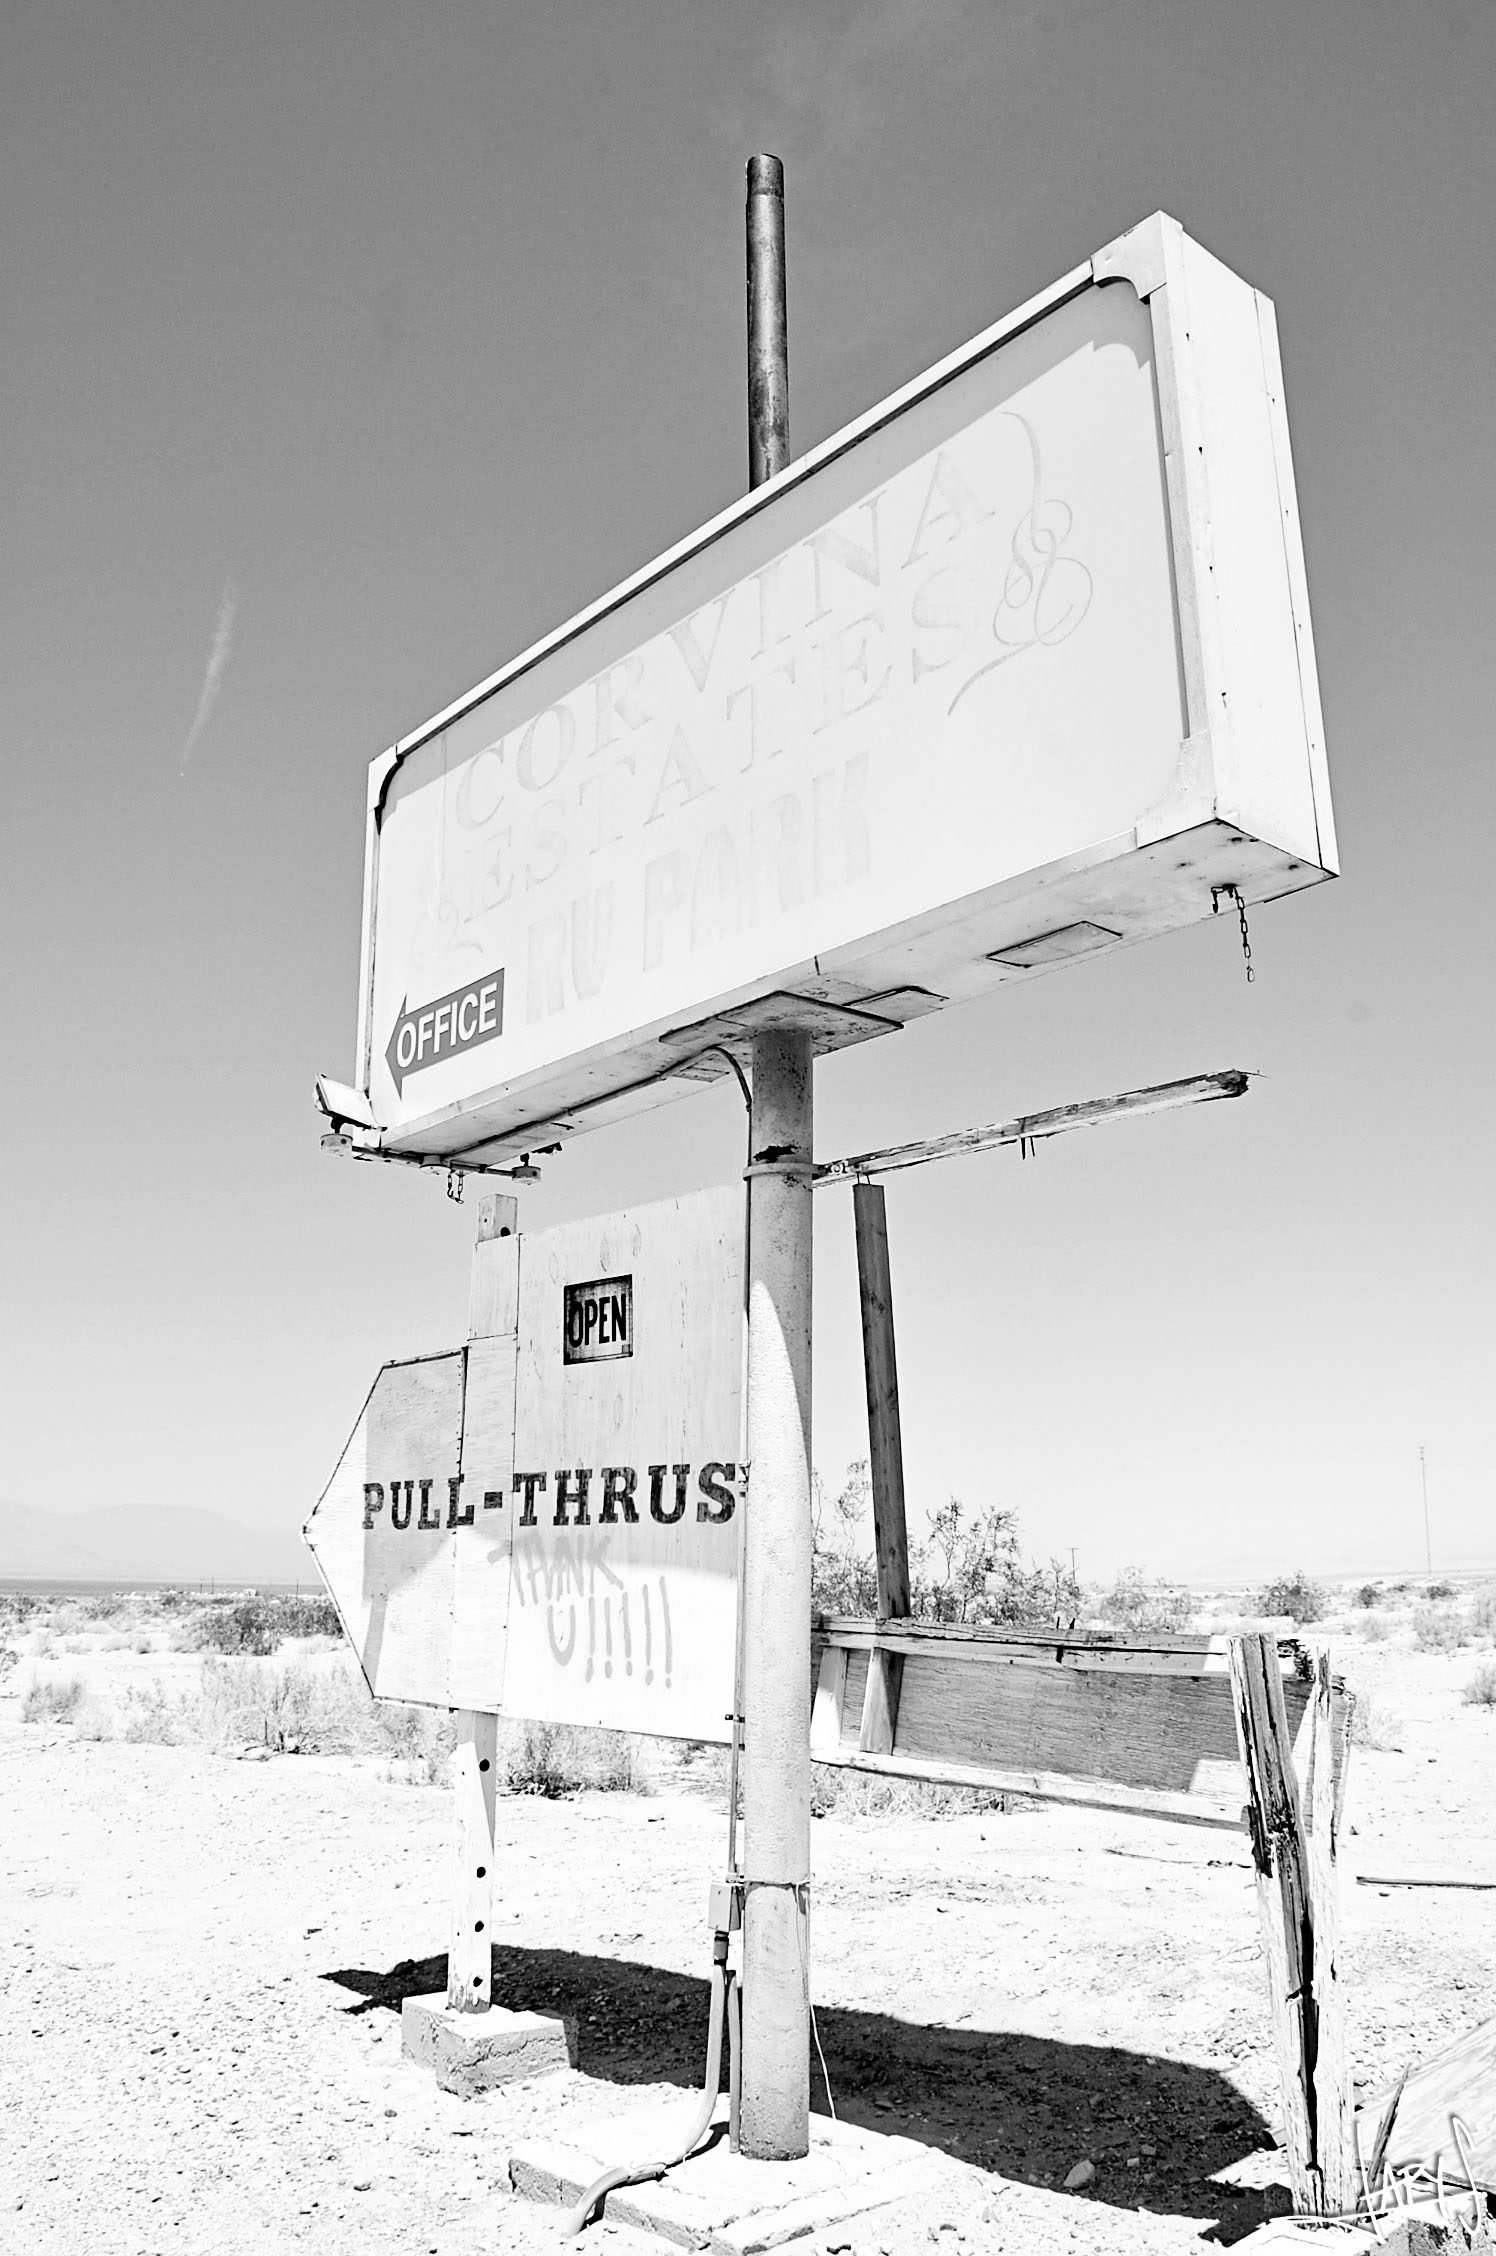
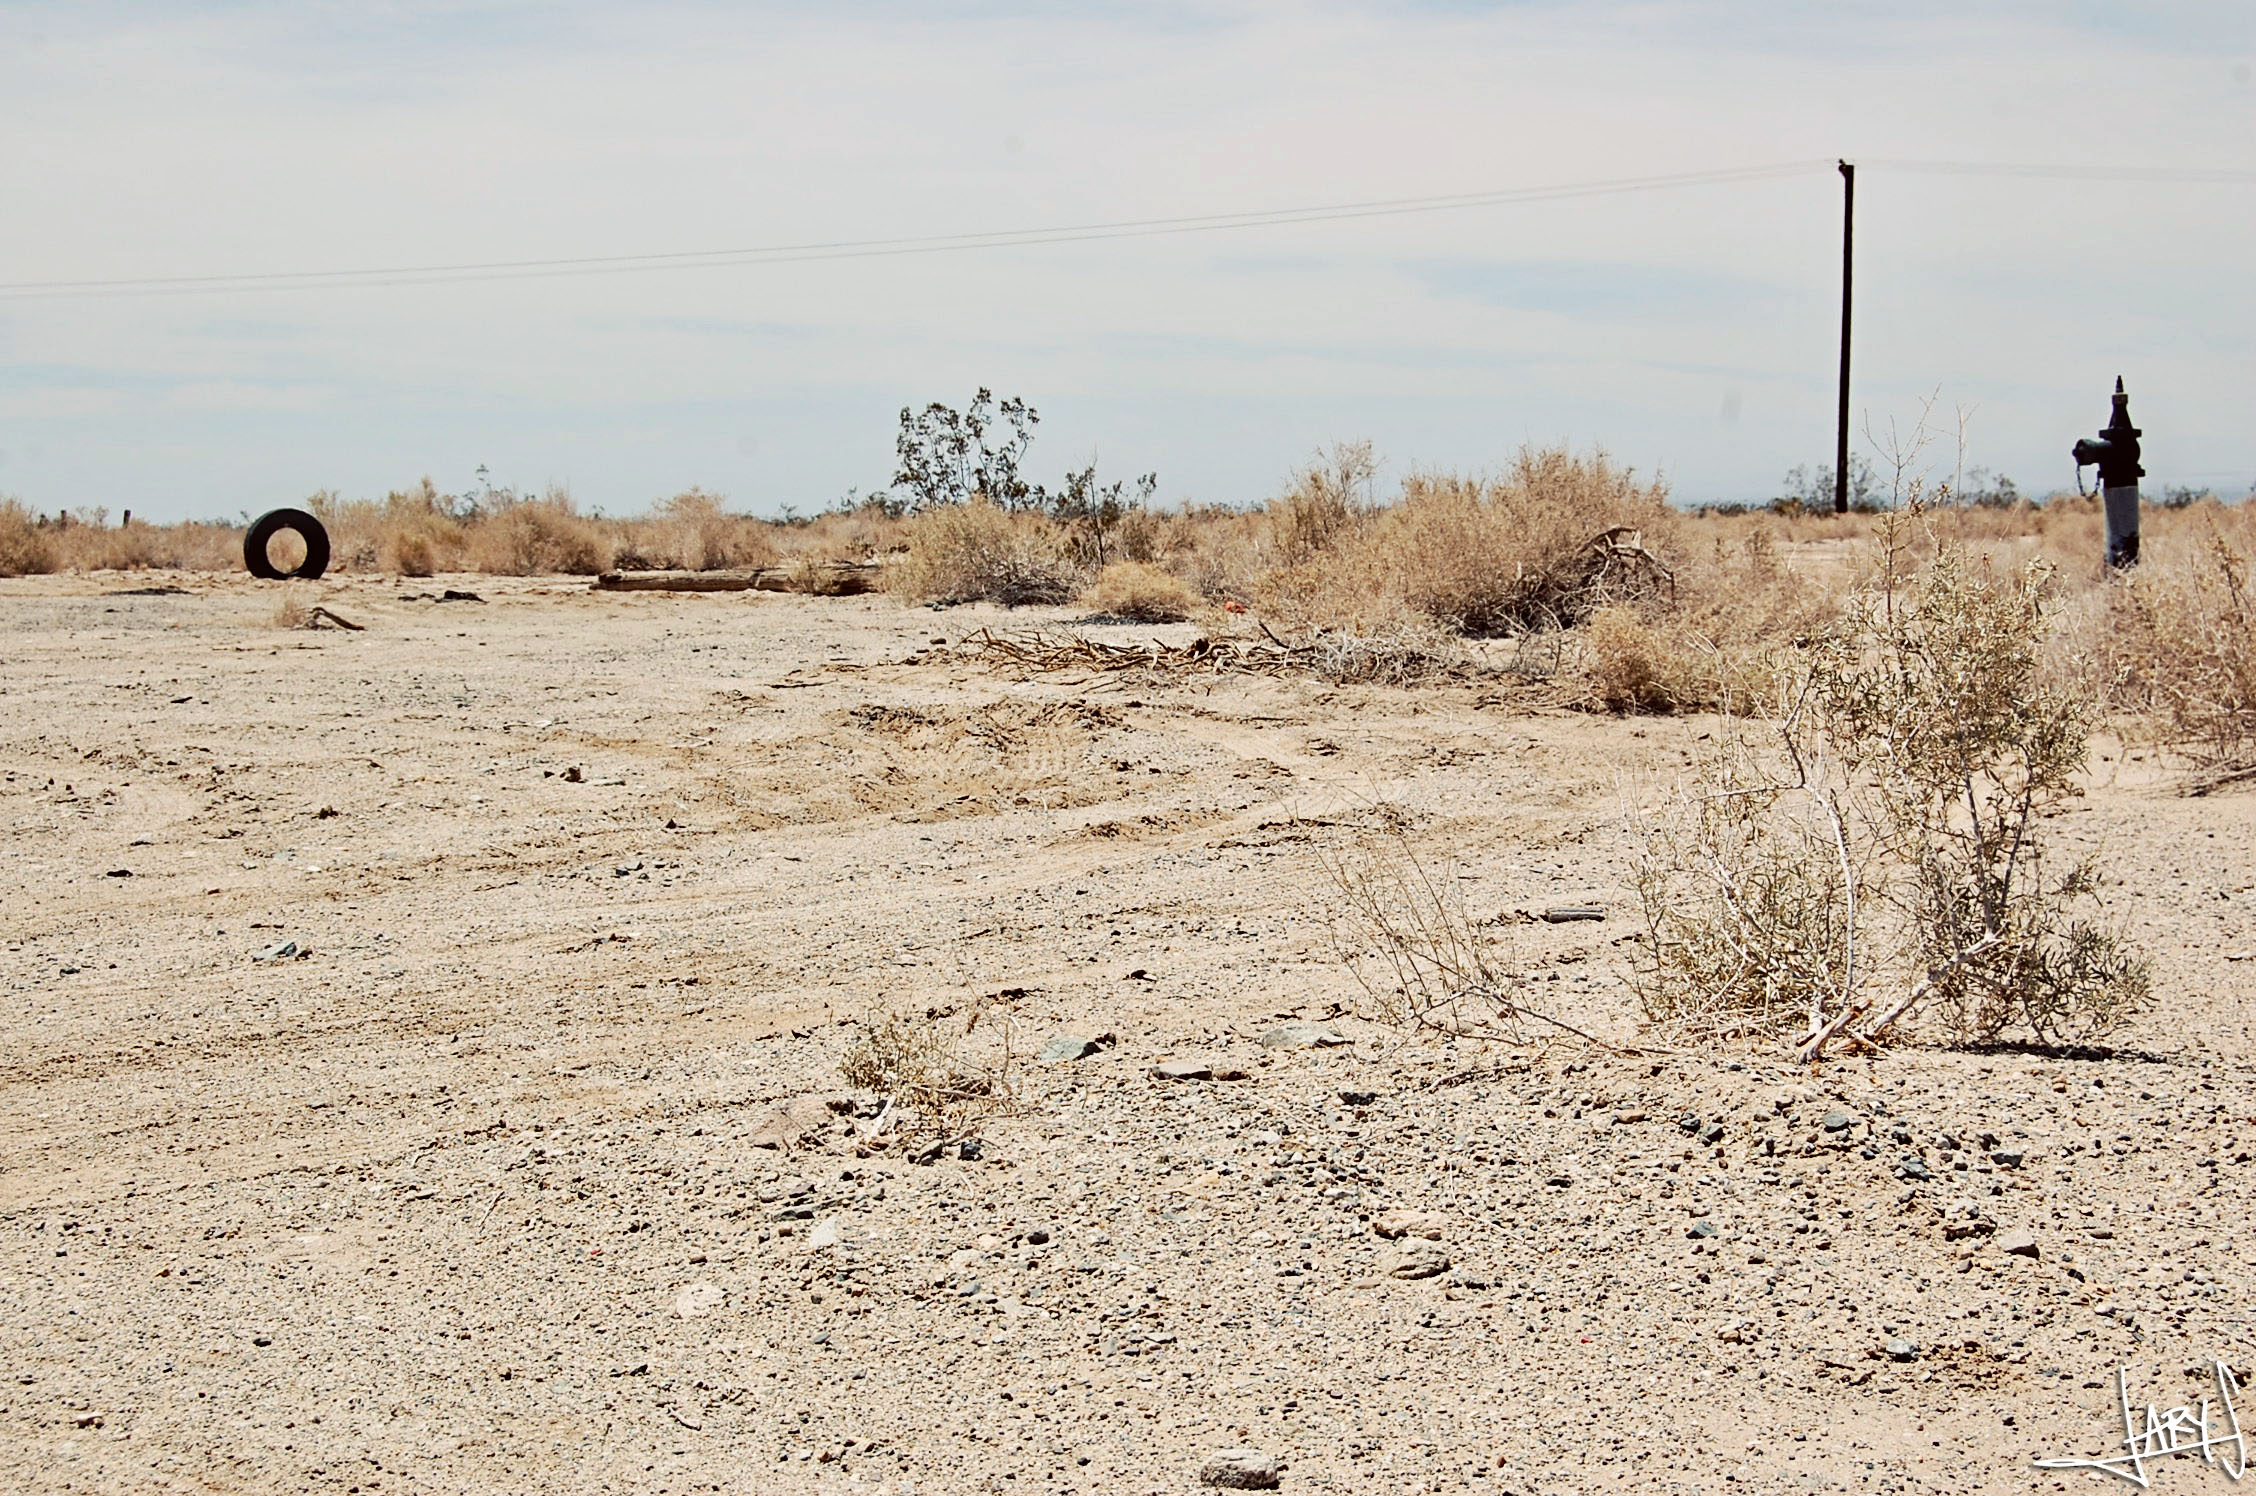
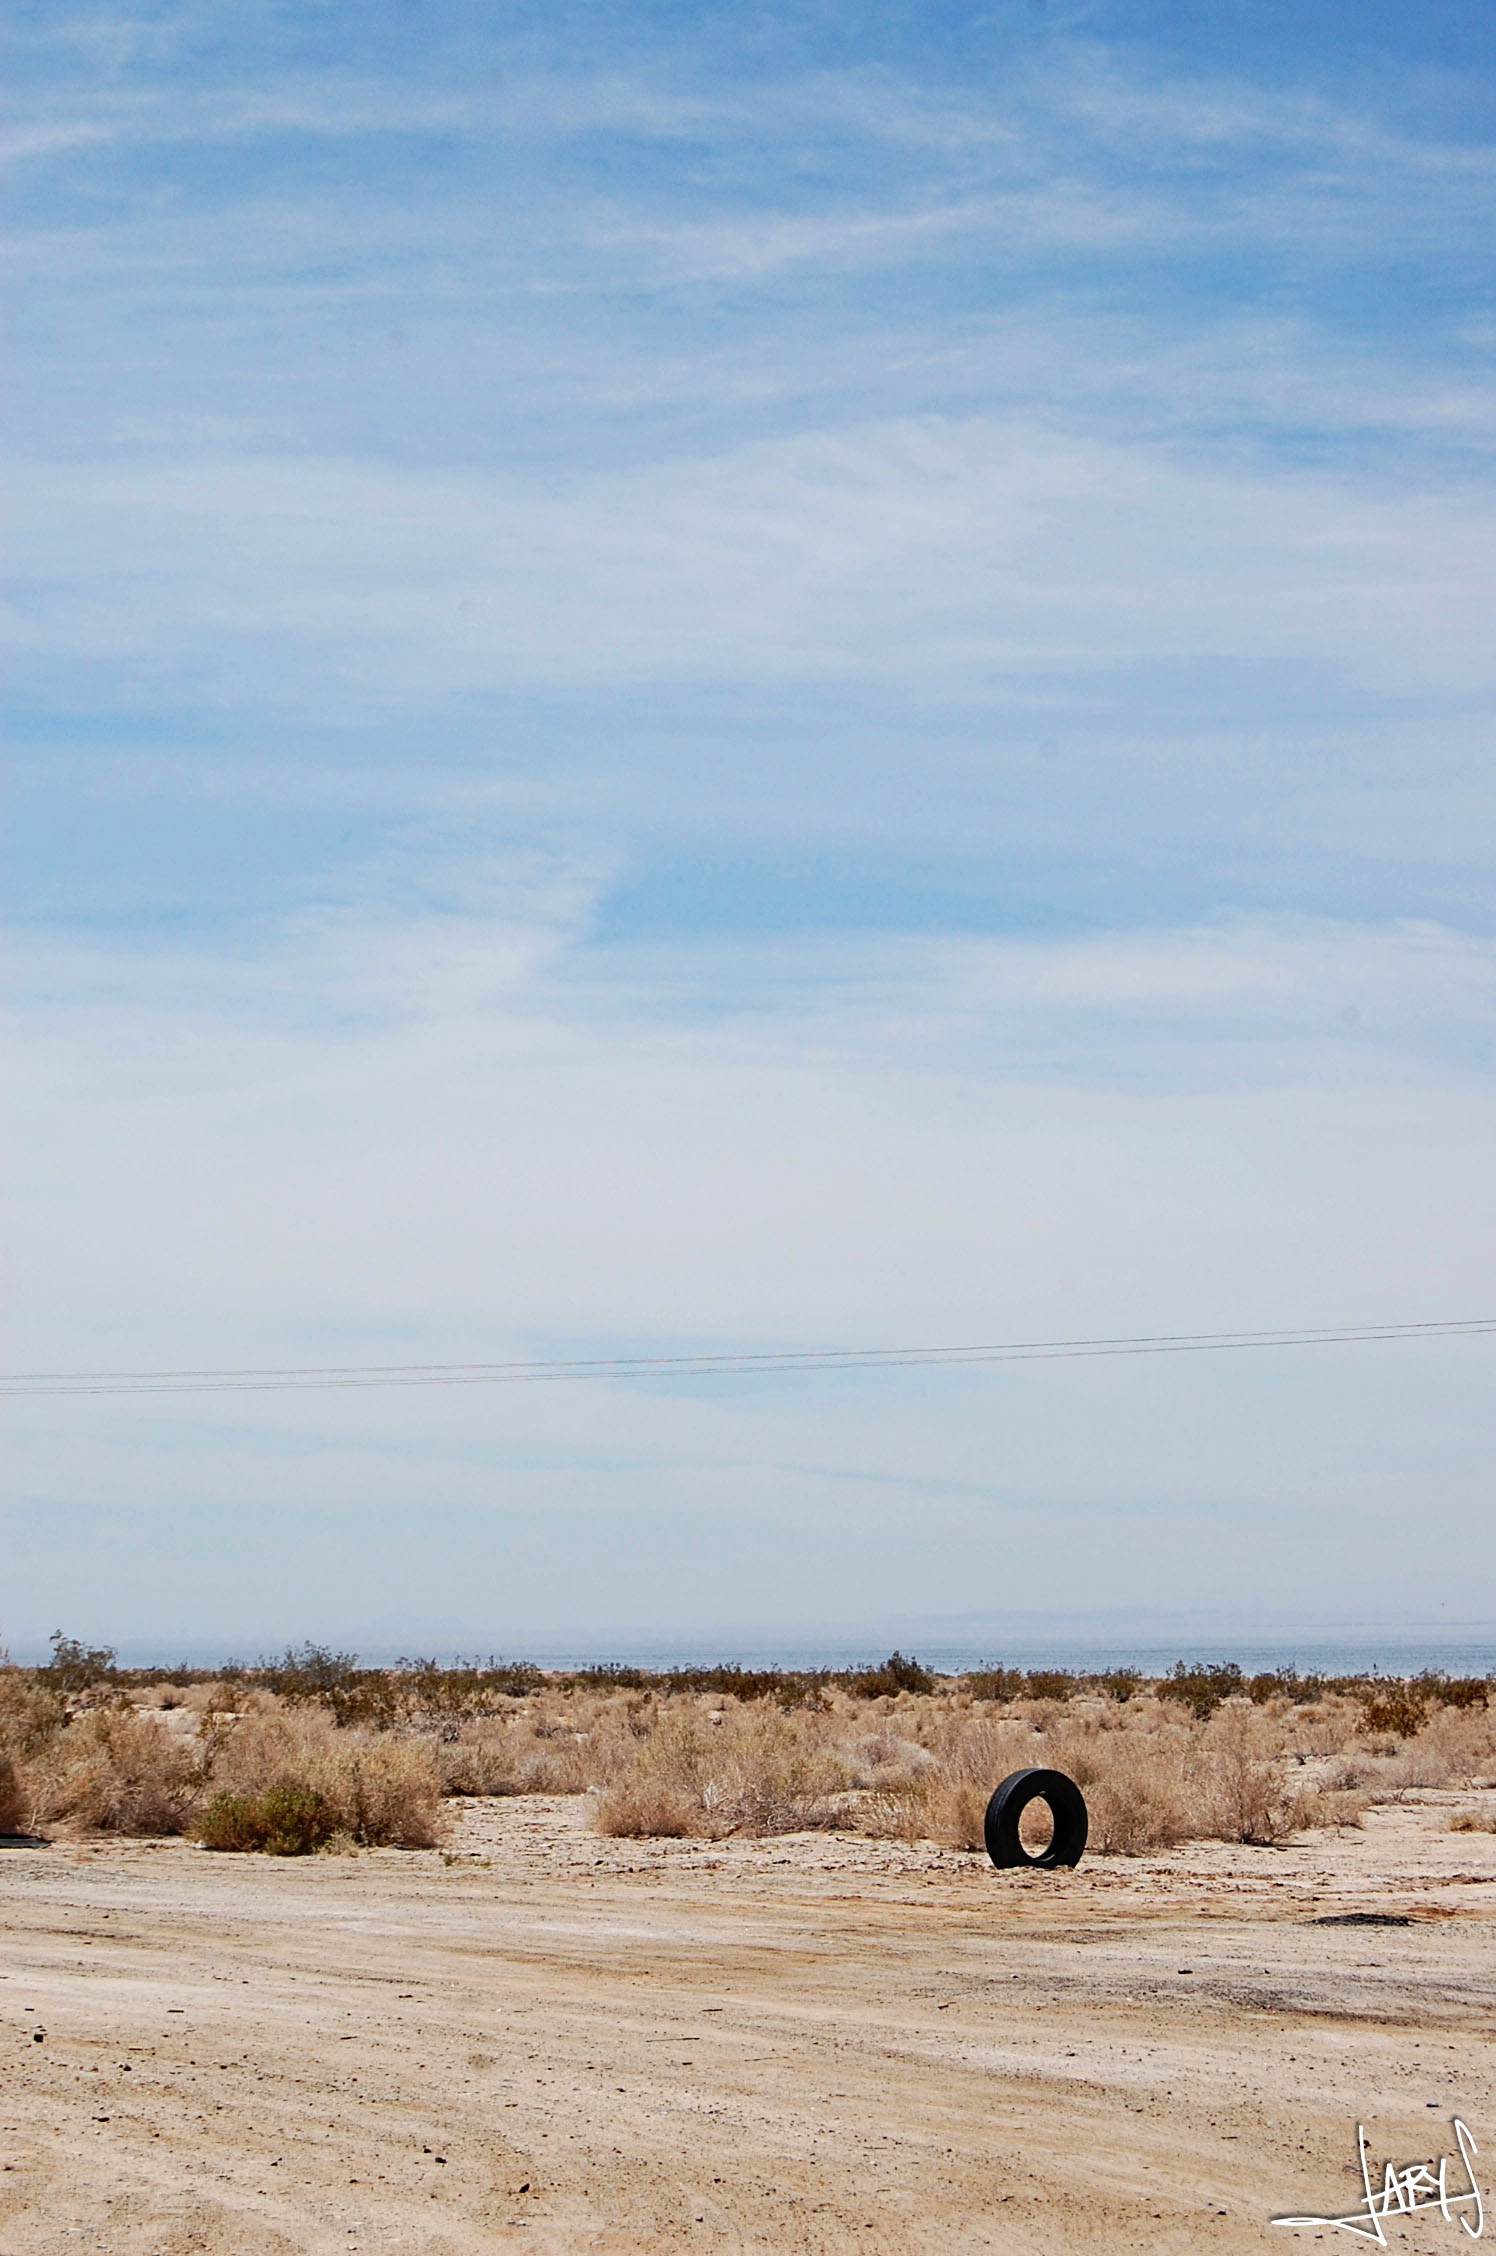
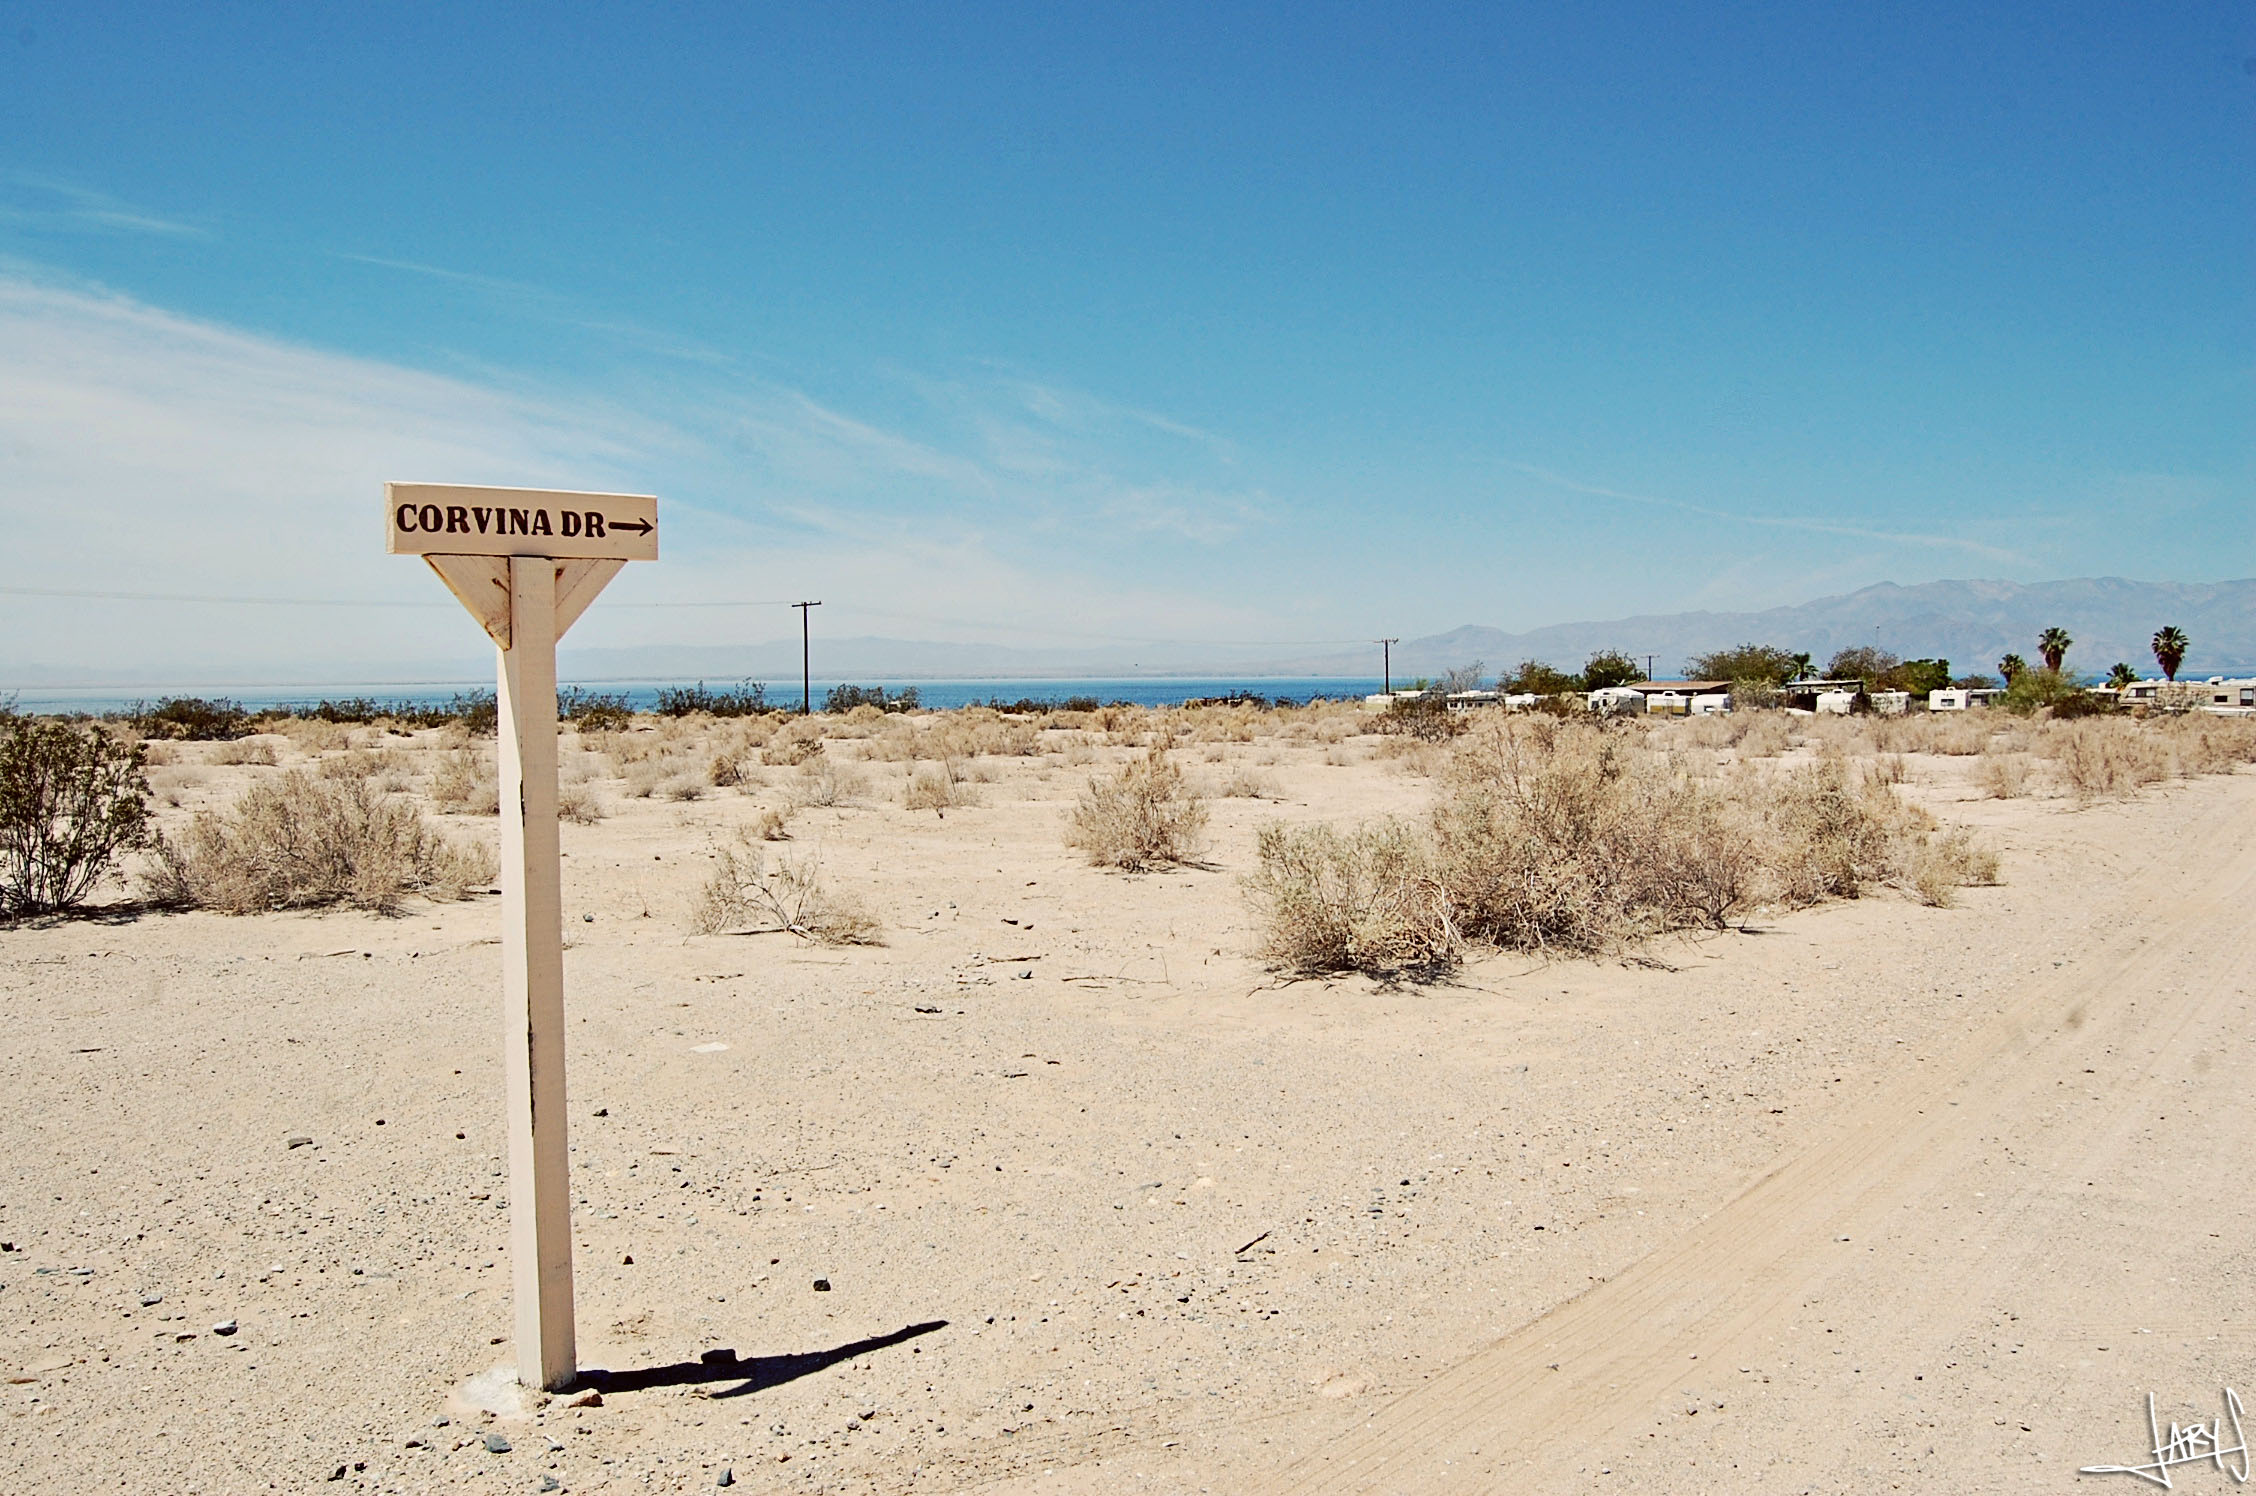
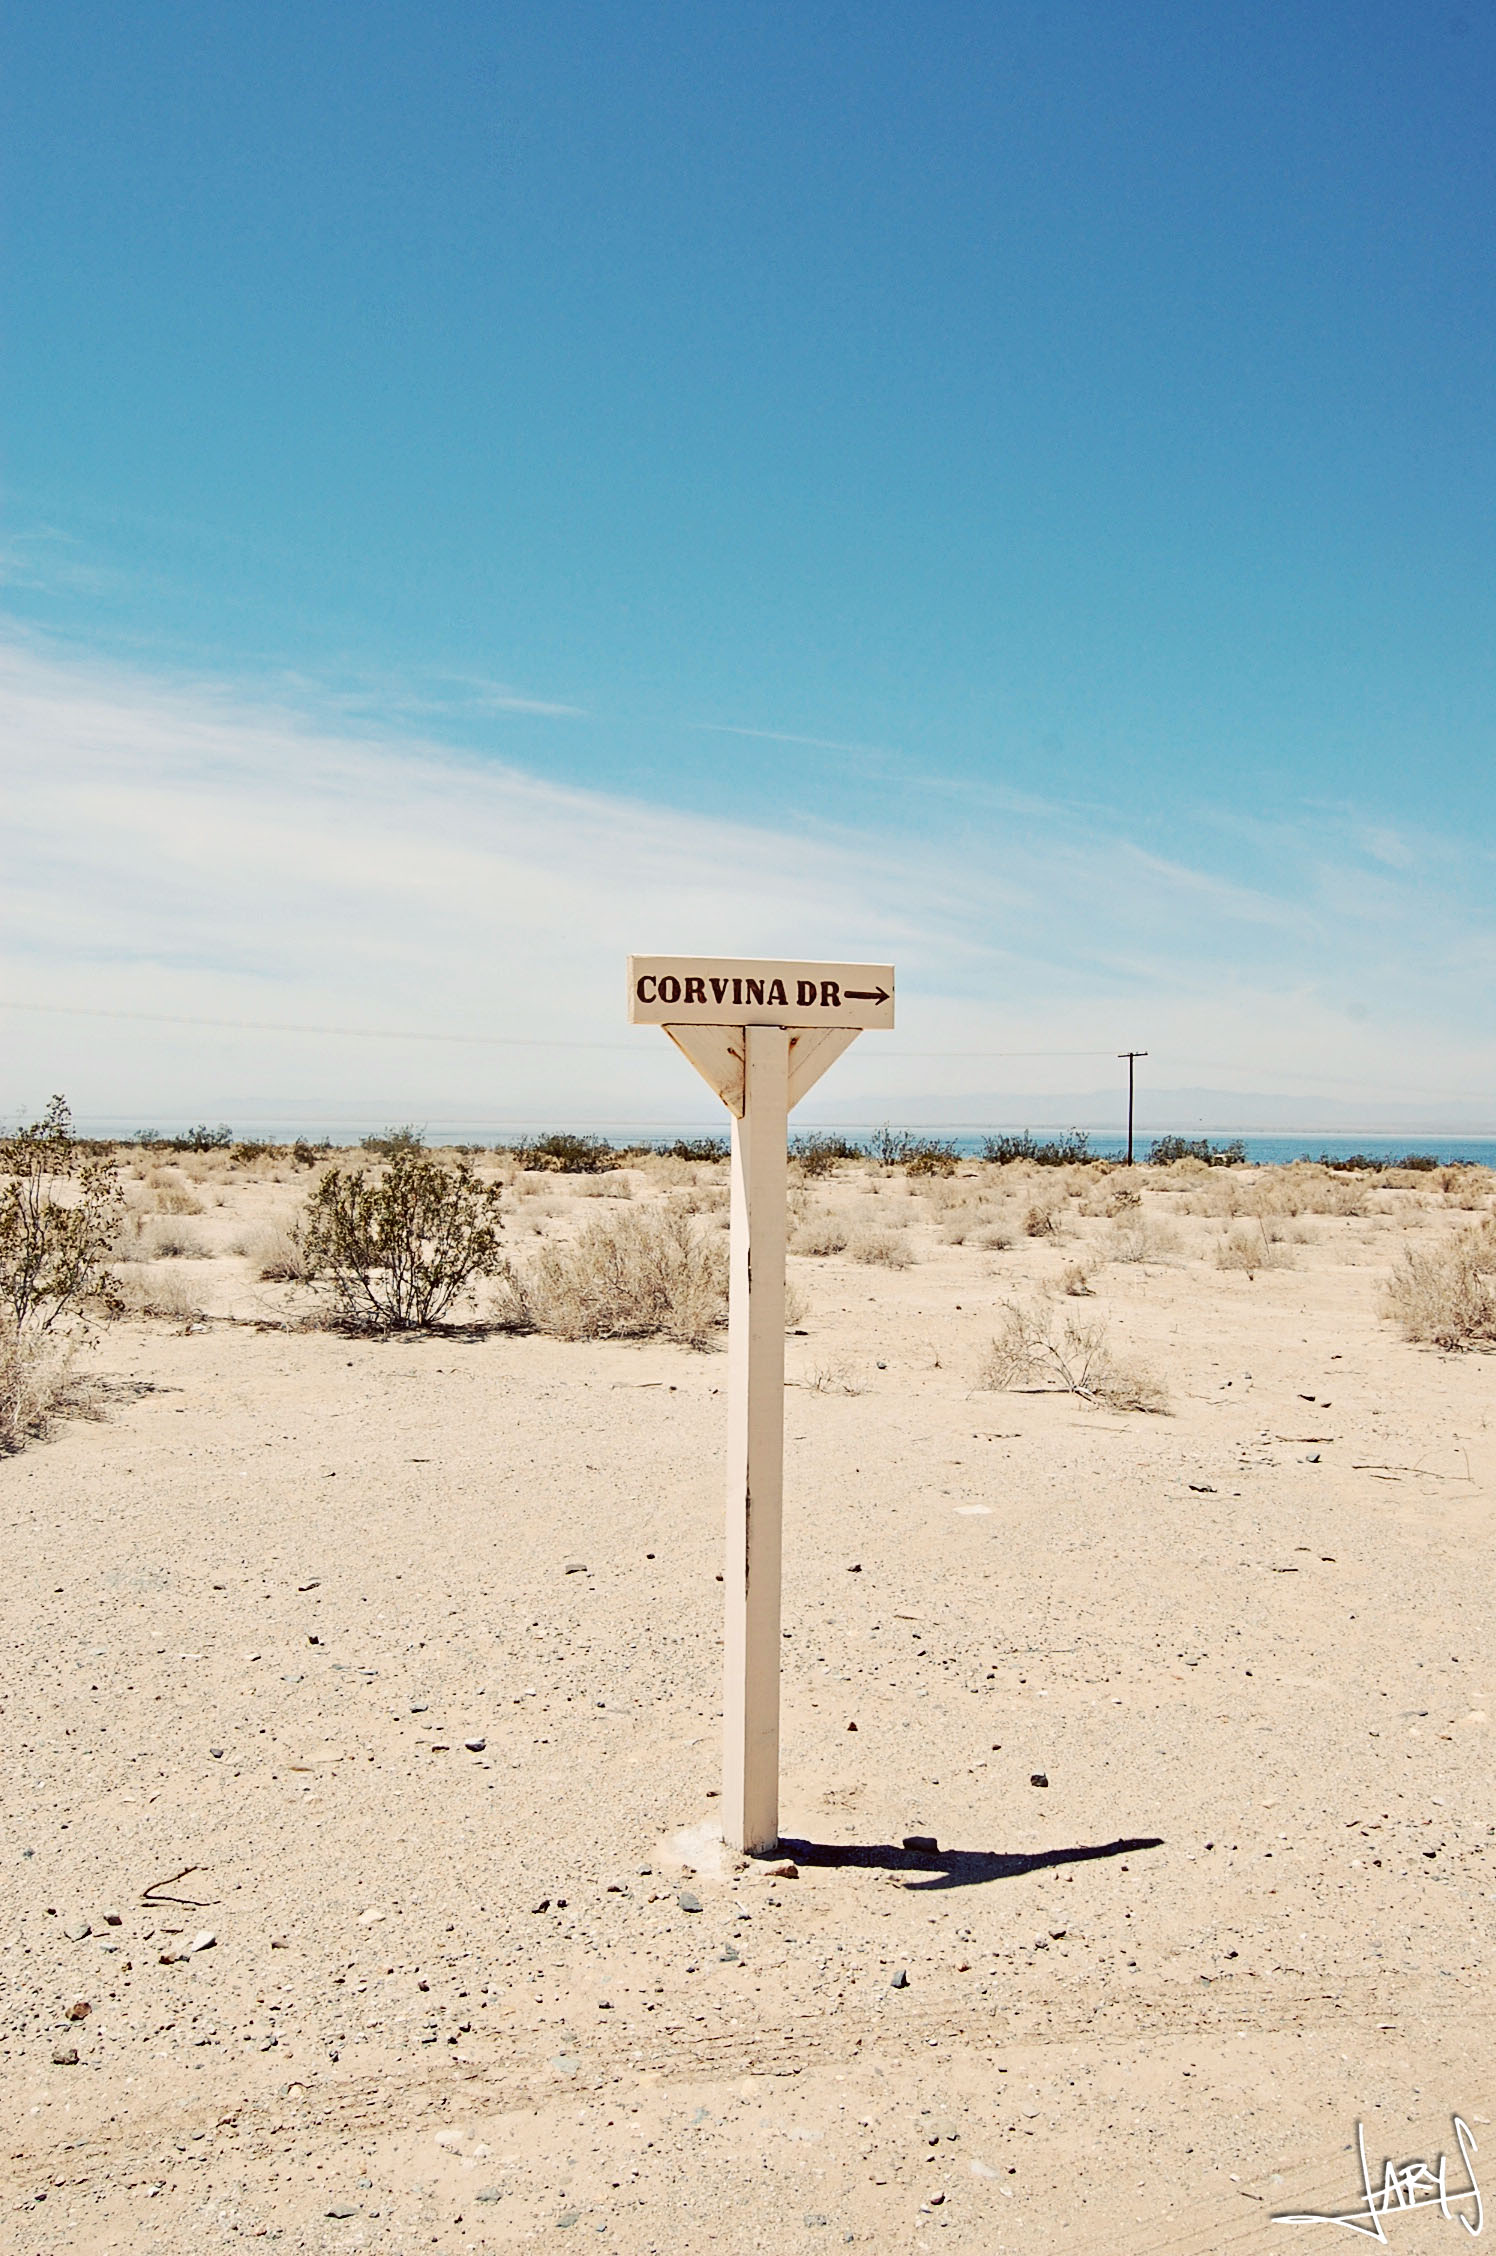
While out in Palm Springs one of our main goals was to take the drive out to Salvation Mountain. I’ve been wanting to go for quite some time and with all honesty, I think I planned going to Palm Springs just so we could go here. The mountain is simply the best art installation I have ever seen. Obviously I went picture crazy so I’m warning you… there is more pictures than usual on this post. If you ever have the chance to make it here, I’m telling you it will be soooo worth it! The drive is an adventure of it ‘s own. You will be in the middle of the California desert with a gorgeous view of the Salton Sea. Have you ever been?


Wednesday, June 5th, 2013
Just a few of my favorite shots…


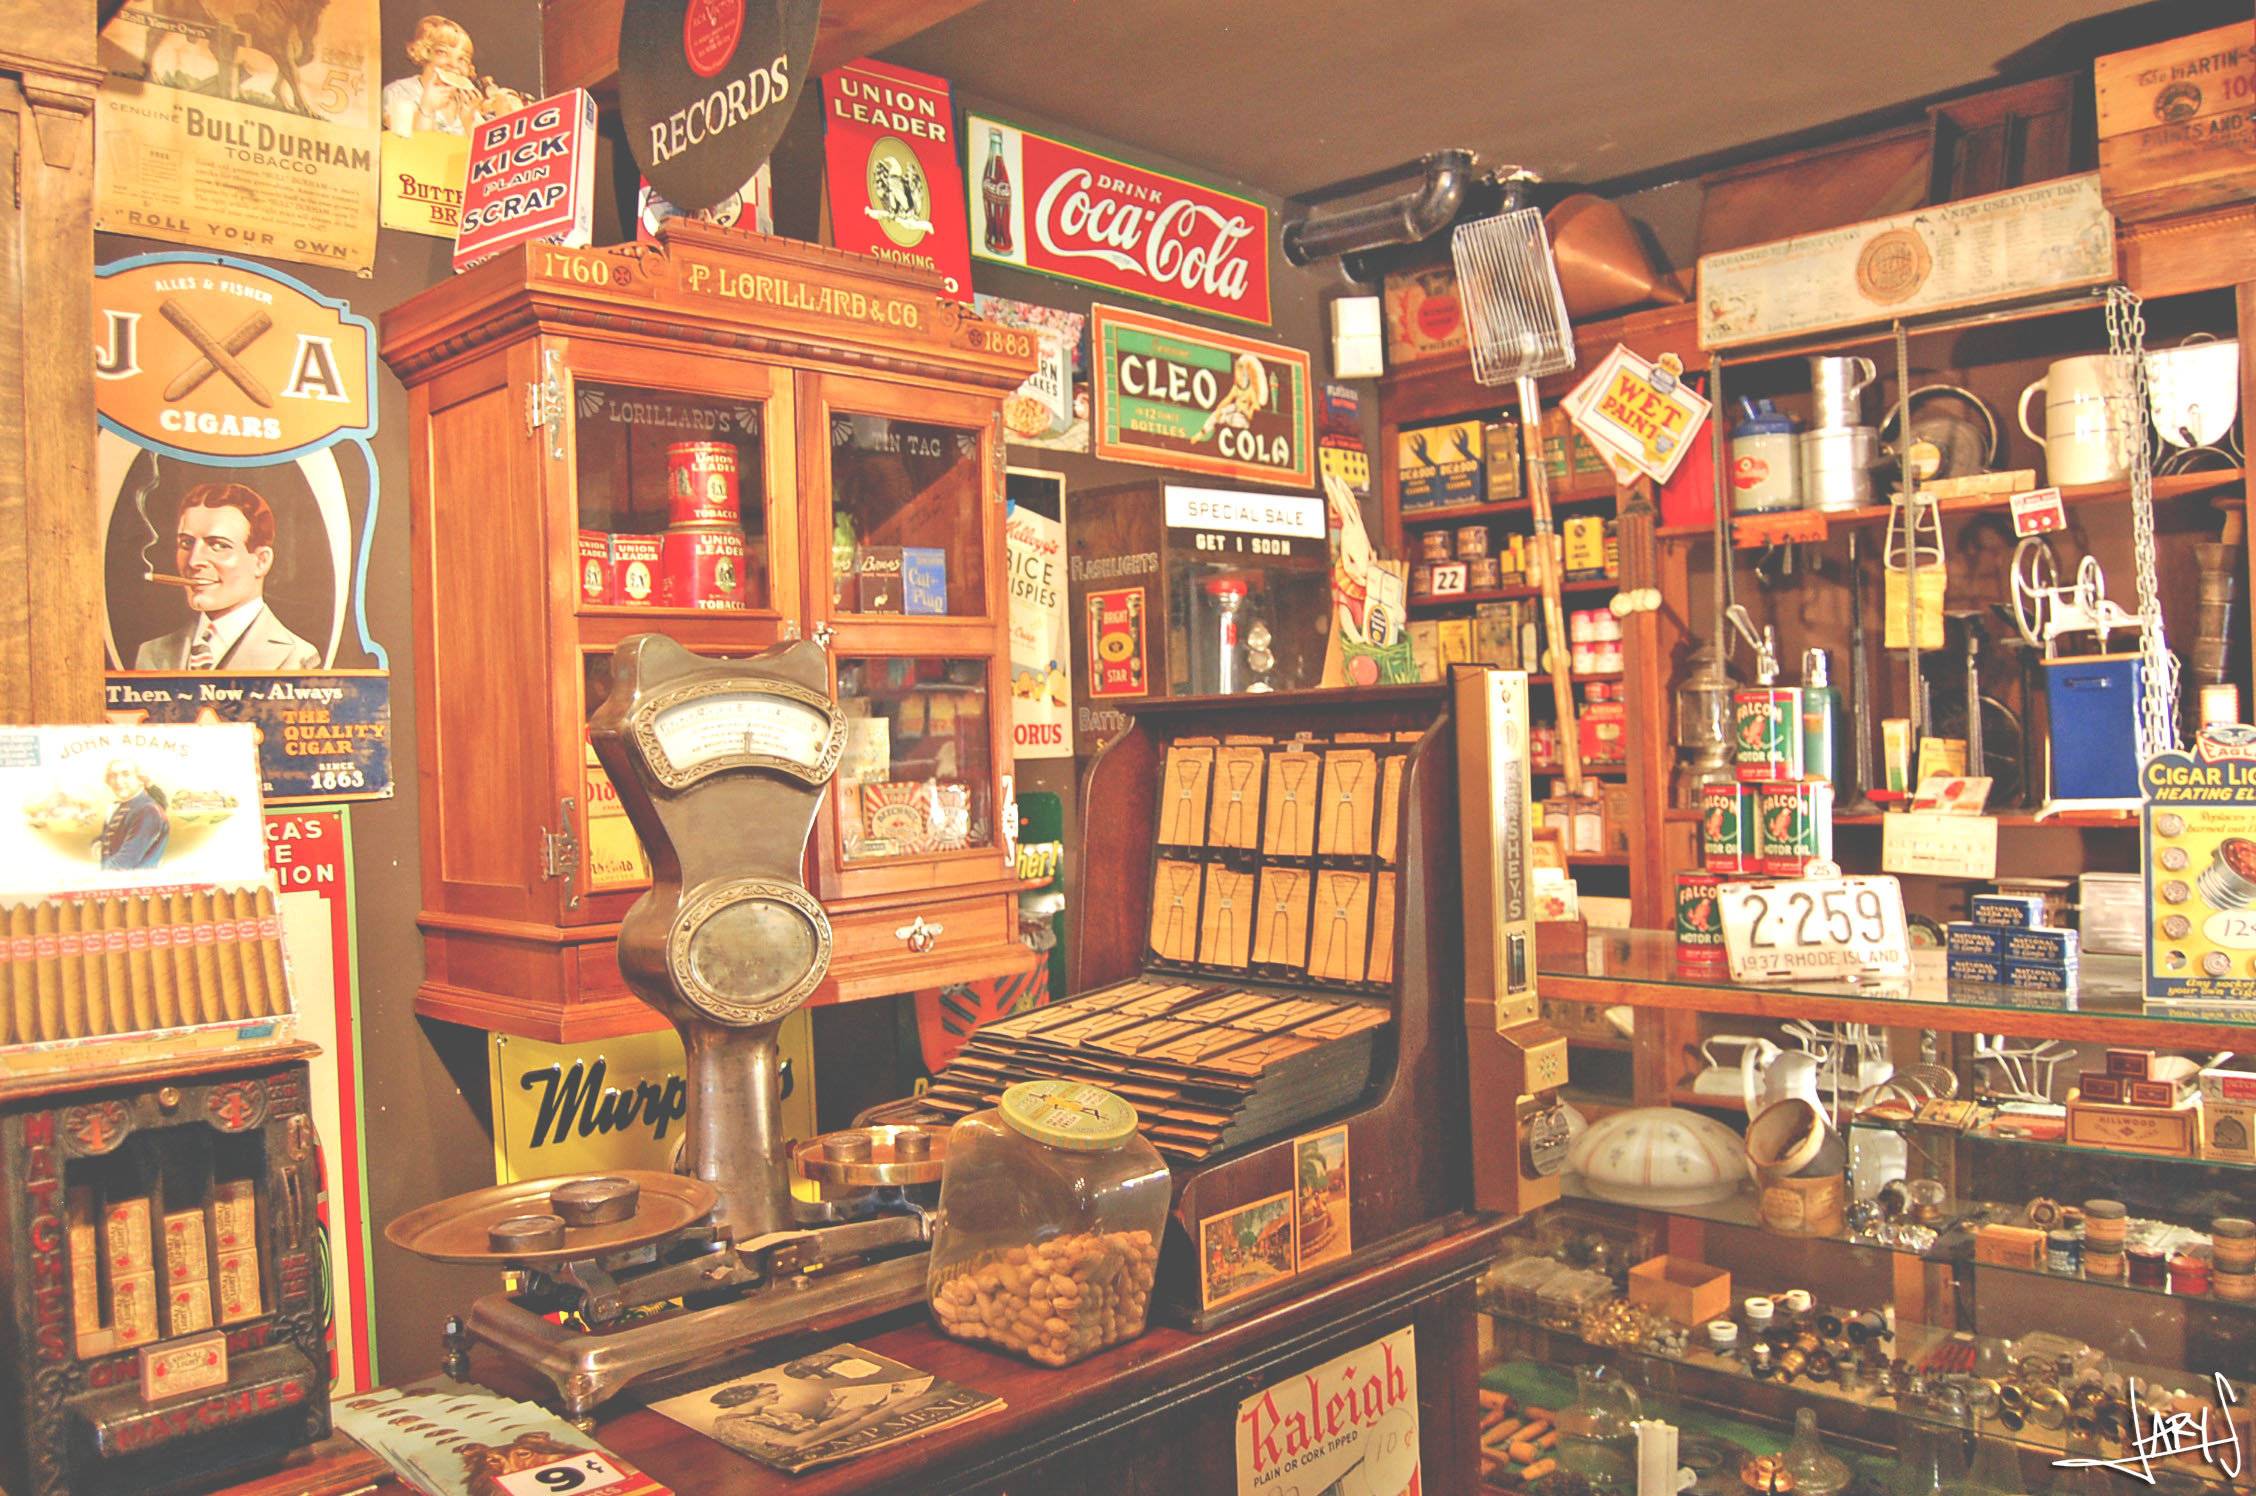
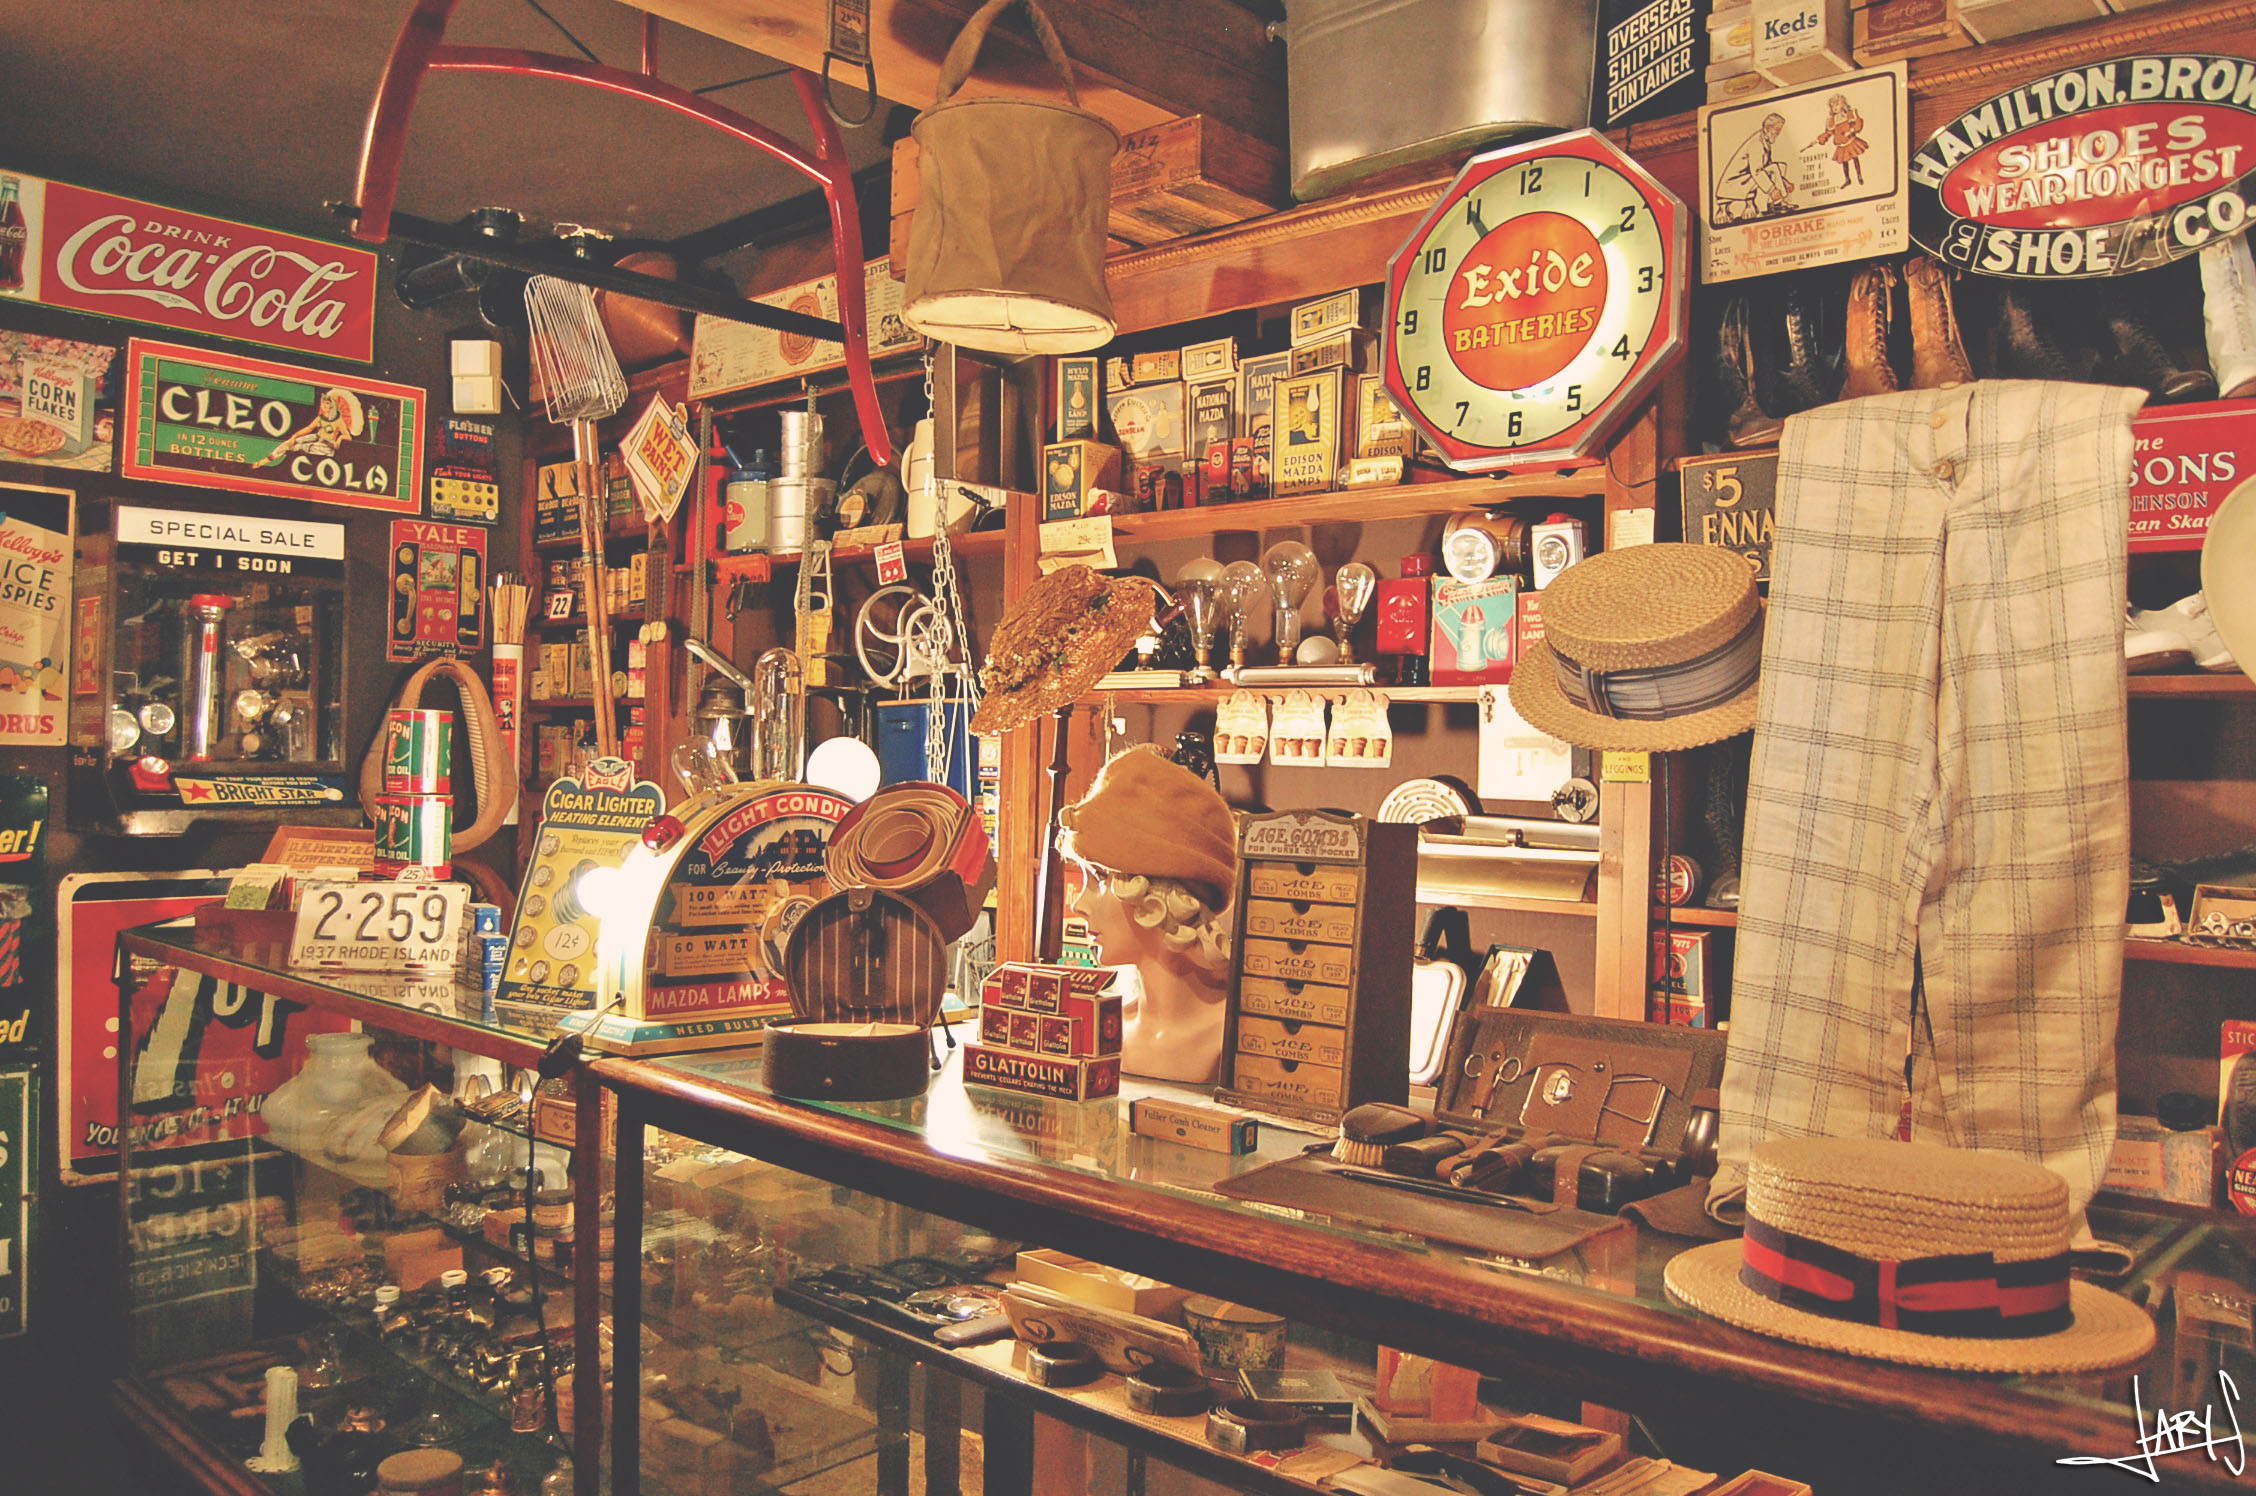
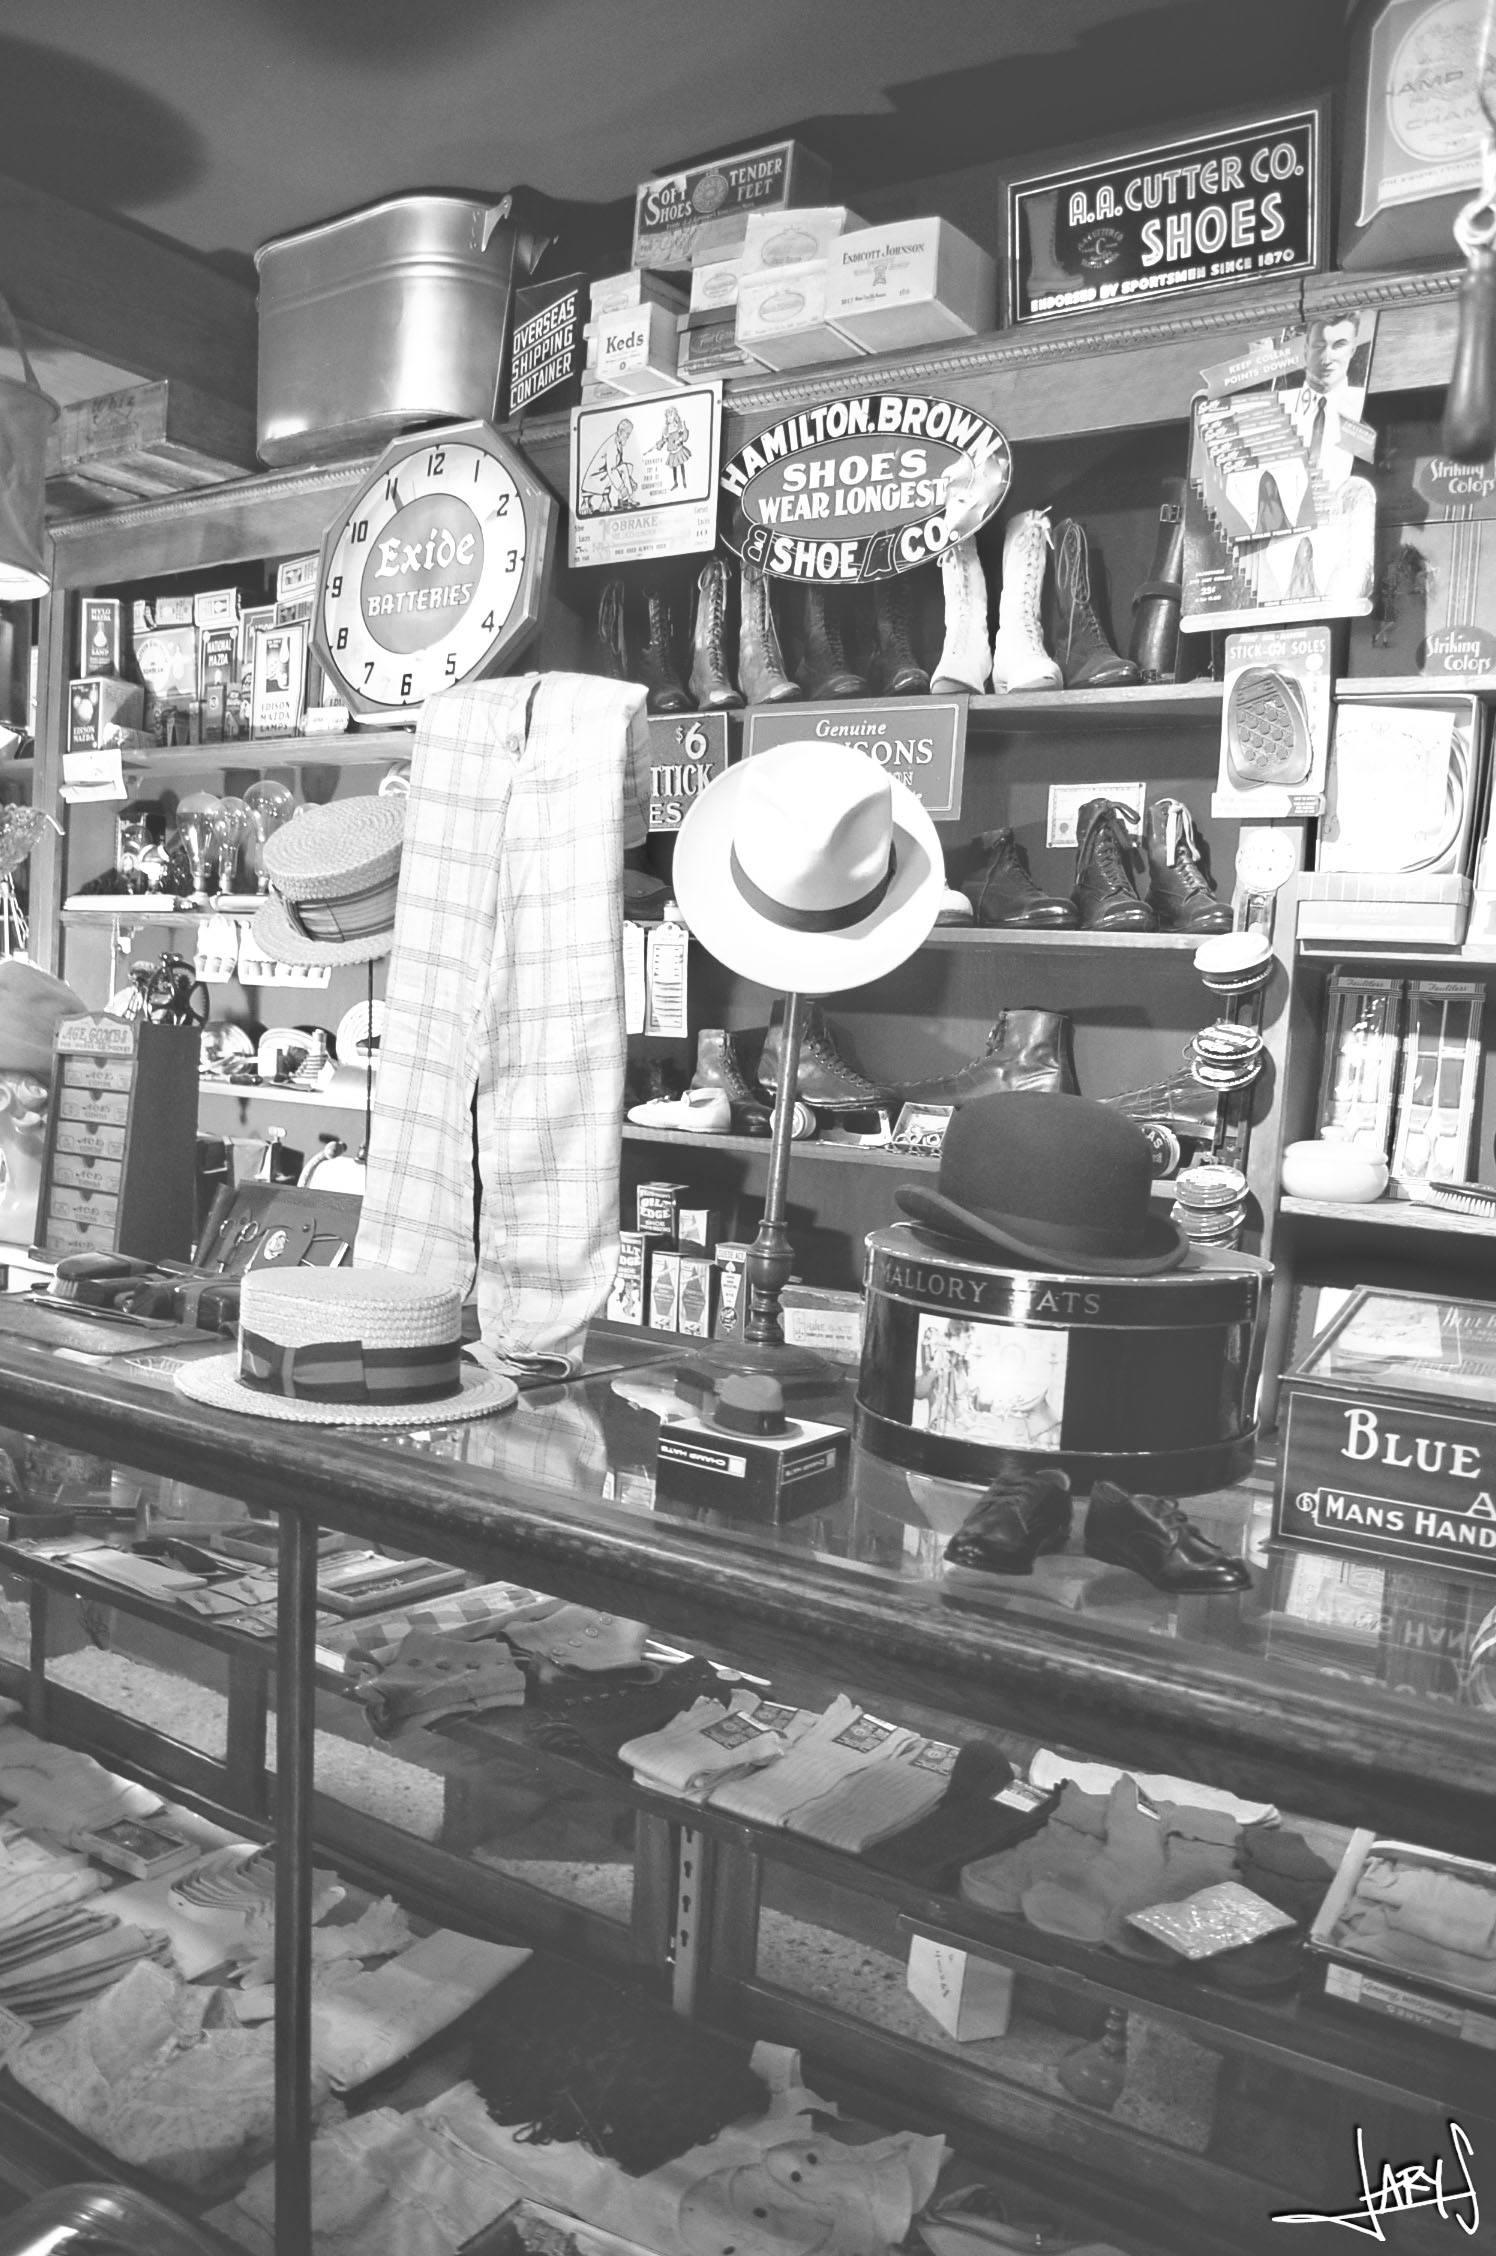
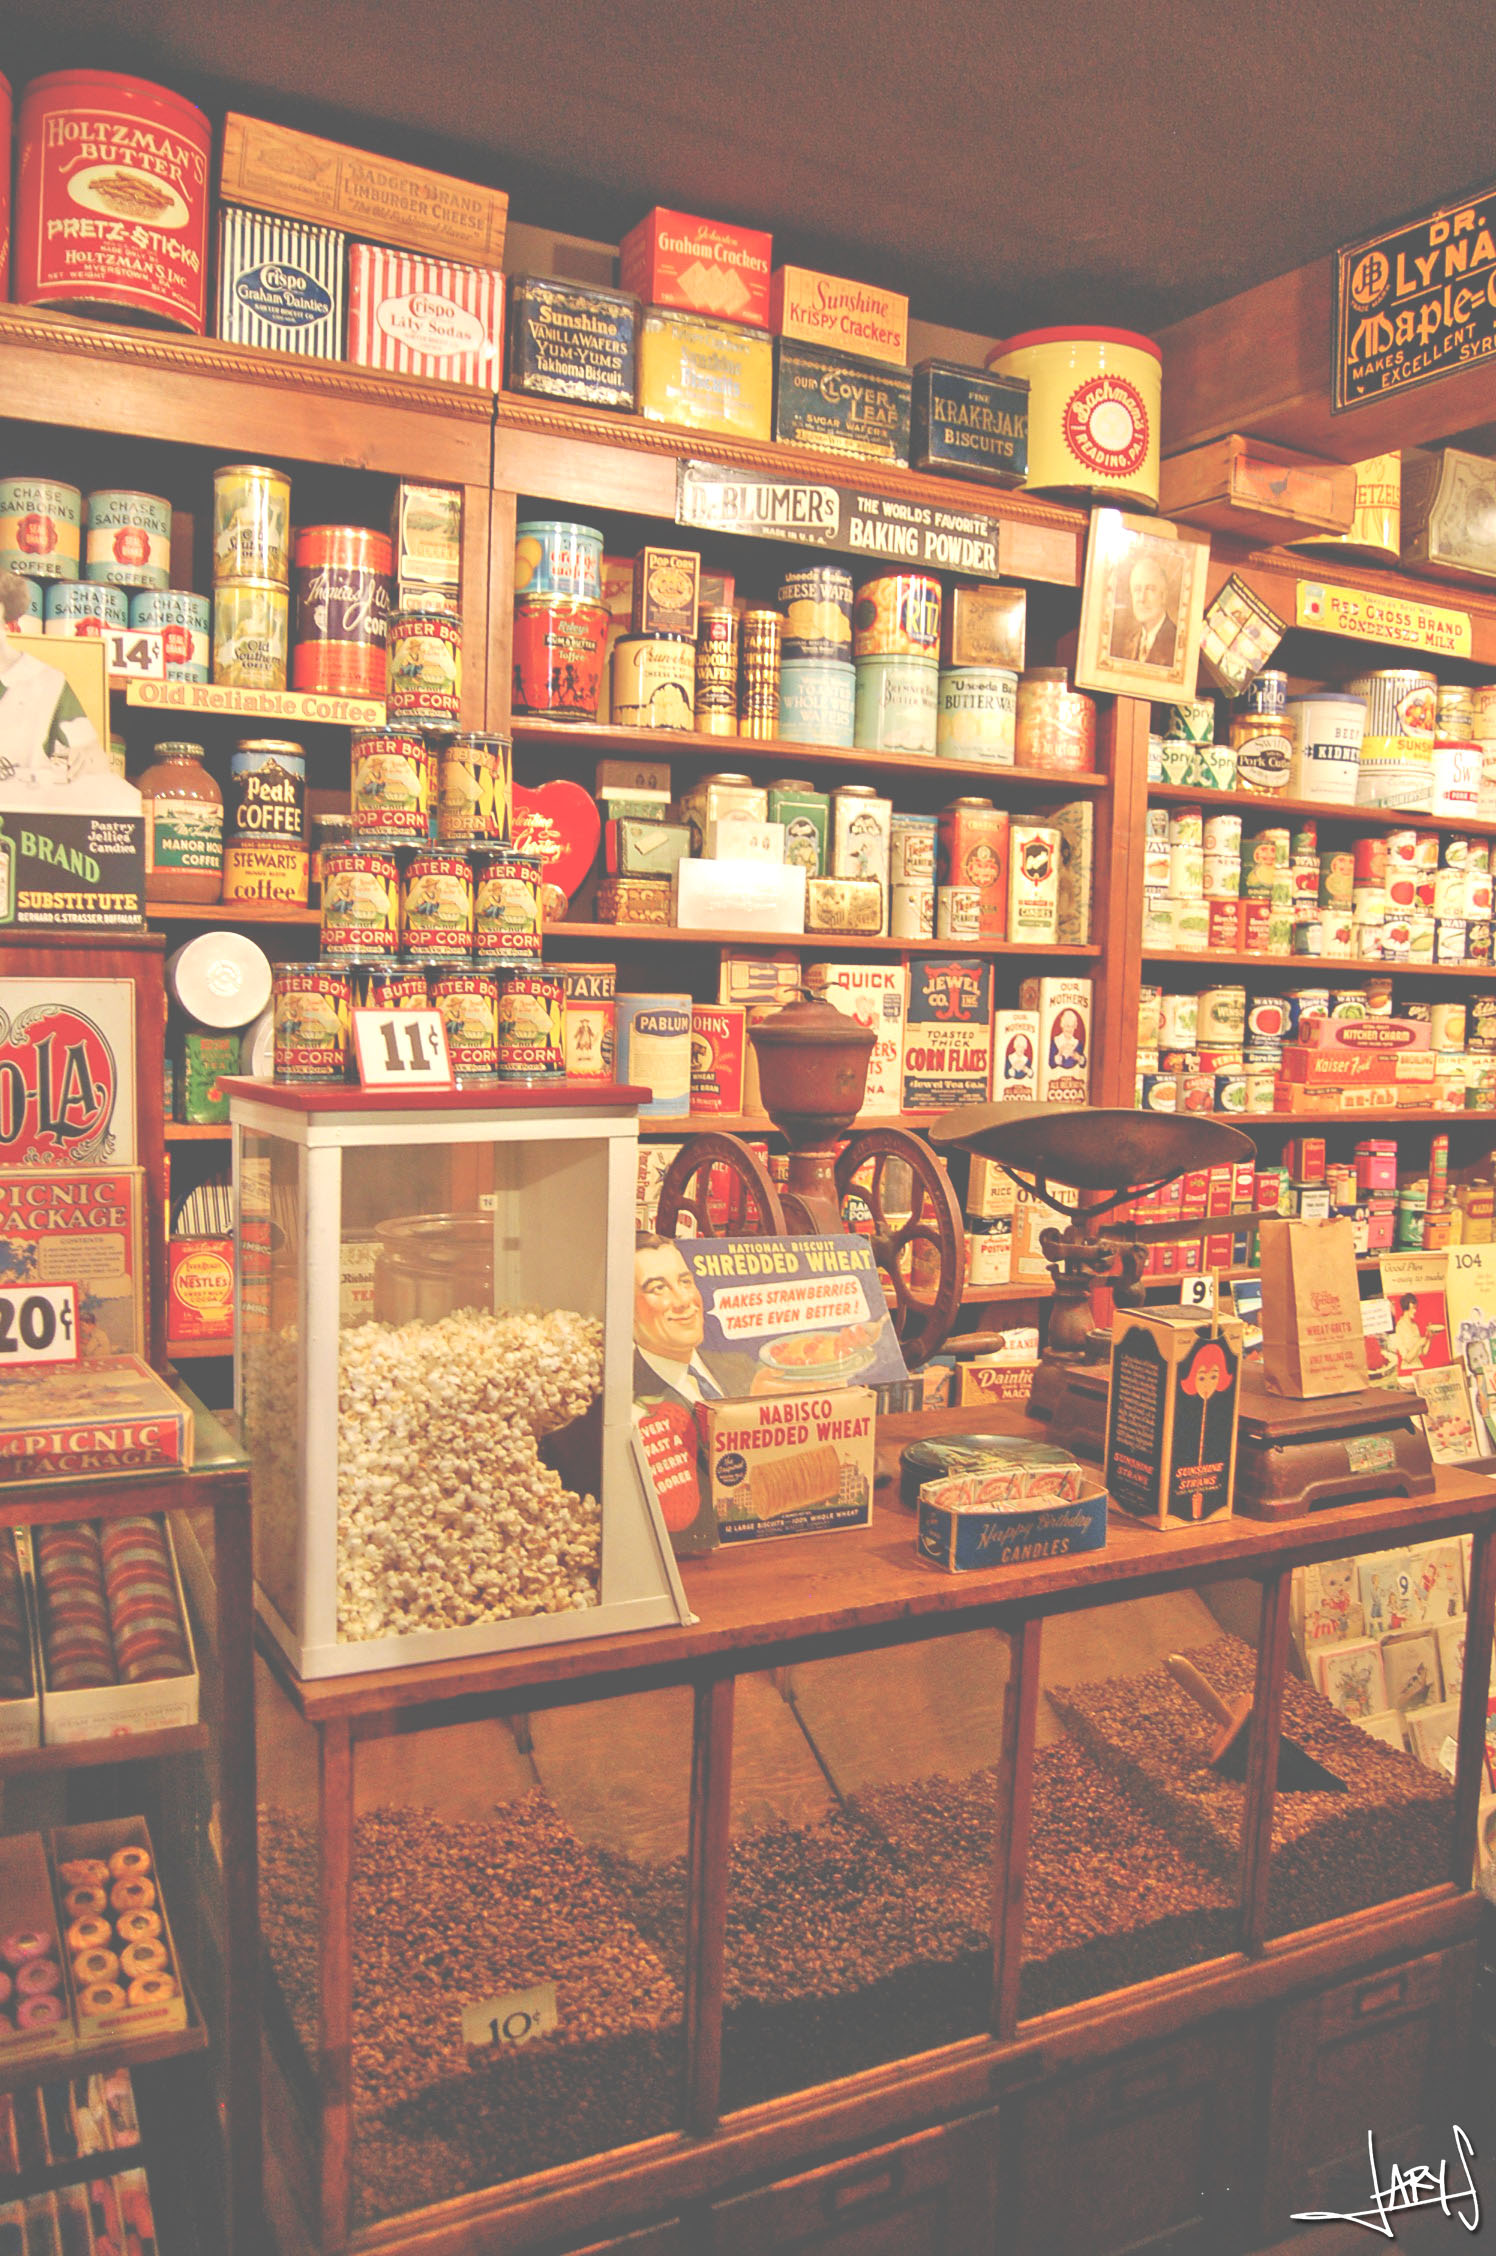
Monday, June 3rd, 2013
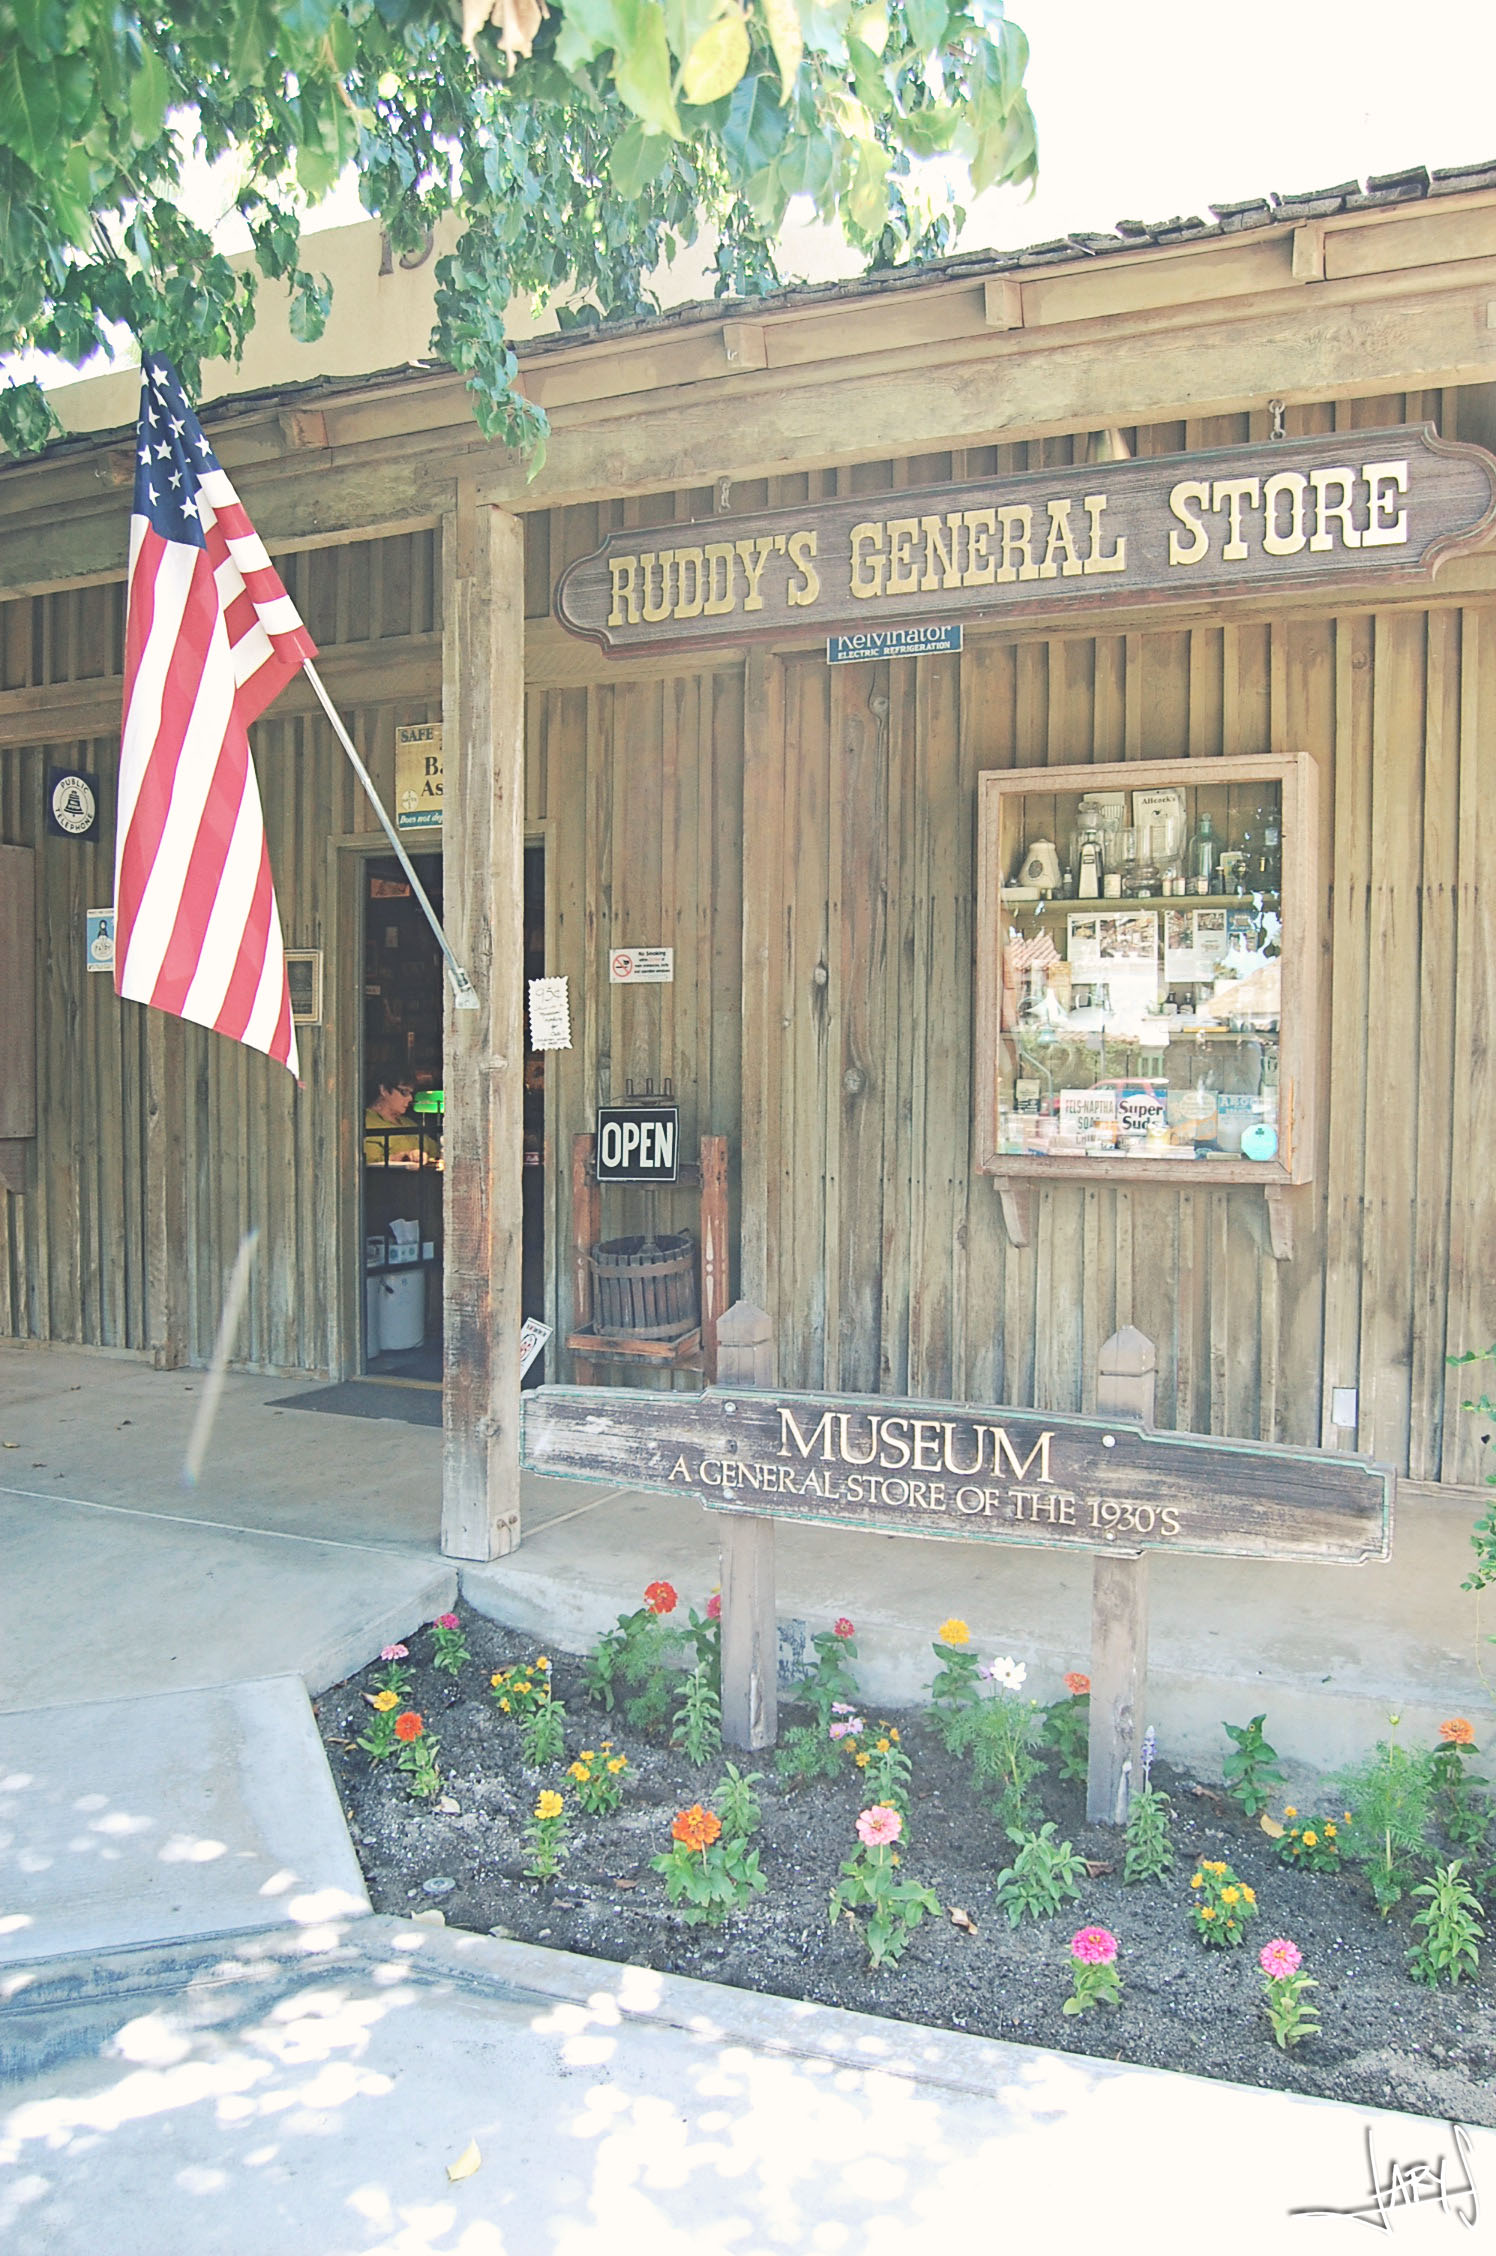
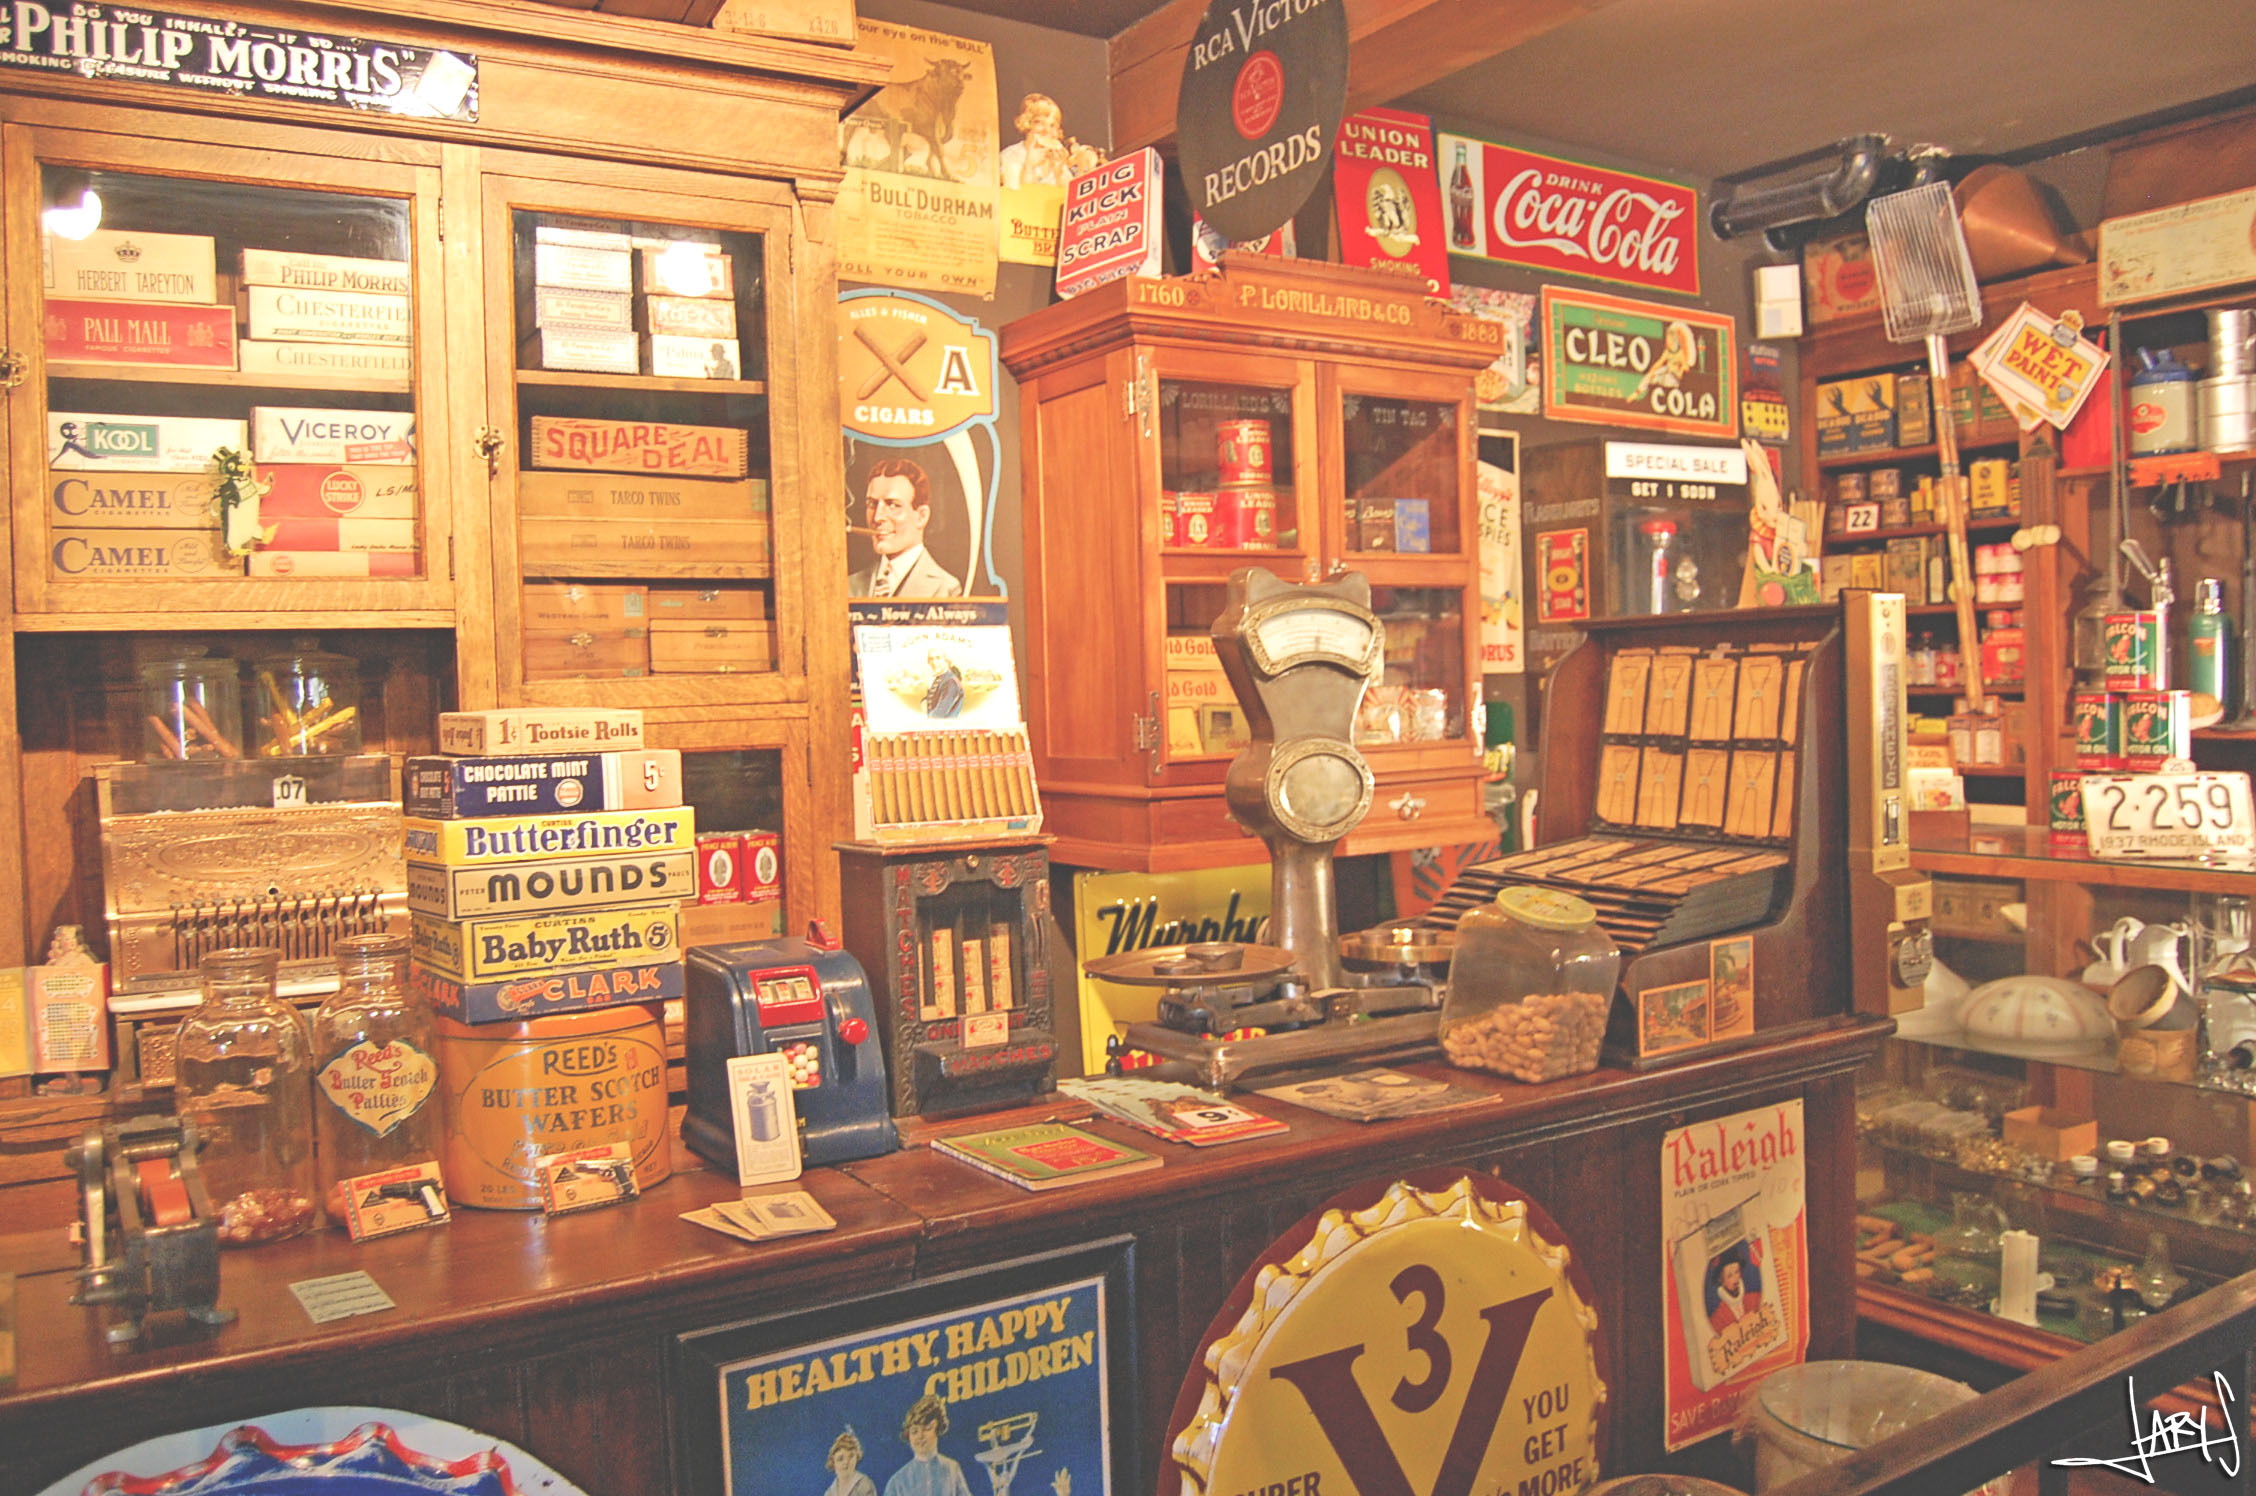
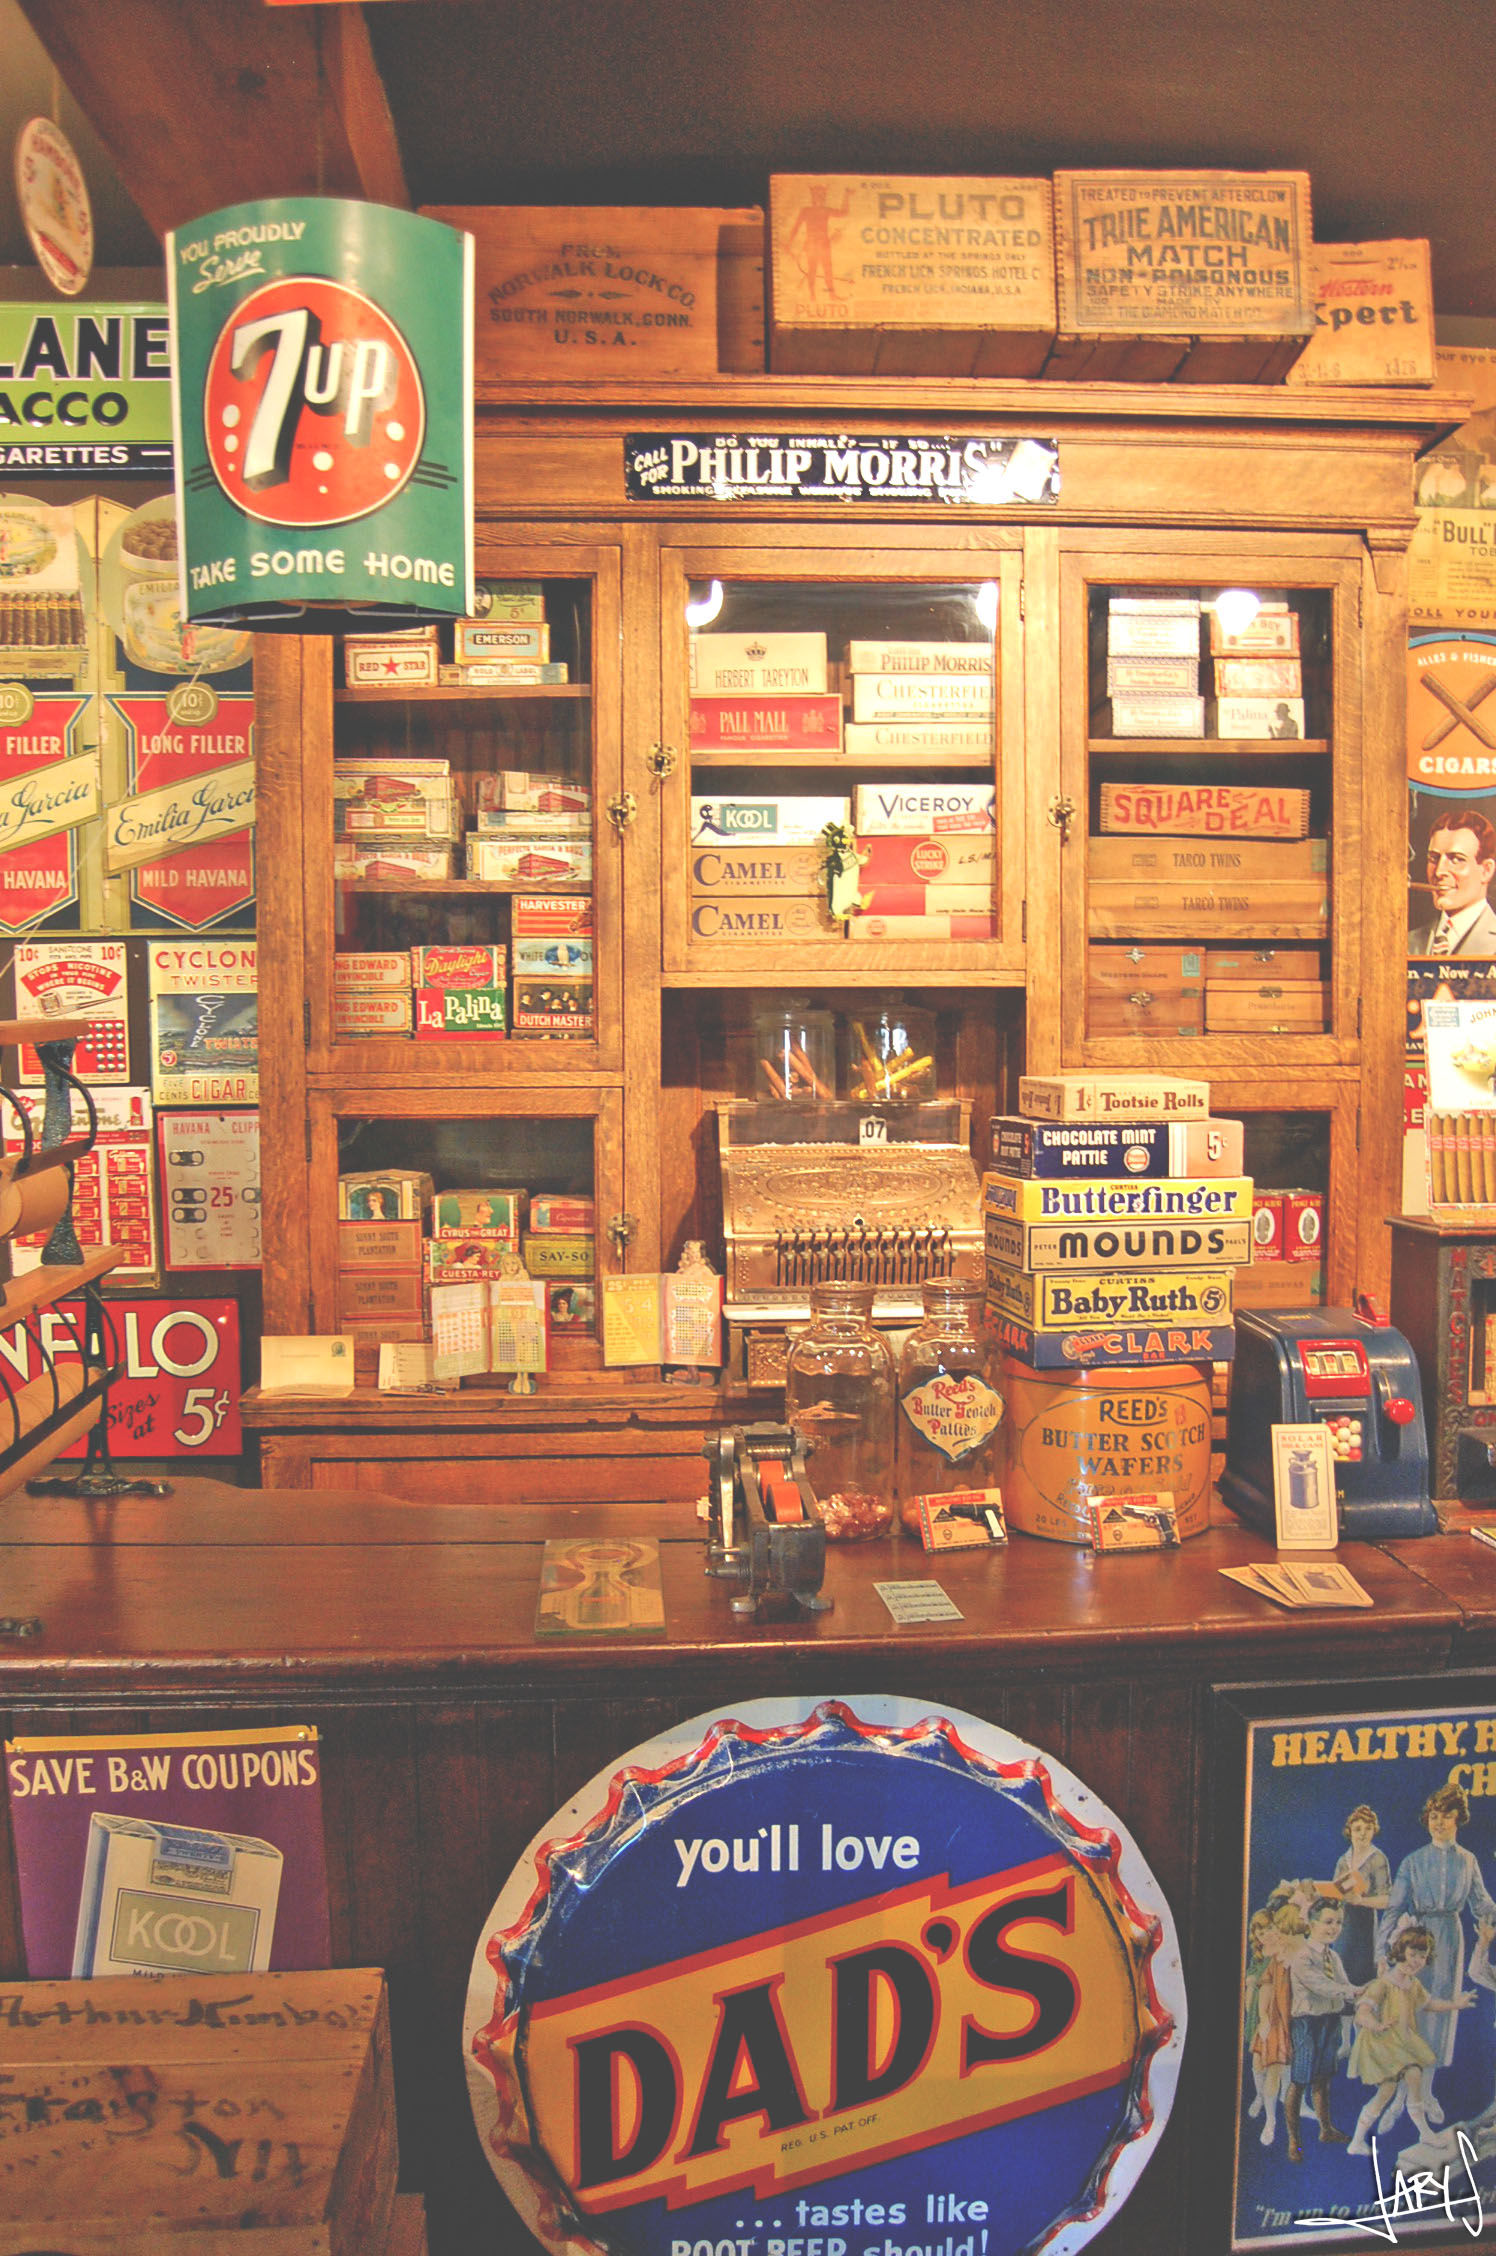
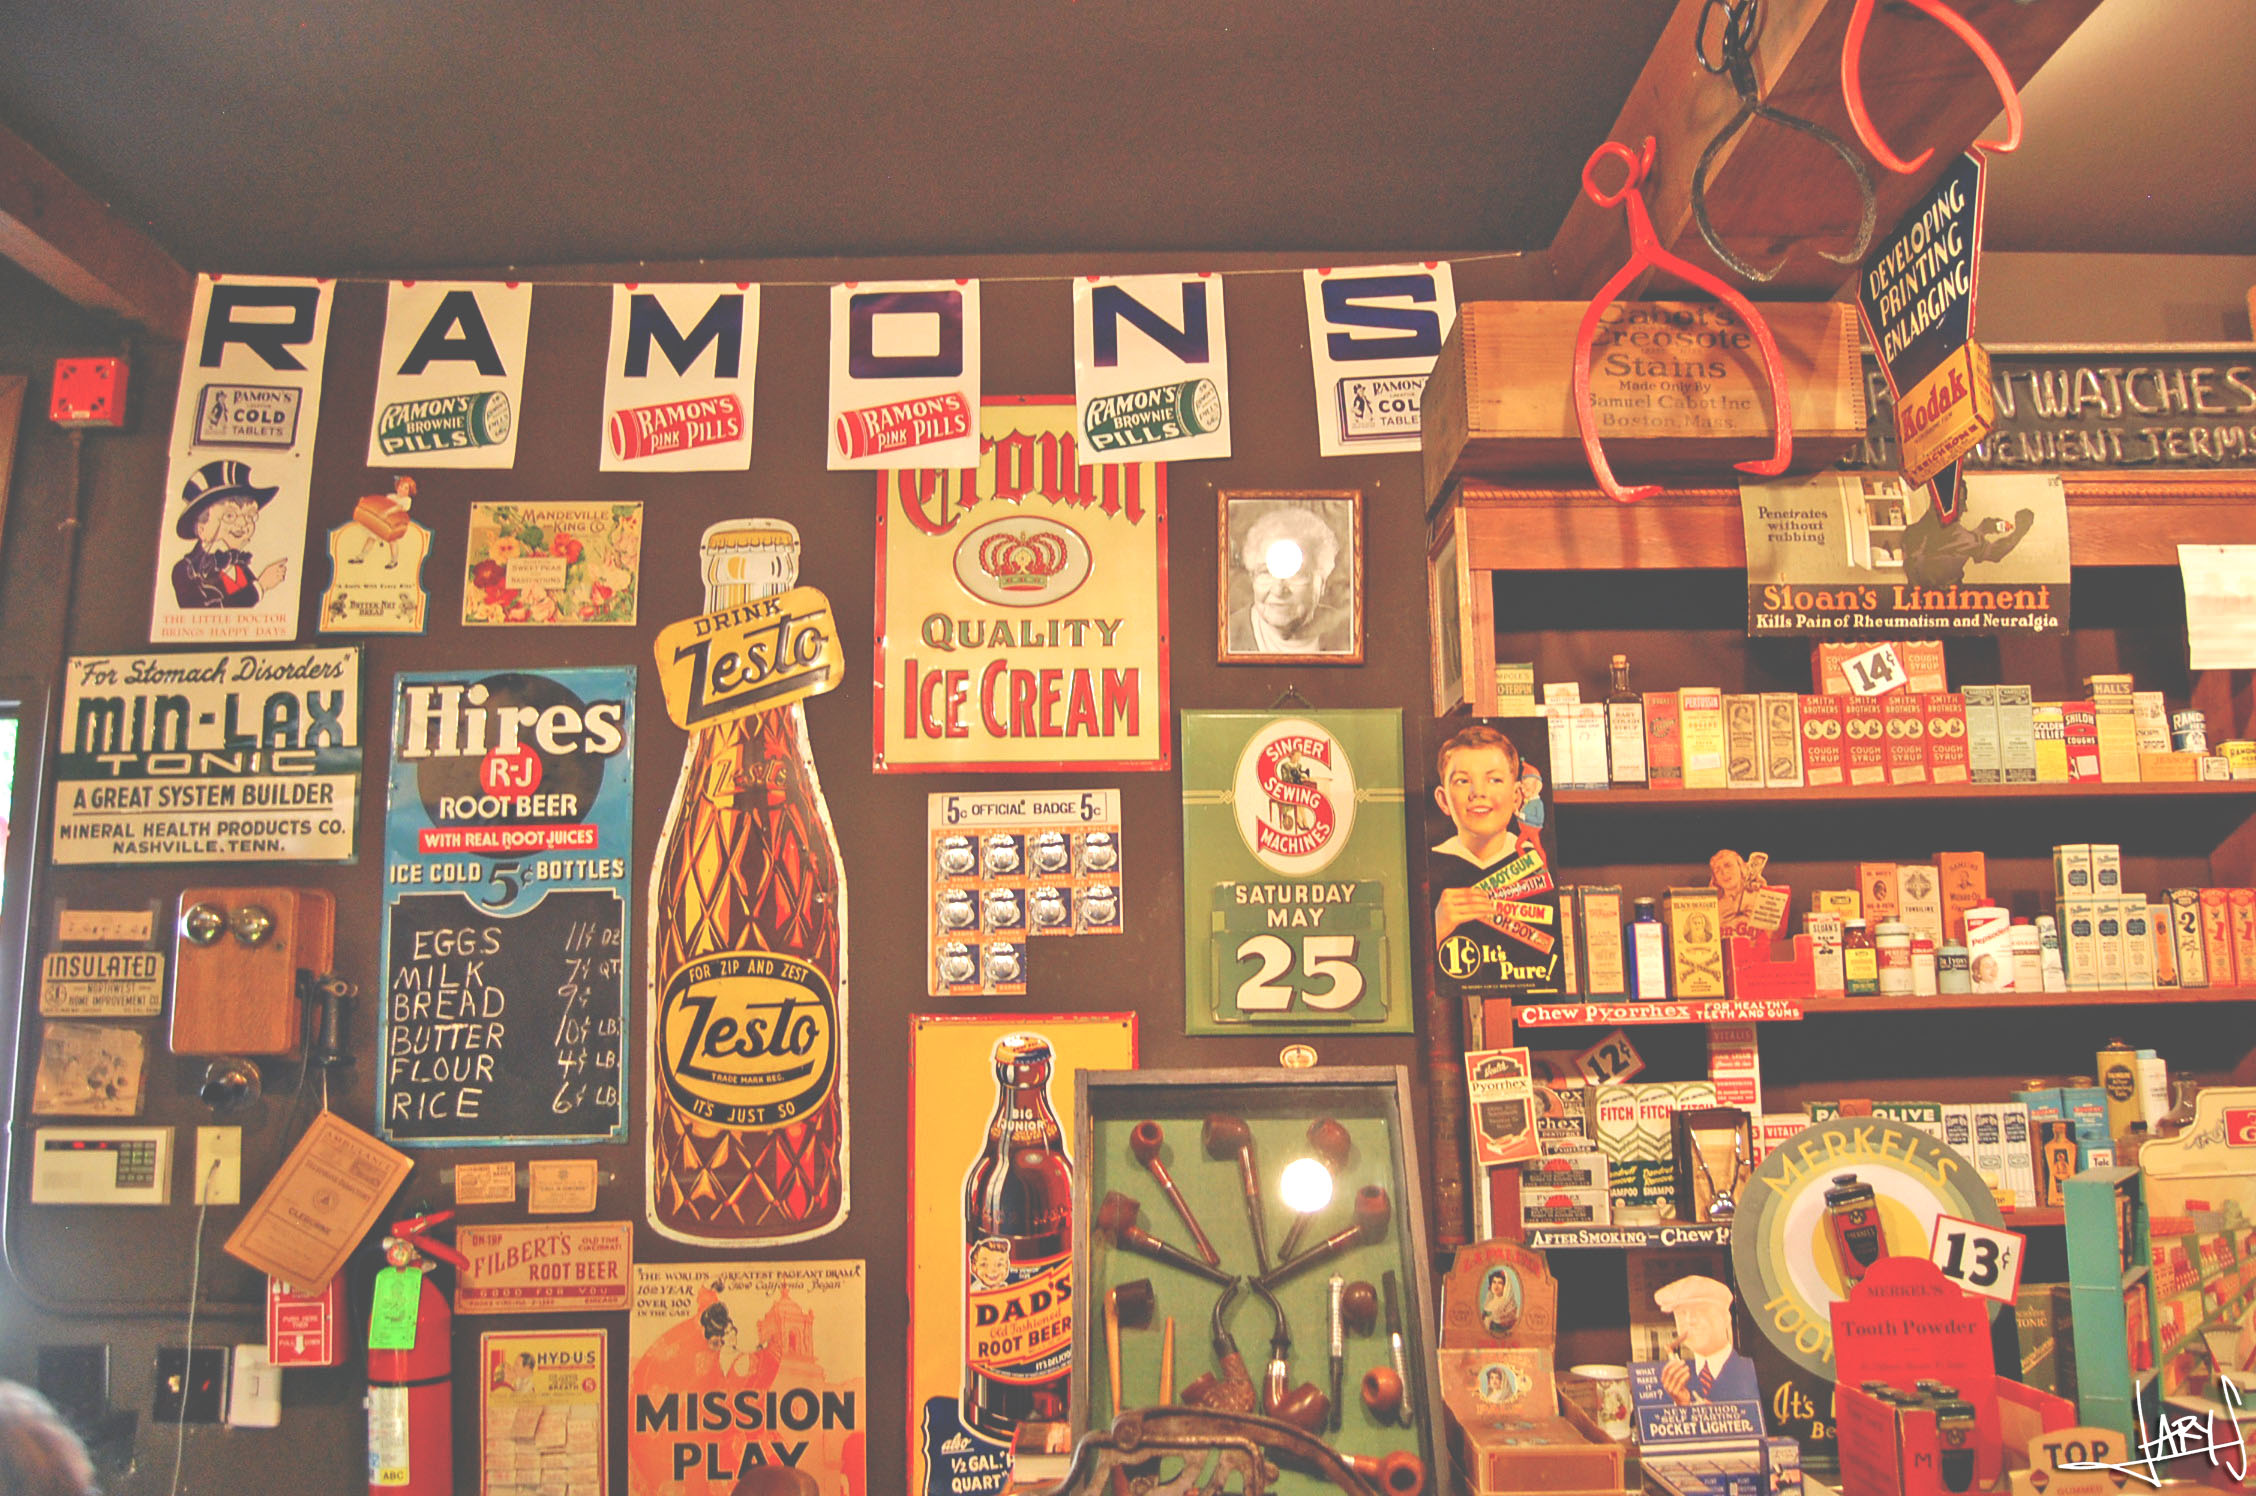
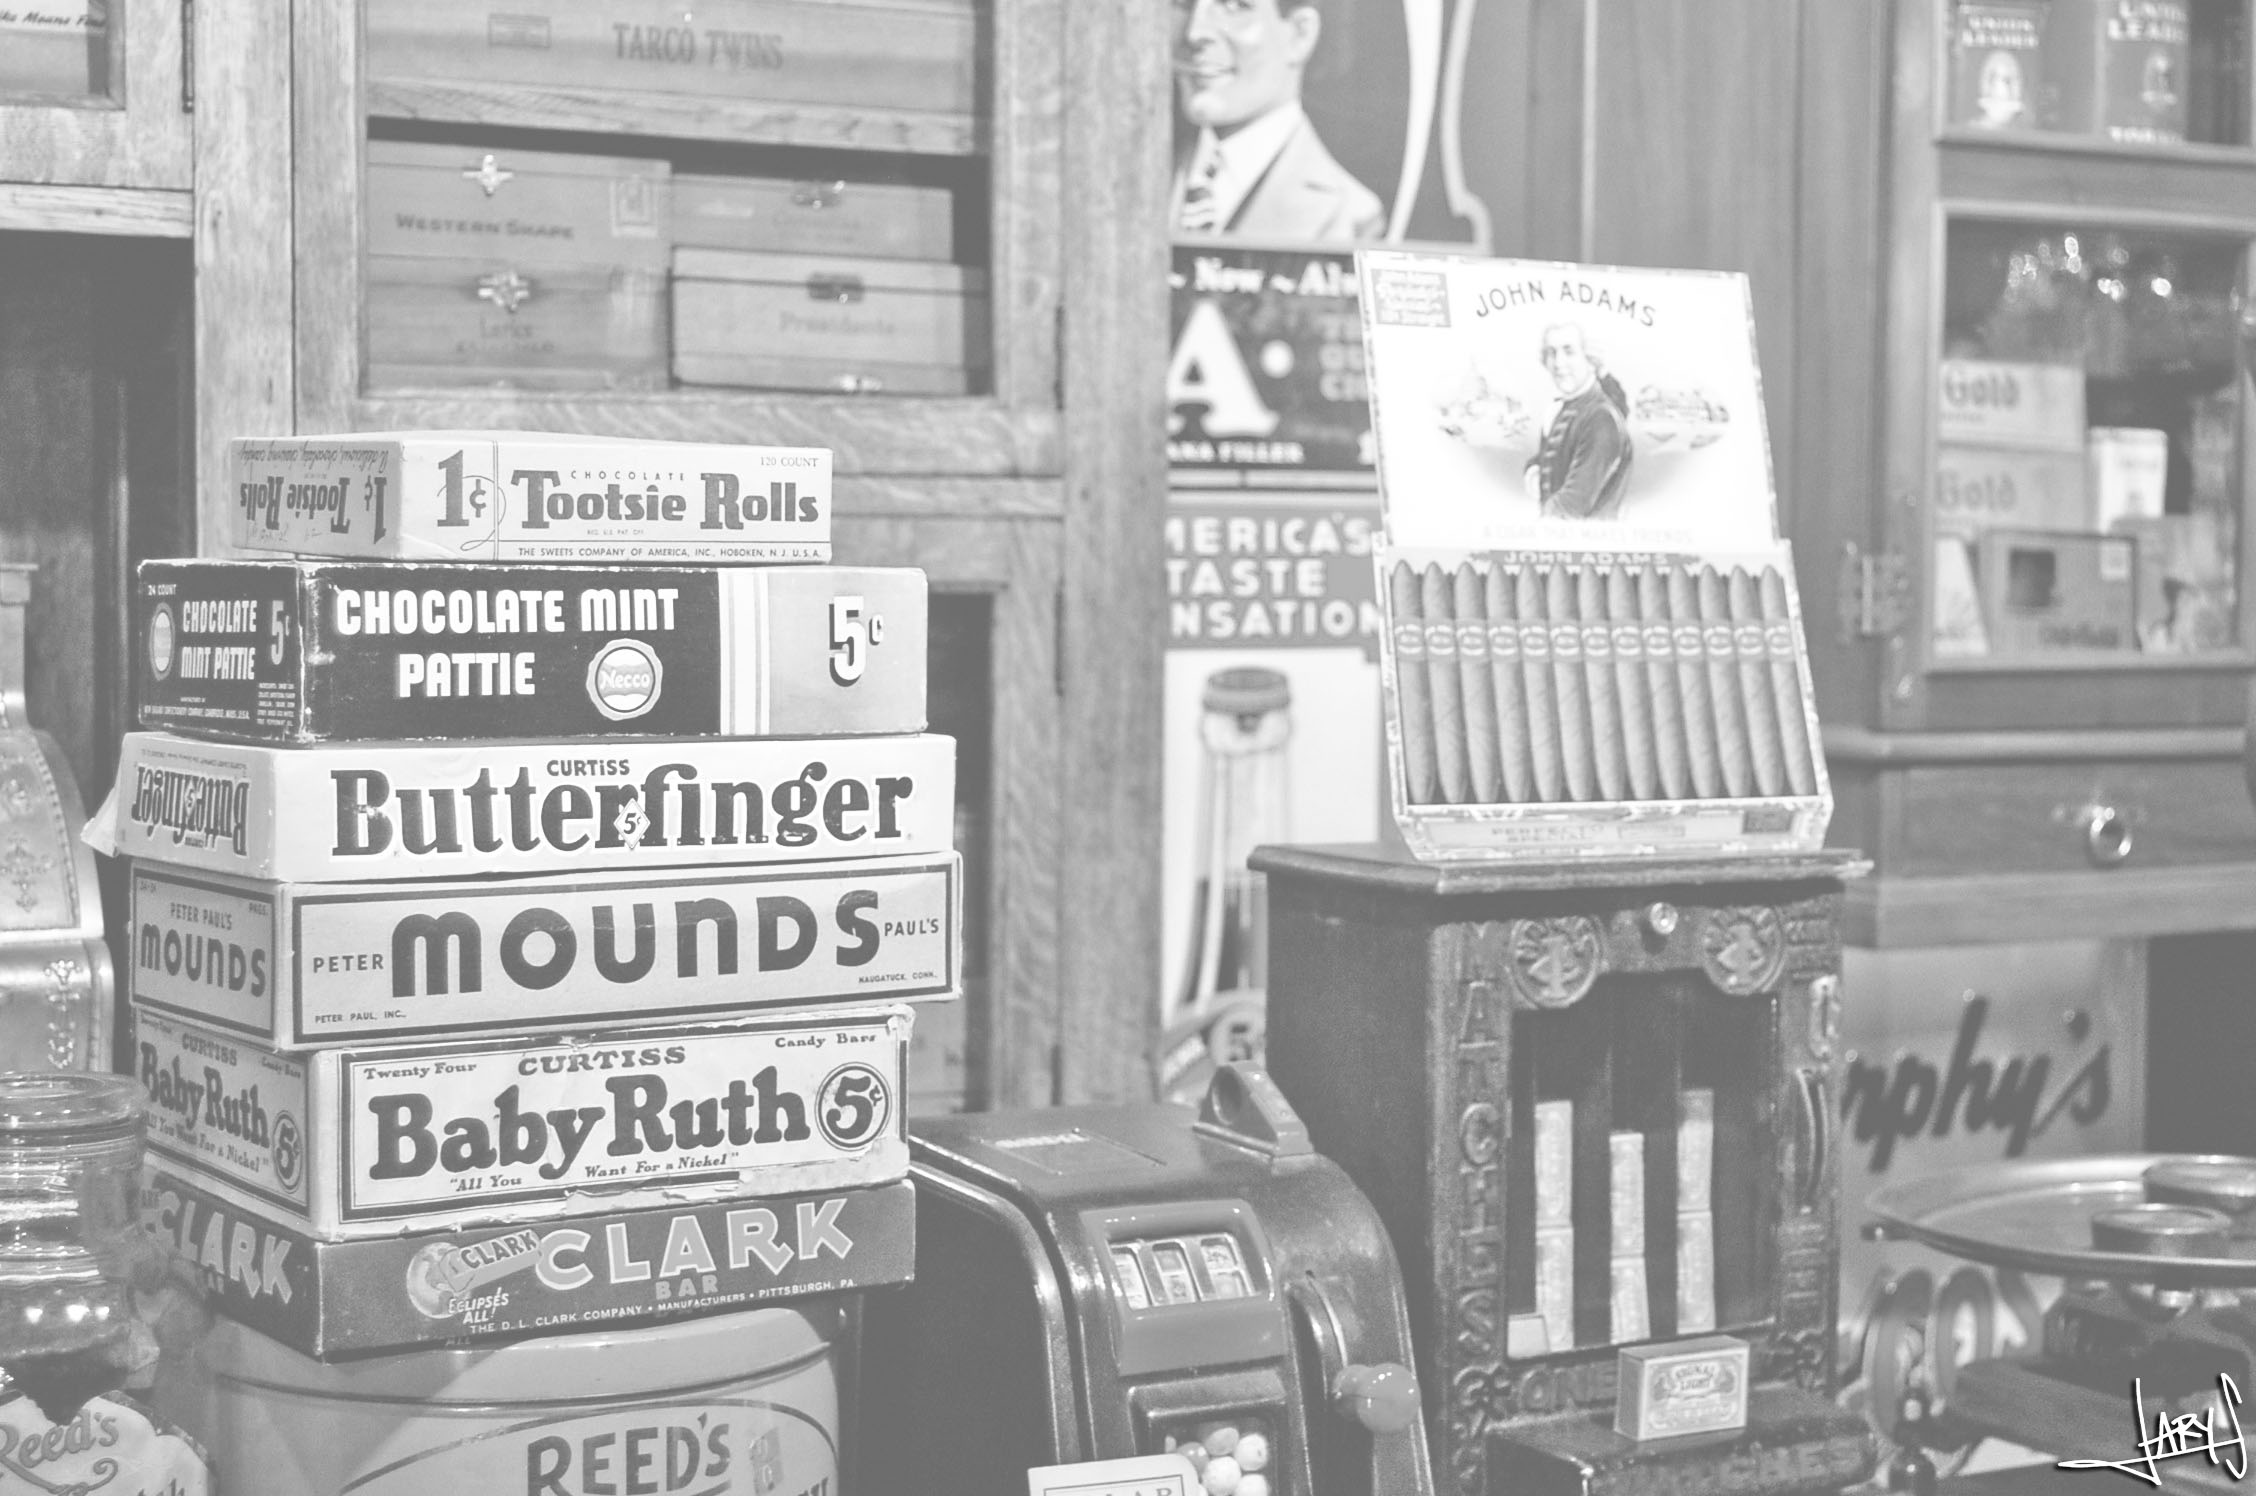
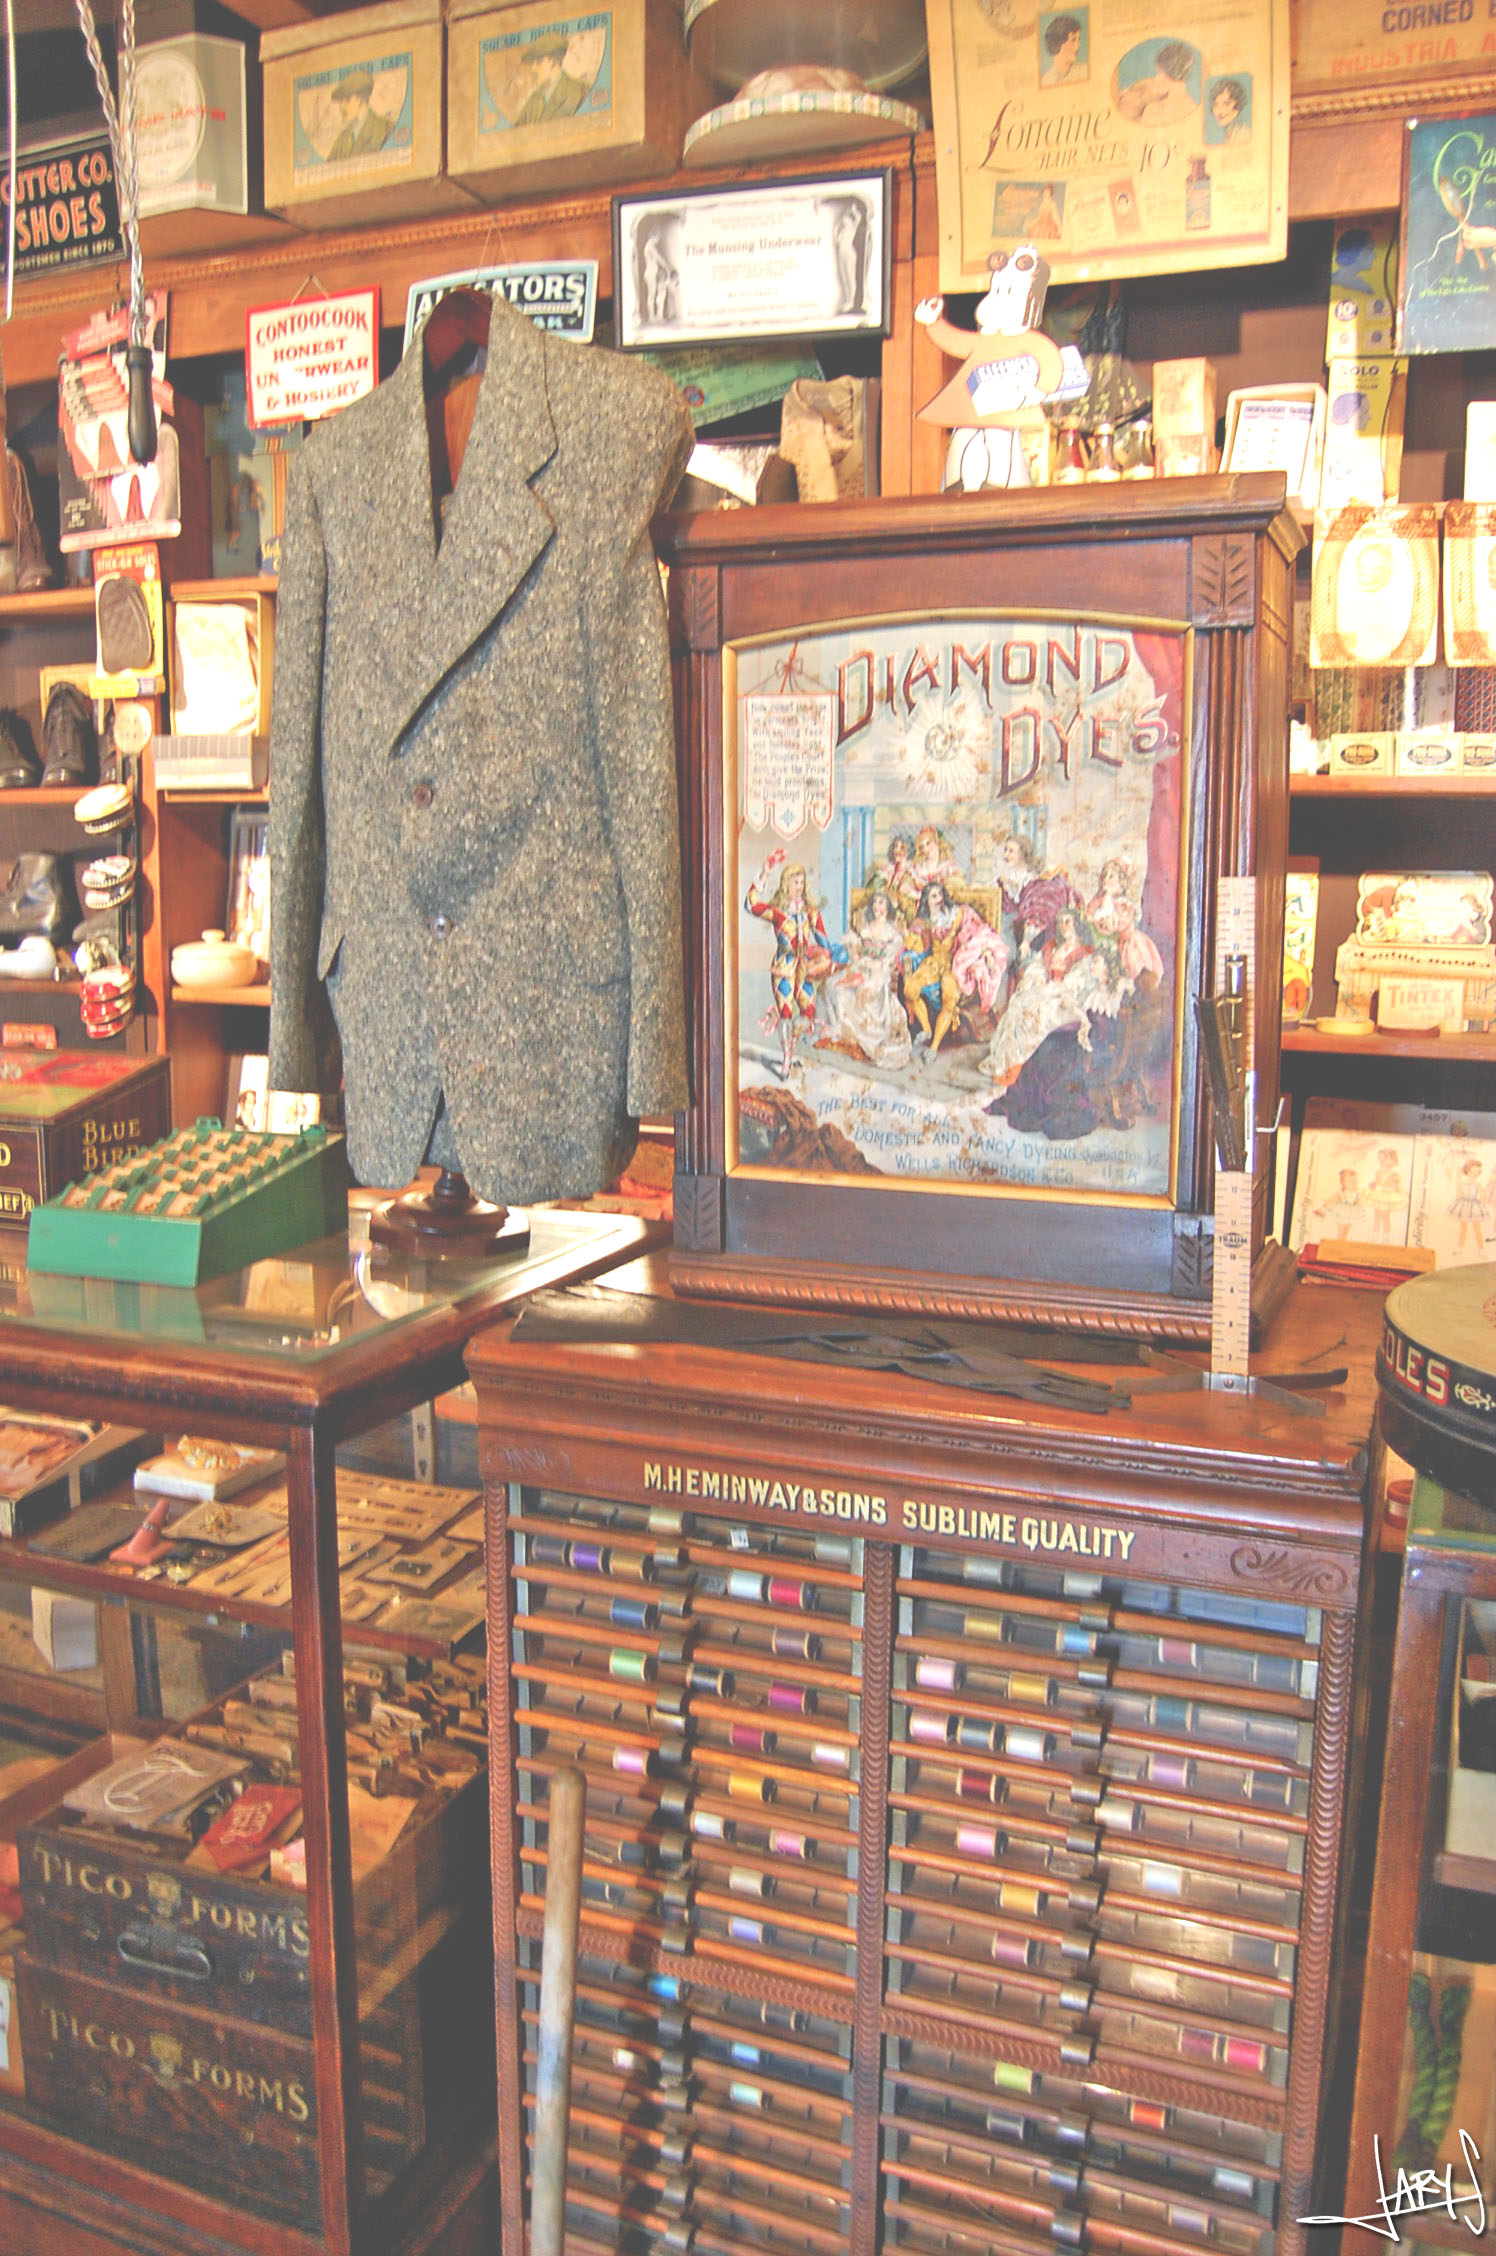
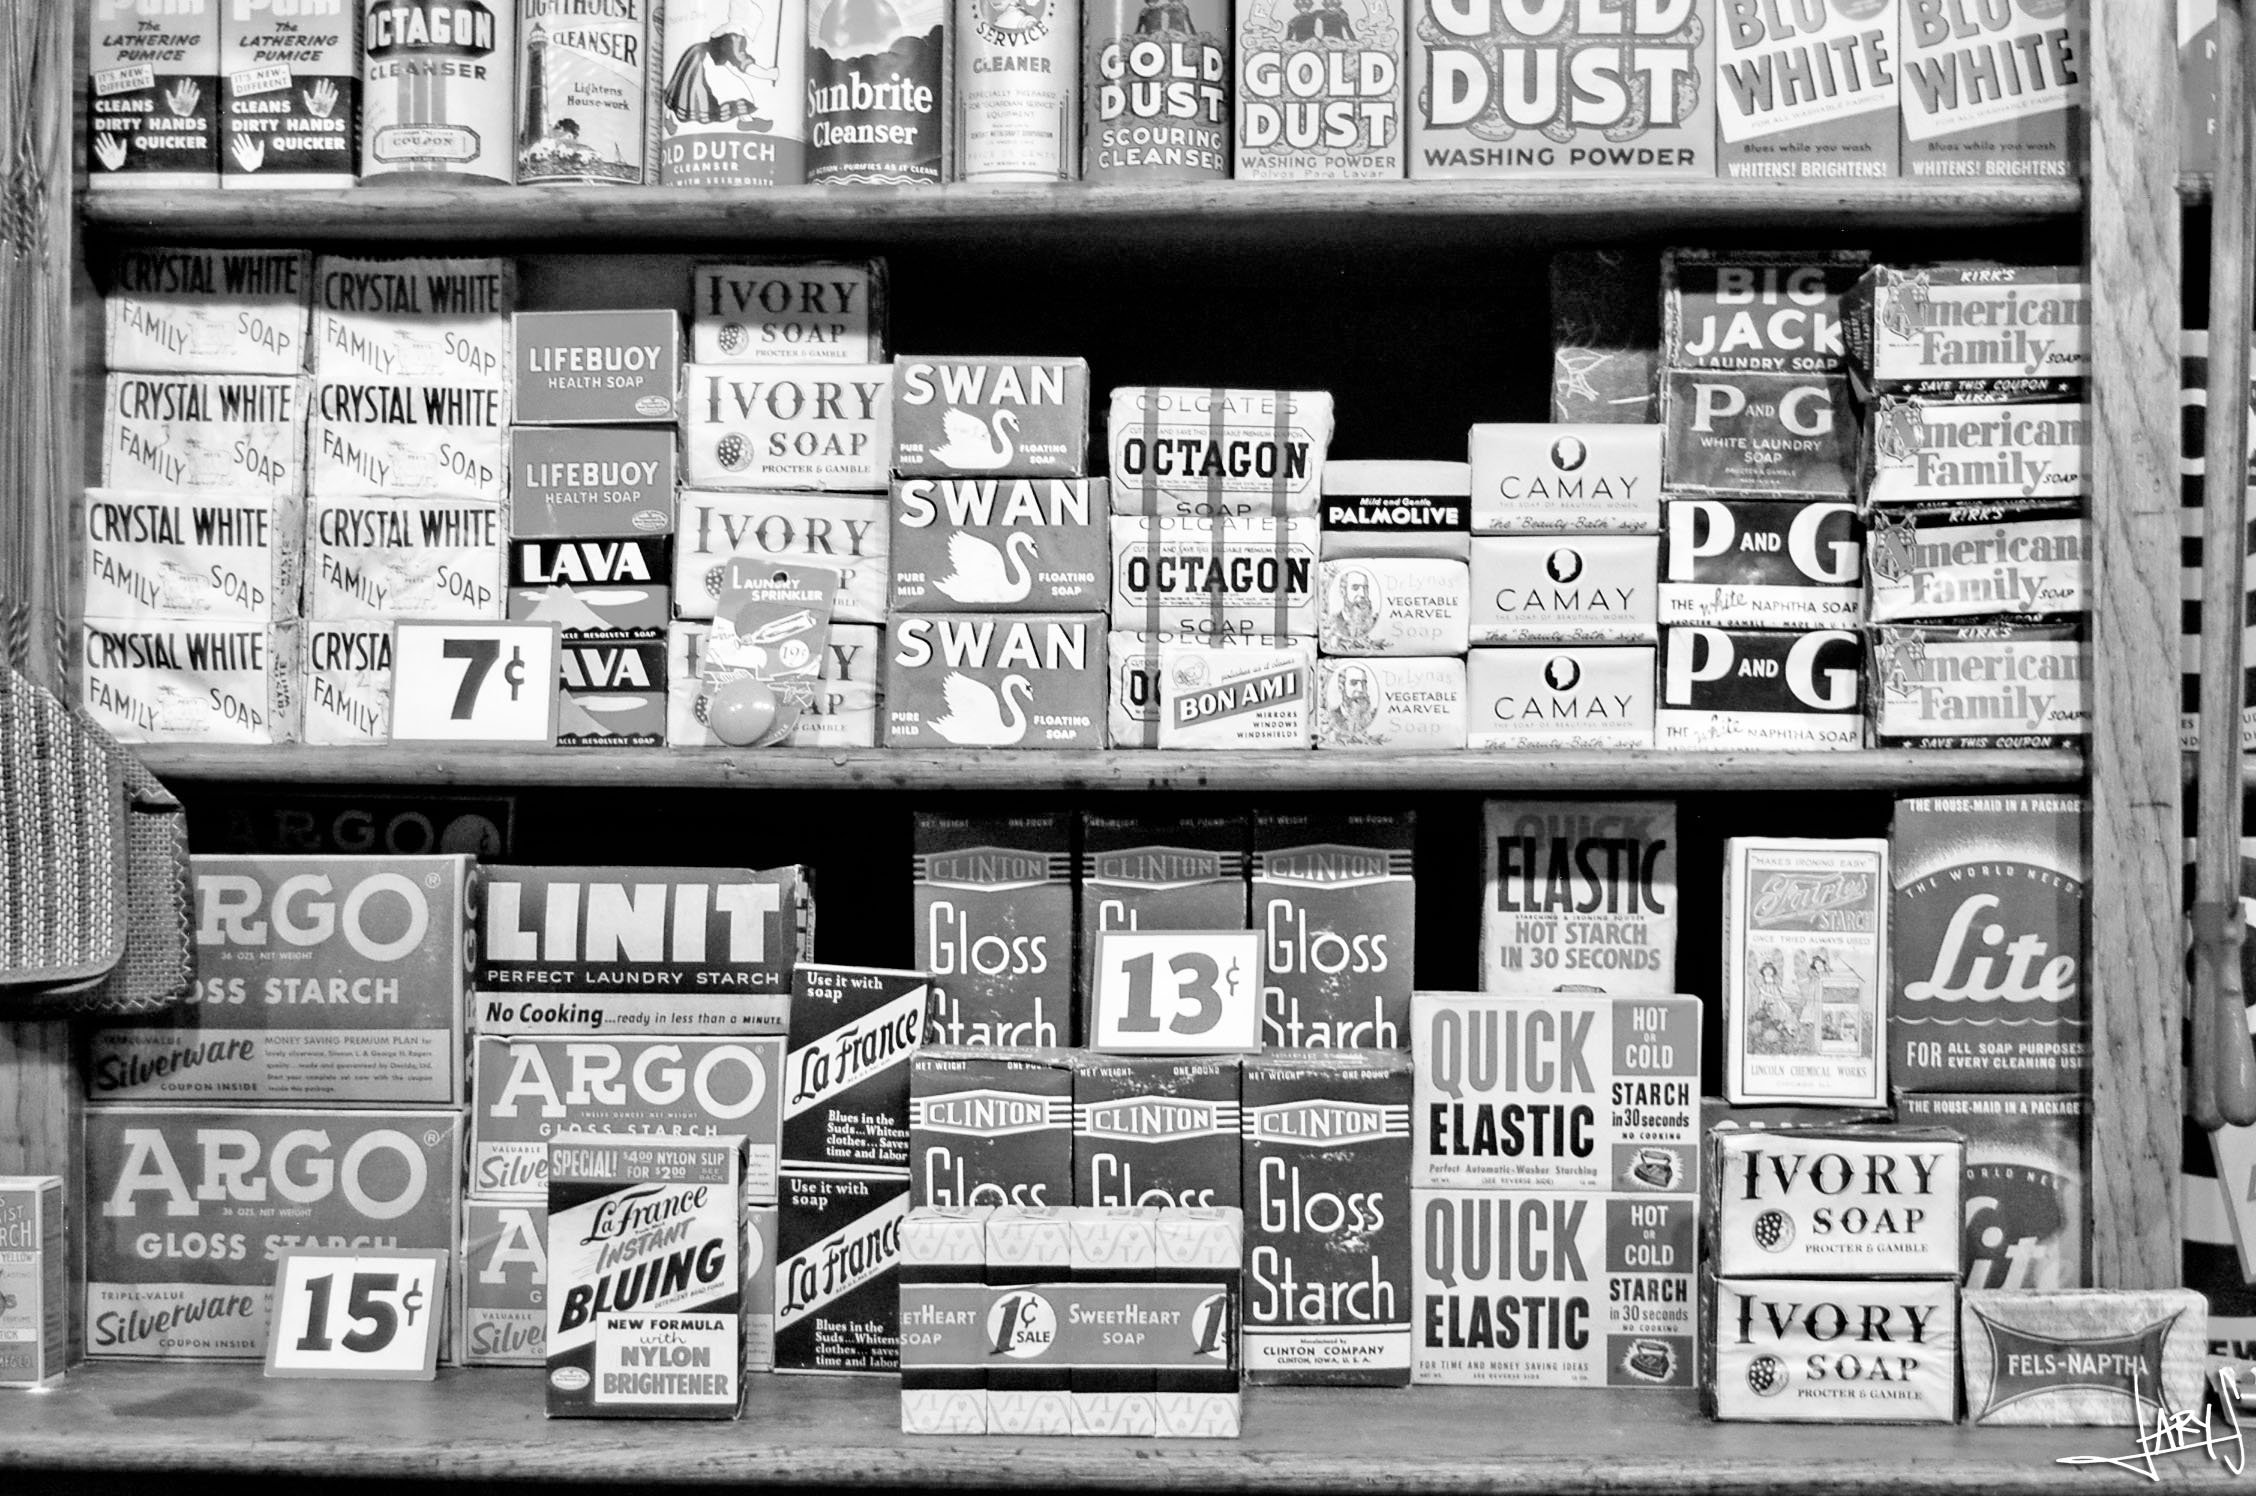
While at Palm Springs we ran into this cute little corner with different little museums. Ruddy’s General Store was so much fun. It was like going into a time machine. Not that I’ve ever been in one but this was pretty close to it. This place shows what a general store looked like back in the 30’s and early 40’s. All products are in their original packaging. If you are into any vintage advertising and design this little museum is a must stop. You only pay 95 cents to go in. How awesome is that?

Thursday, May 30th, 2013
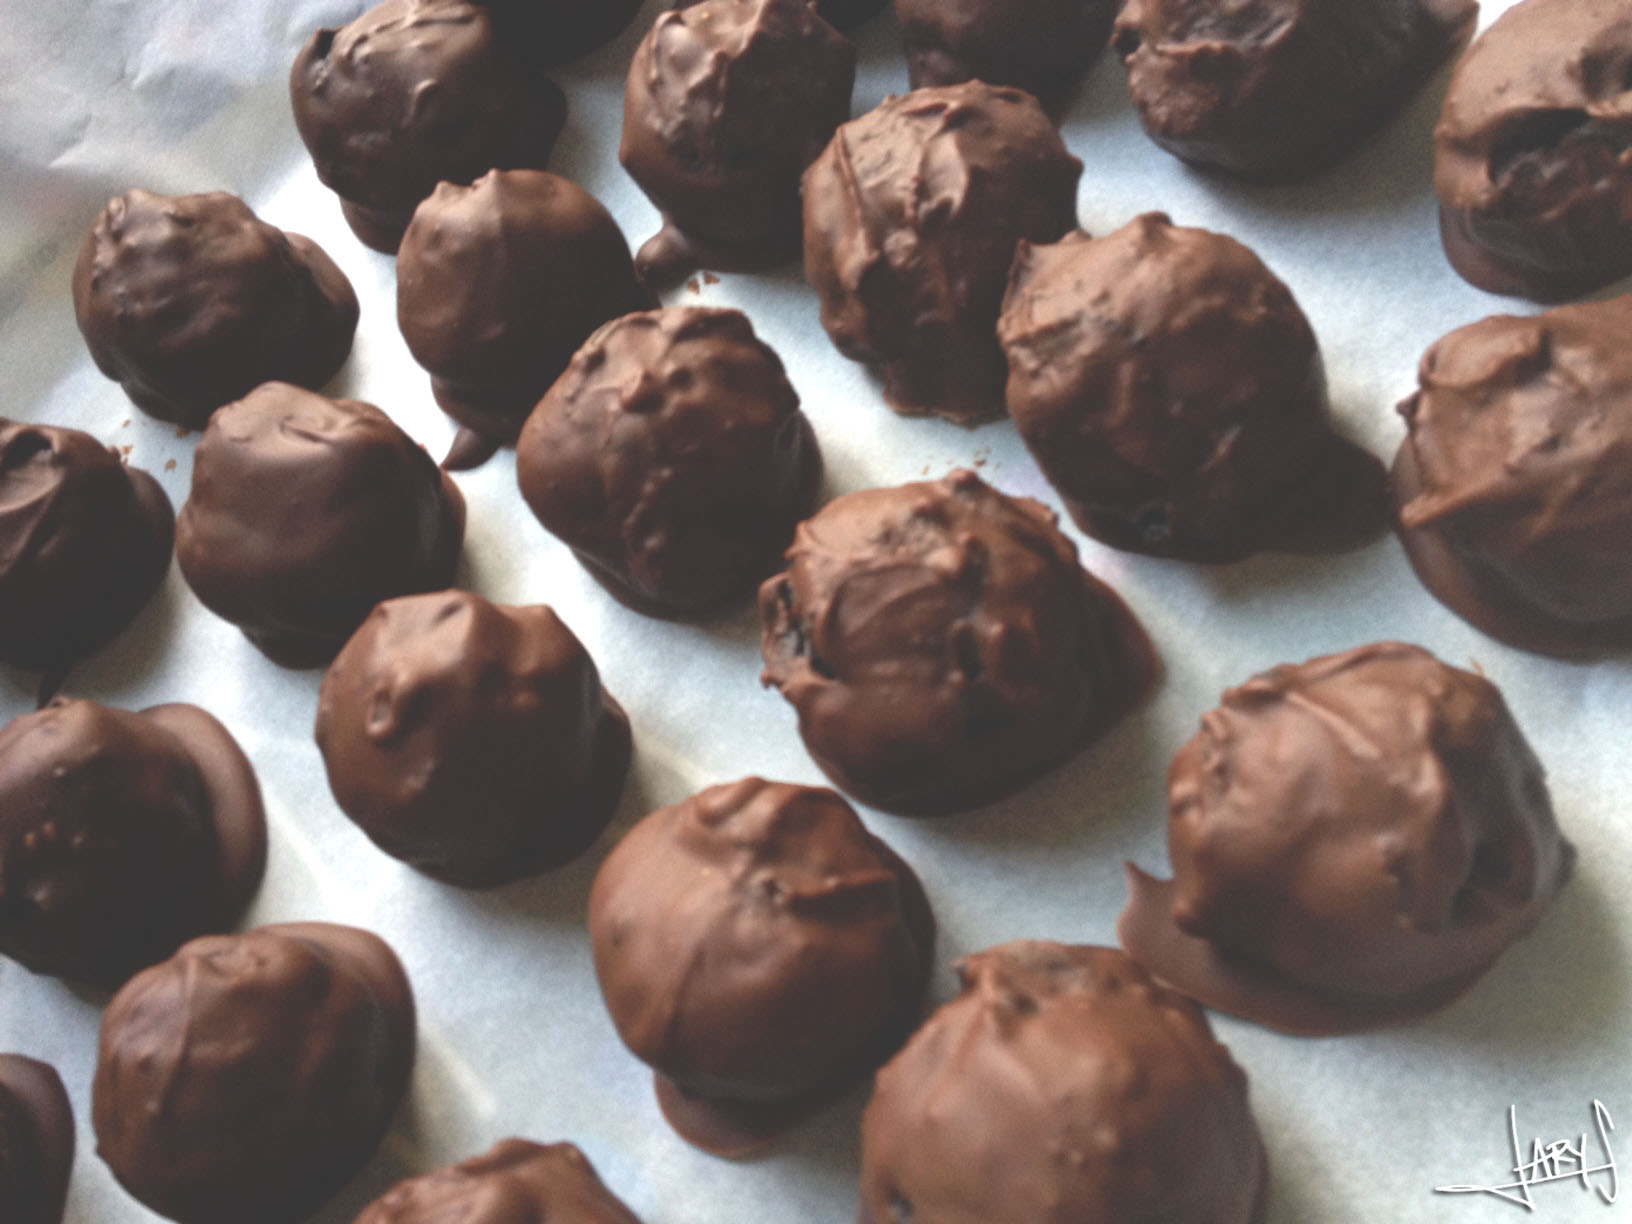
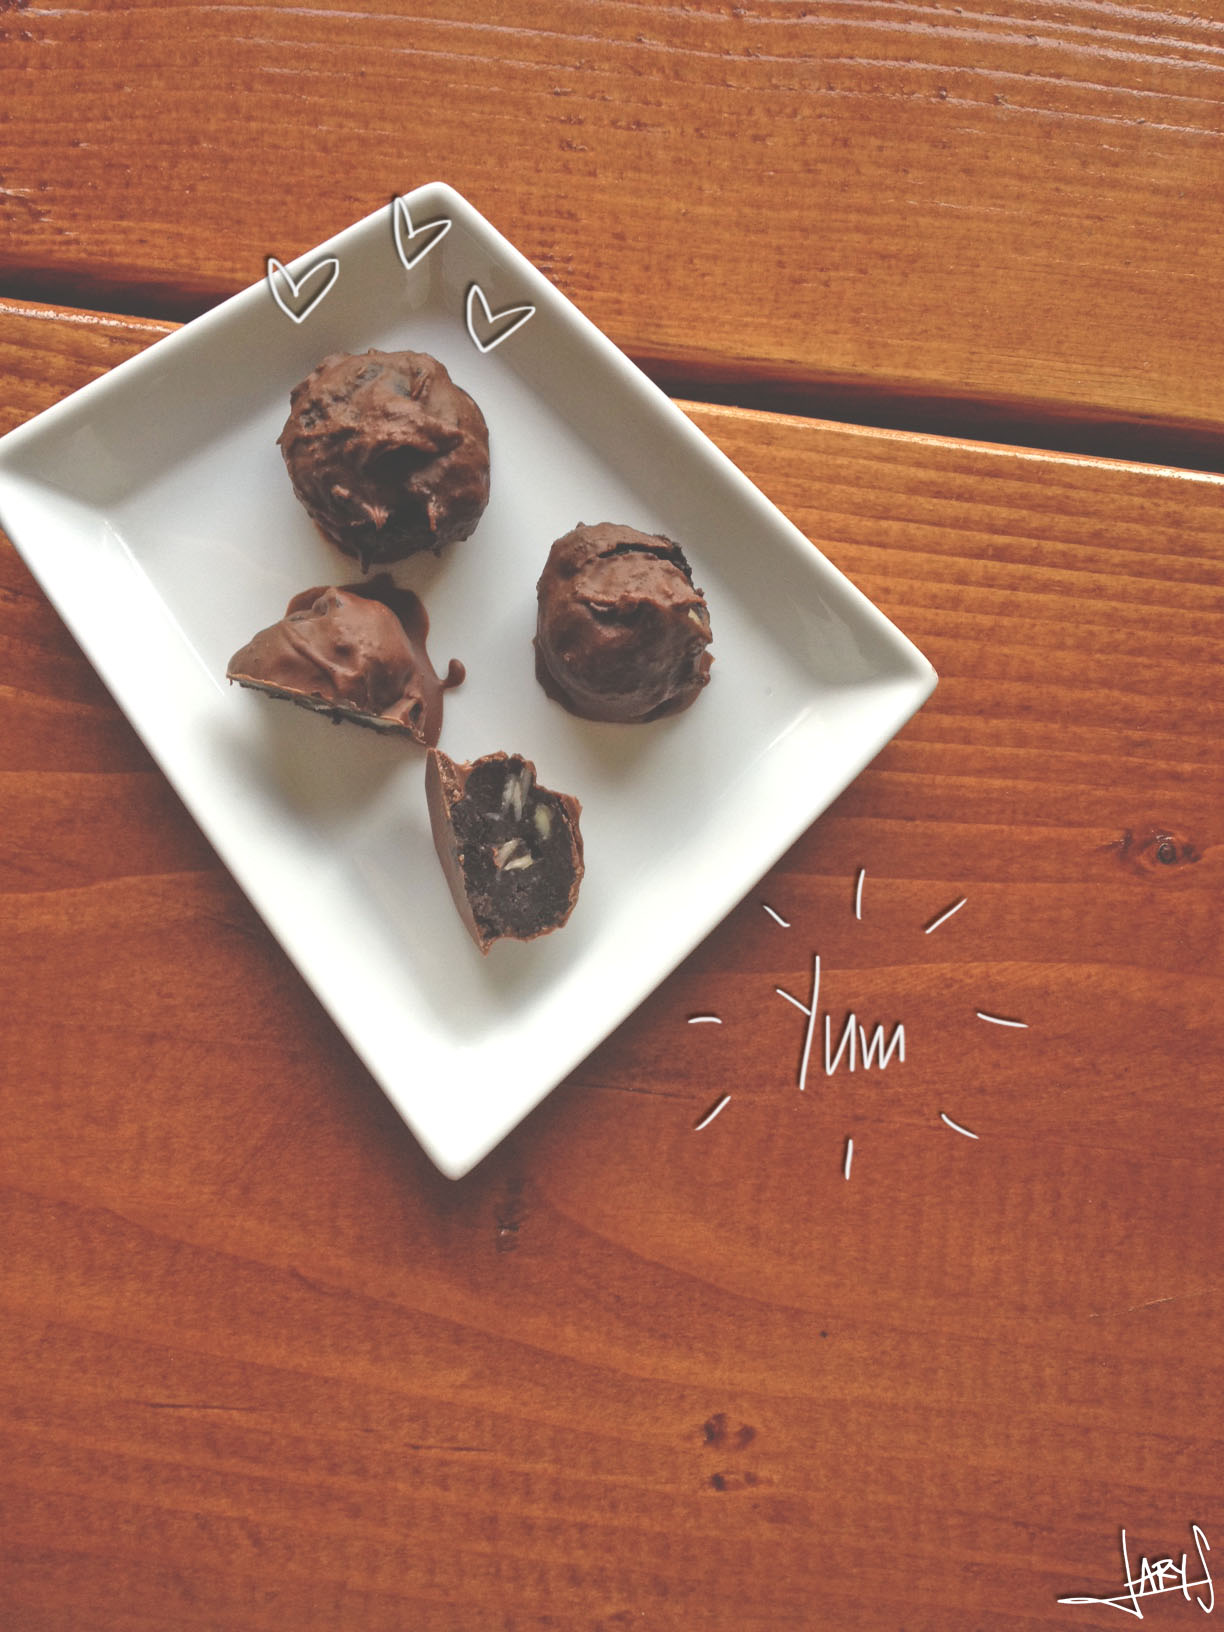
Last week I was trying to come up with something fun for a potluck at work. After a phone call with my mom I ended up with this recipe. Who knew my mom would come to the rescue instead of Pinterest? (Thanks Mom!) The ingredients are simple, the process is not too hard. Just imagine… Oreos + Almonds = Yum!
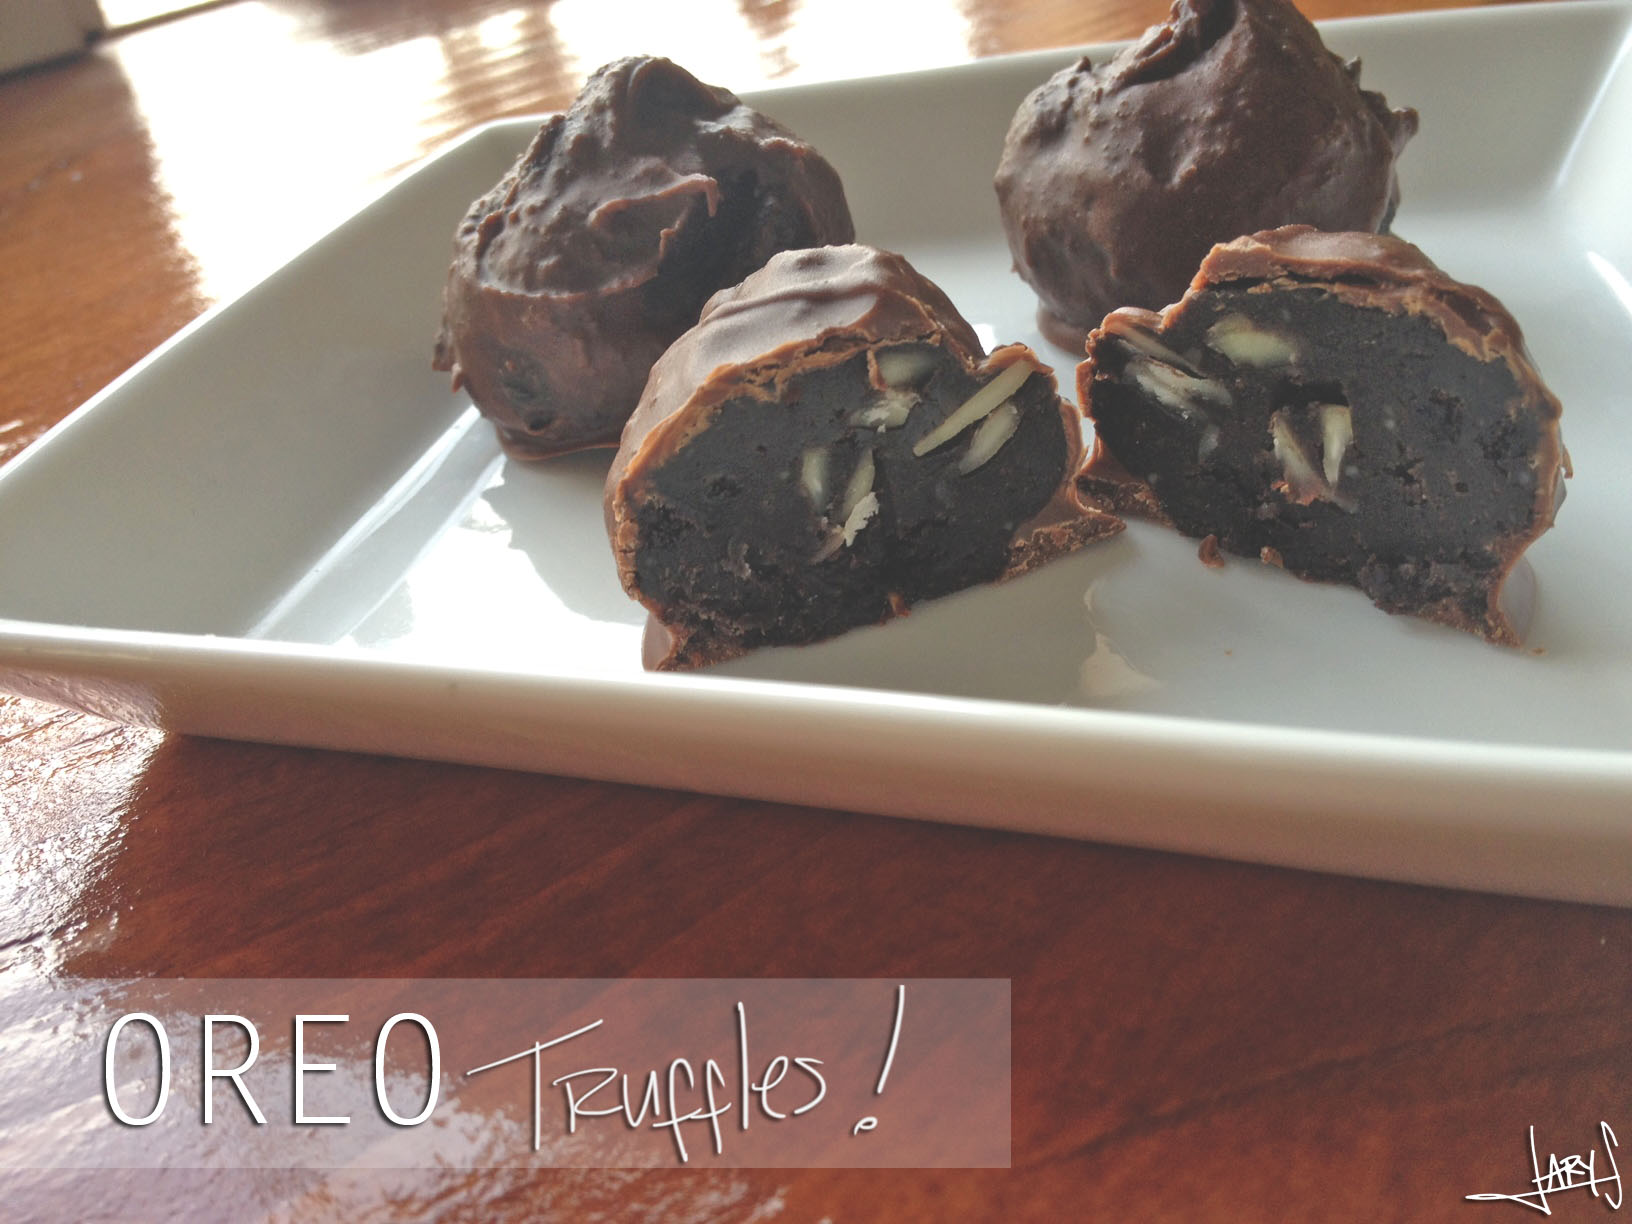
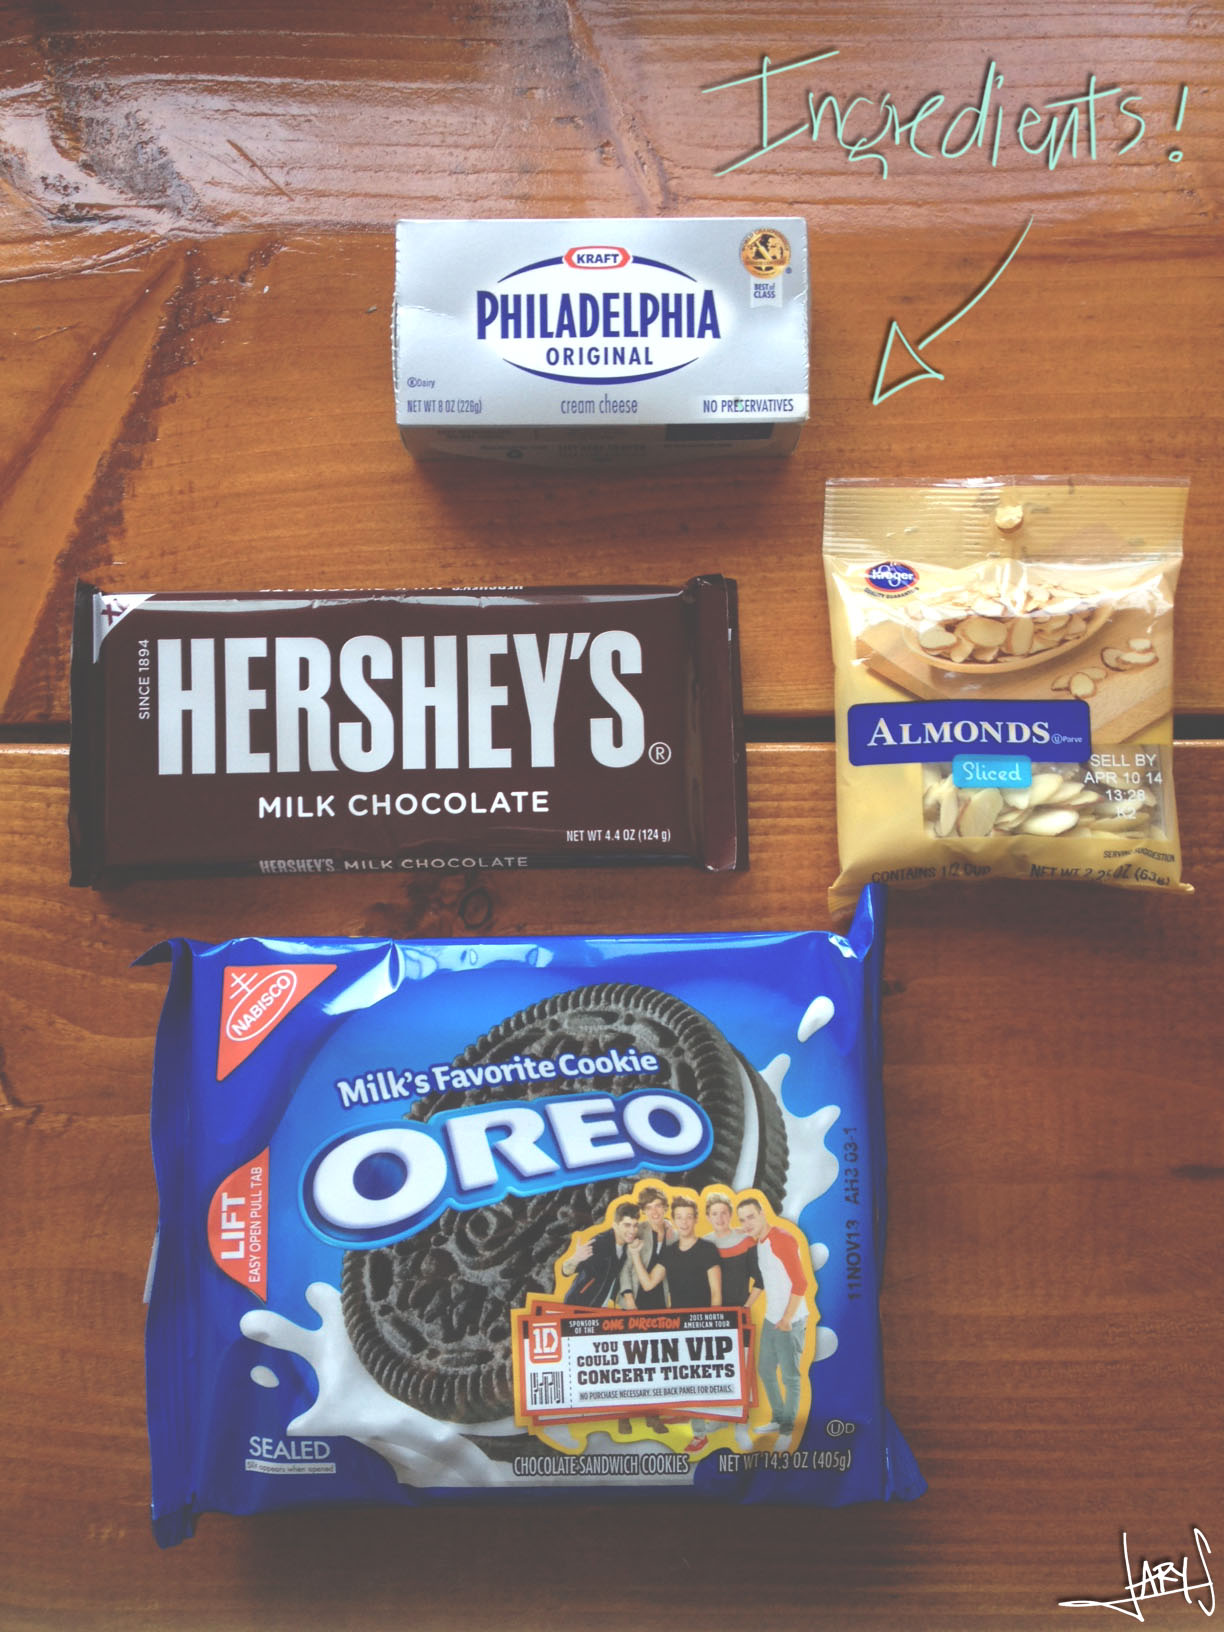
What you need is one package of Oreos, one 8 oz. package of cream cheese, two 4.4oz Hershey’s chocolate bars and sliced almonds to taste (I added almost the full little bag). Start by mashing up the Oreos, you can either use a food processor, blender or a Ziploc bag. Next you combine the Oreos, cream cheese and almonds together in a bowl. In the end you will have a dough like mixture. Put it in the fridge for an hour, or if you are in a rush, in the the freezer for like 25 minutes. Next, you simply form the dough mixture into balls (golf ball size or smaller). Melt the chocolate bars in a pot and roll the balls into it. I found a melon baller to be very helpful to dip the balls into the melted chocolate. Place them on a baking sheet and in the fridge they go. After an hour they are ready to eat and they will be crunchy on the outside and soft on the inside. This recipe makes around 25 to 30 truffles. It all depends on how big you make them. Easy right?
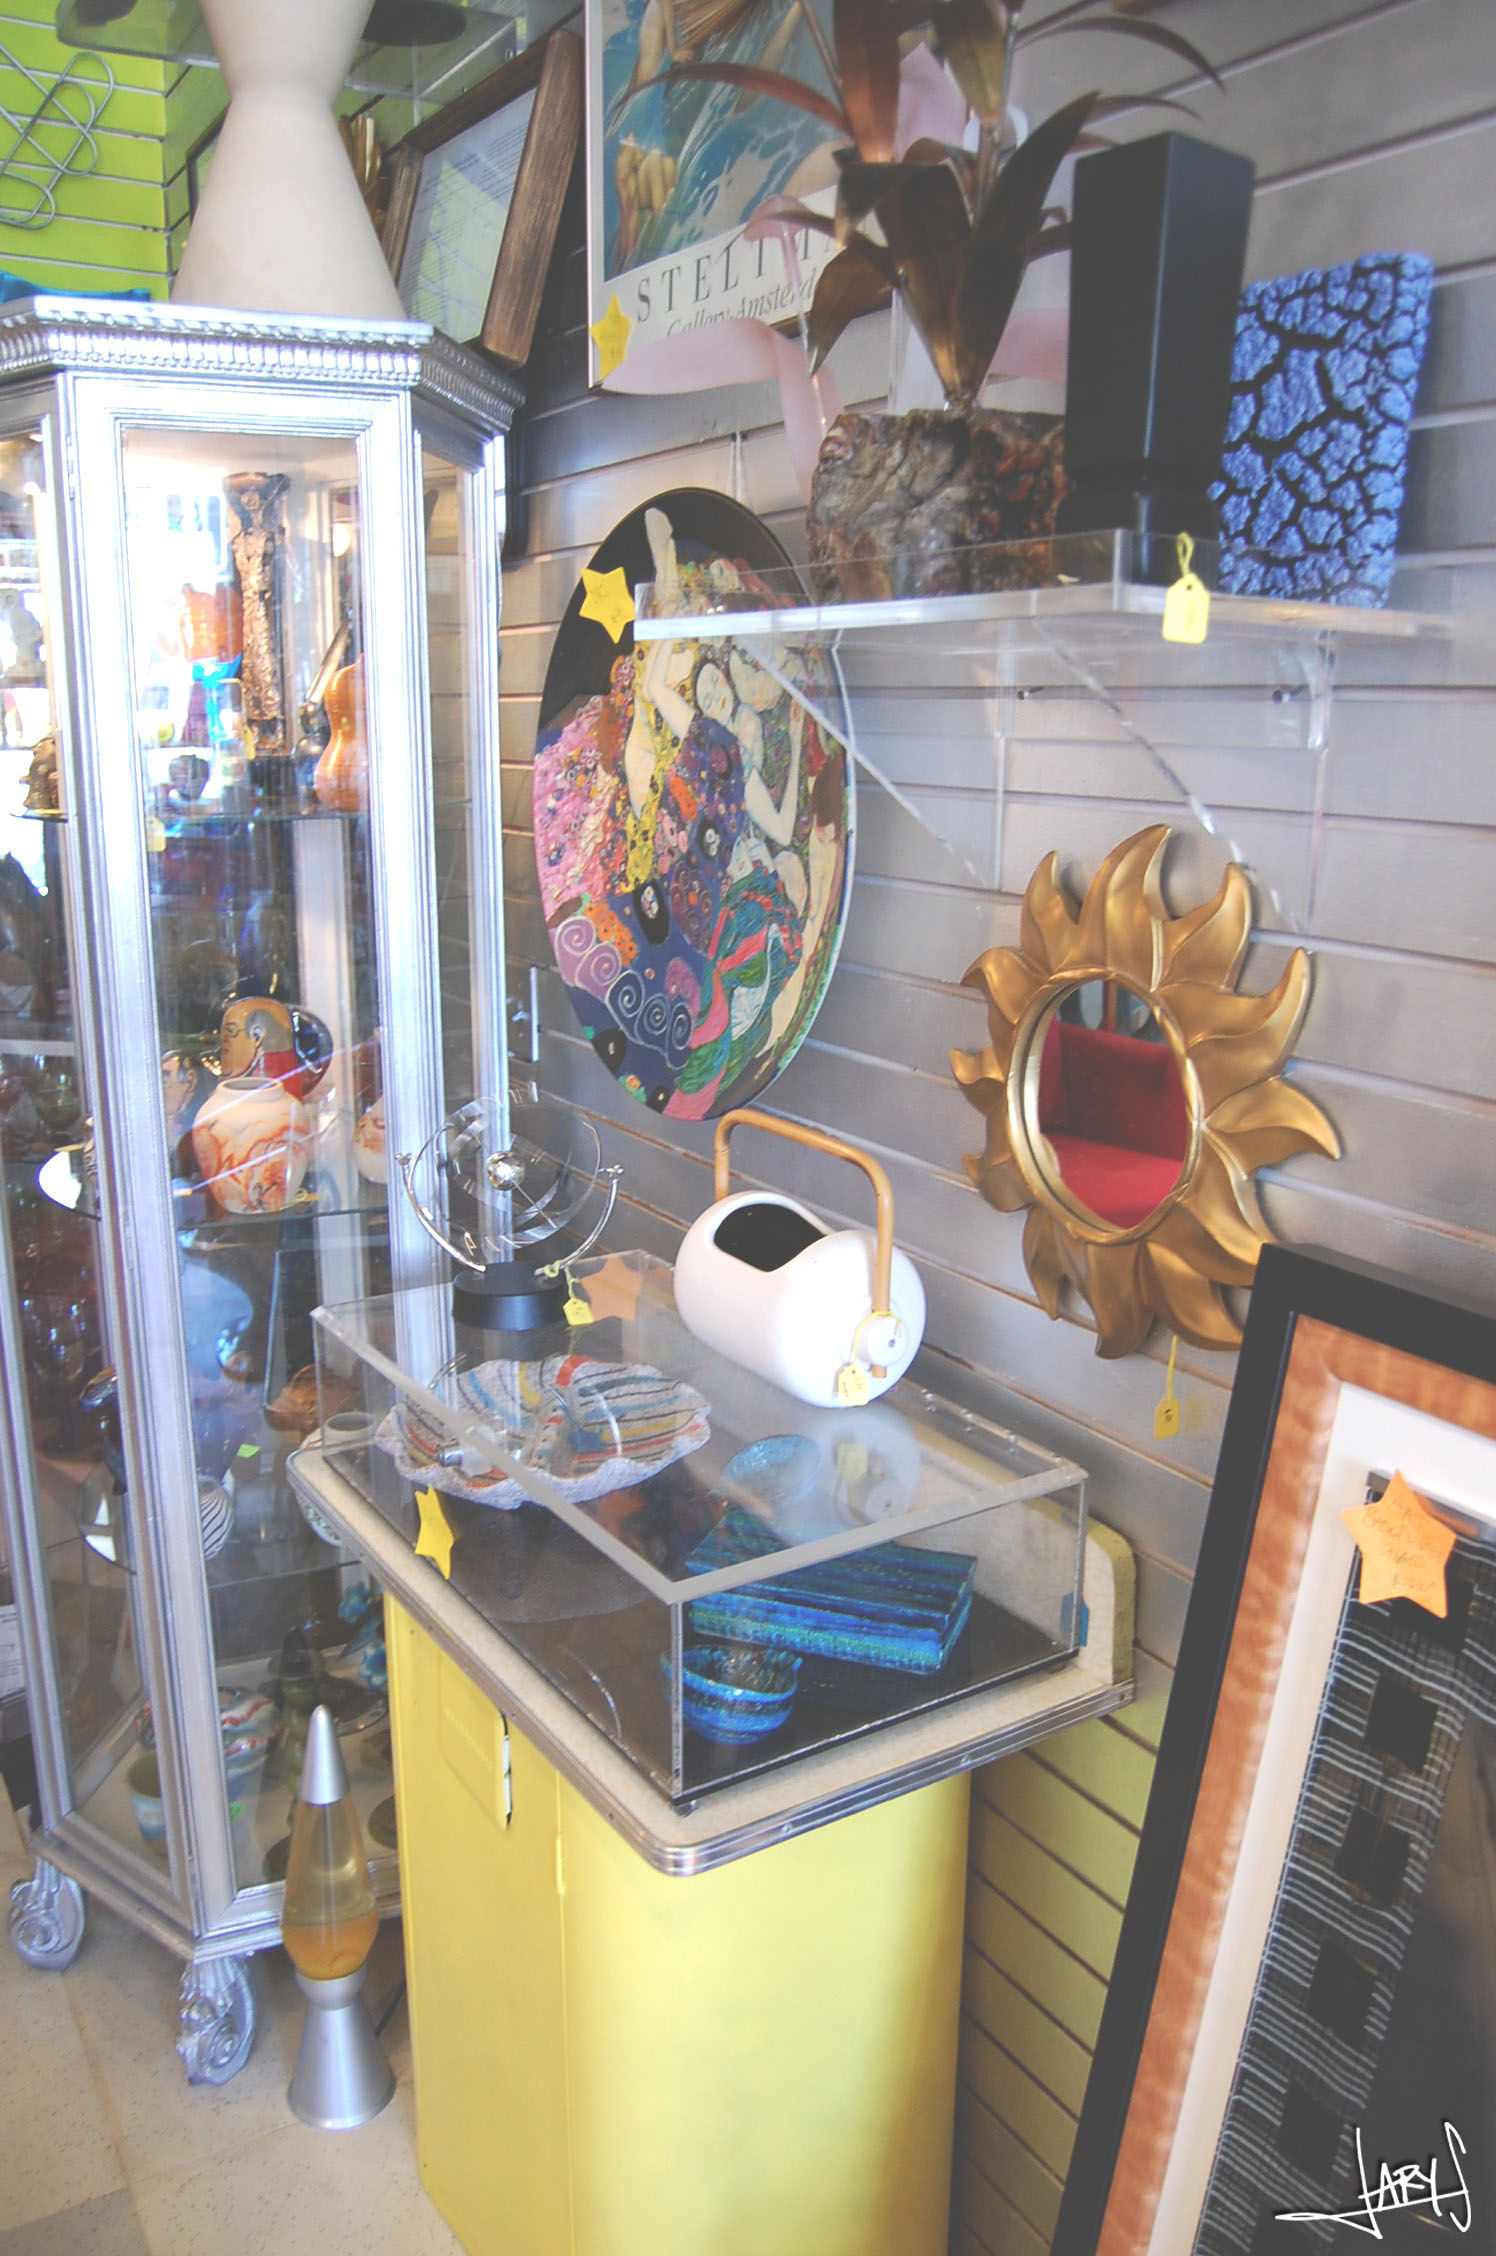
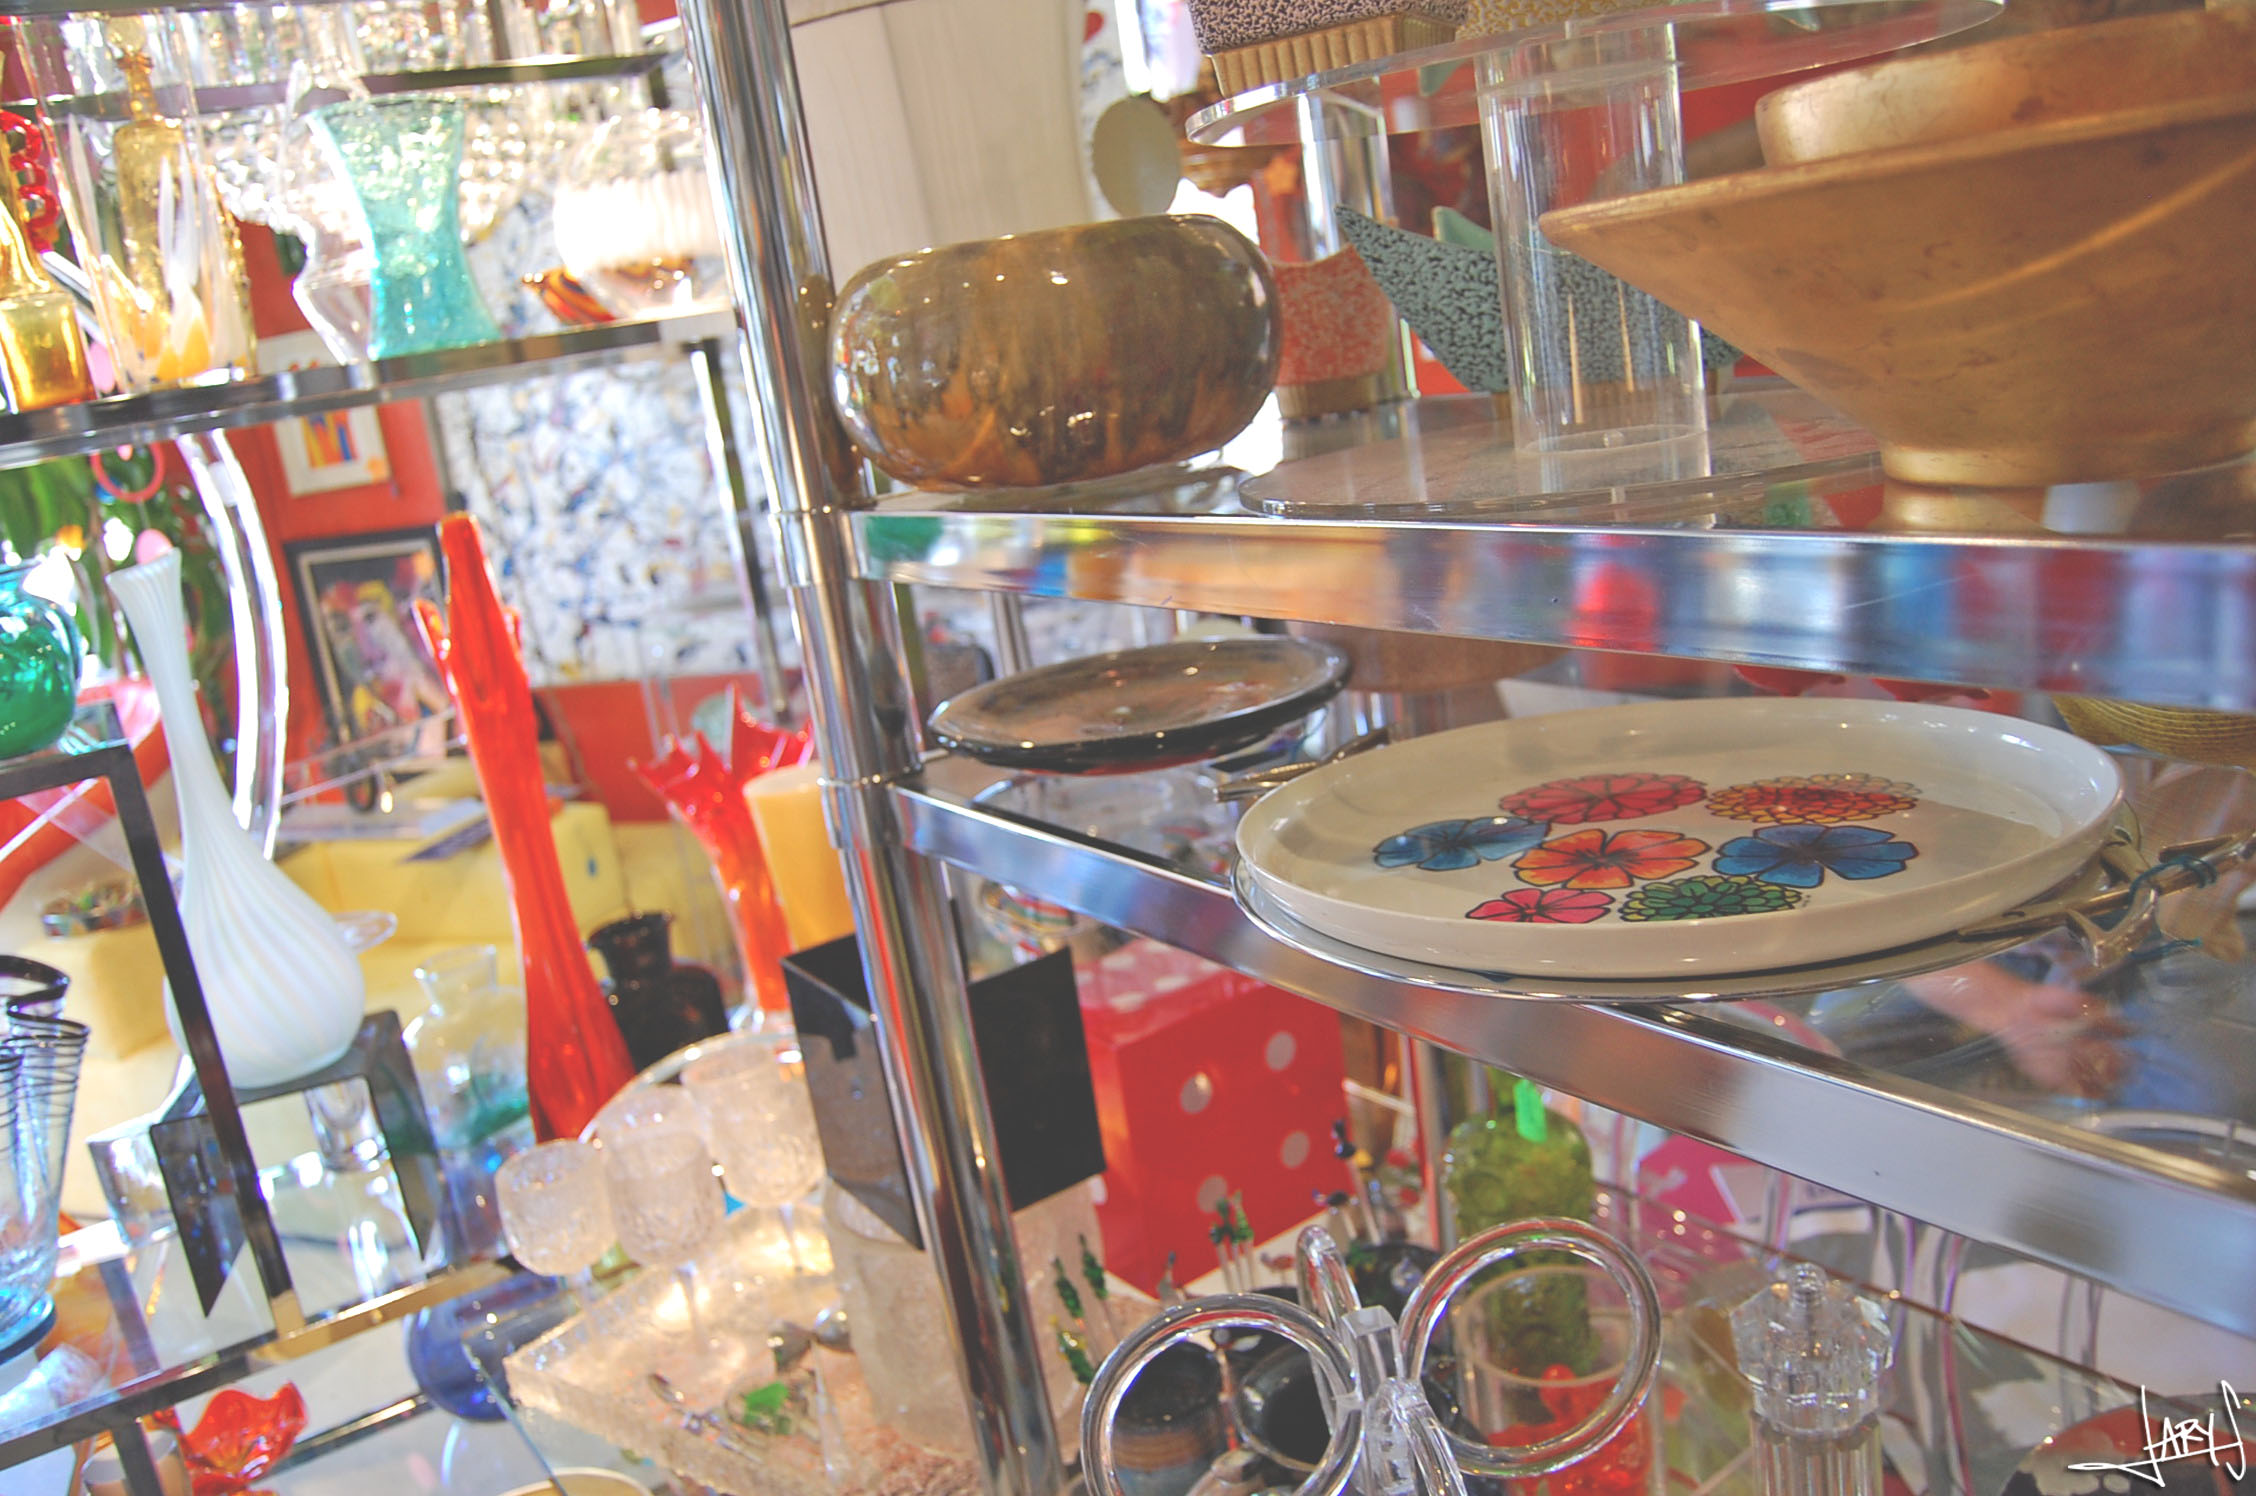
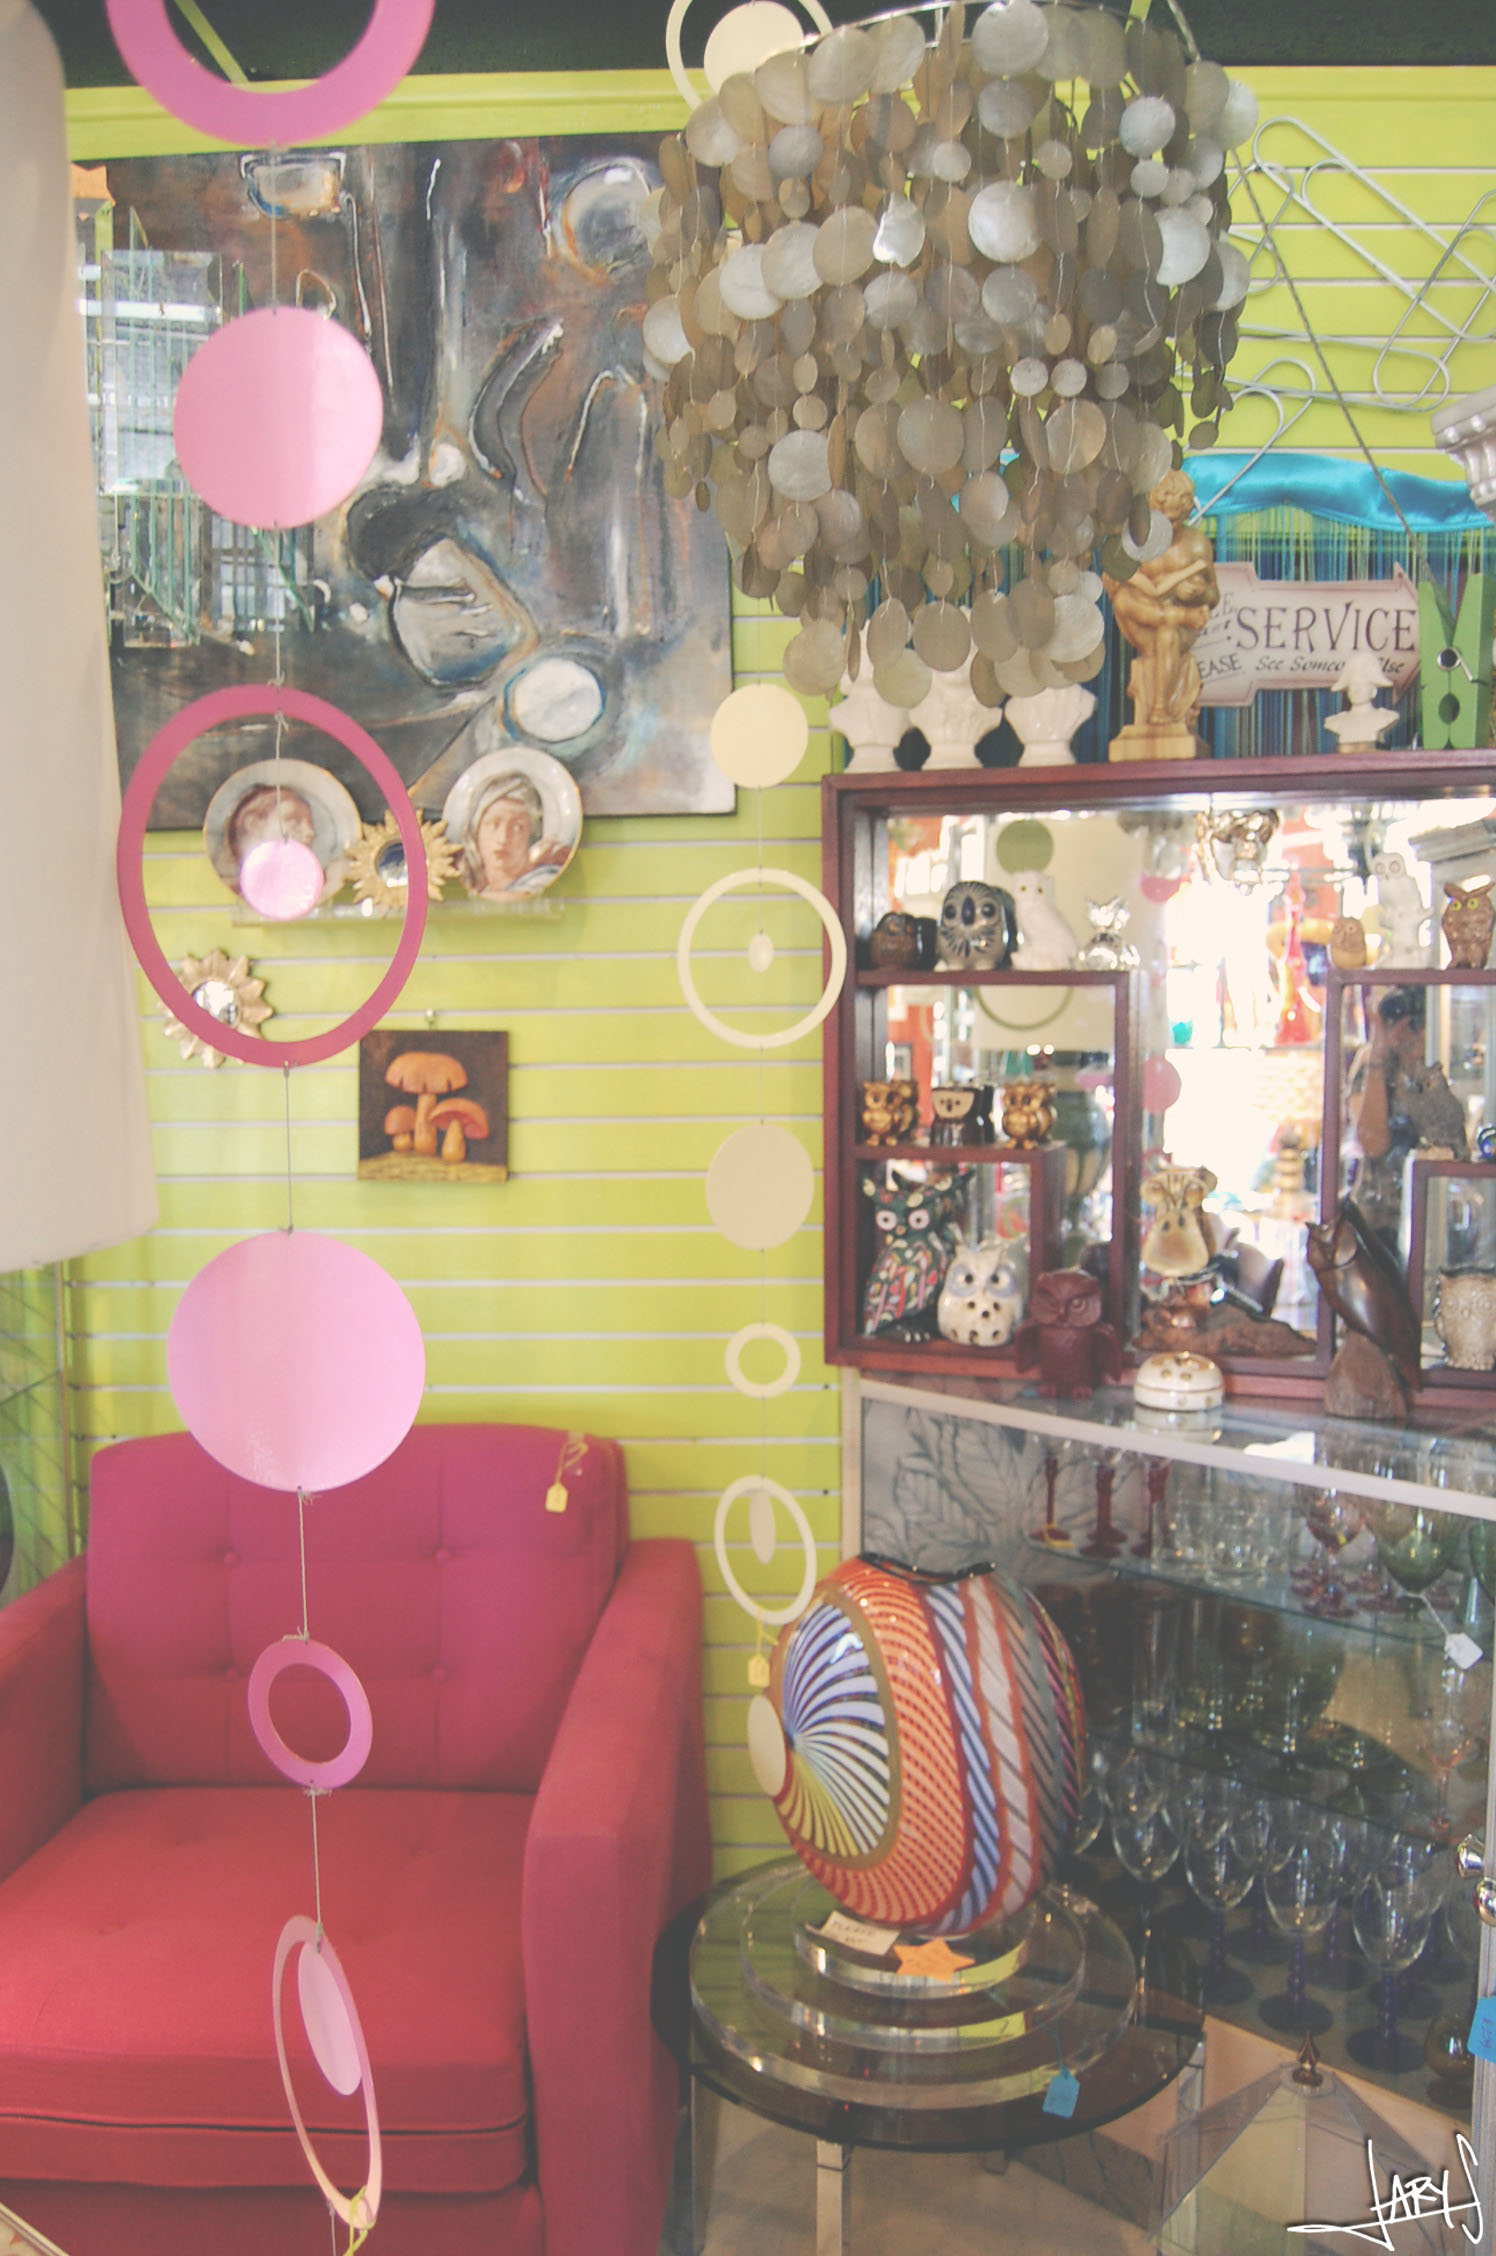
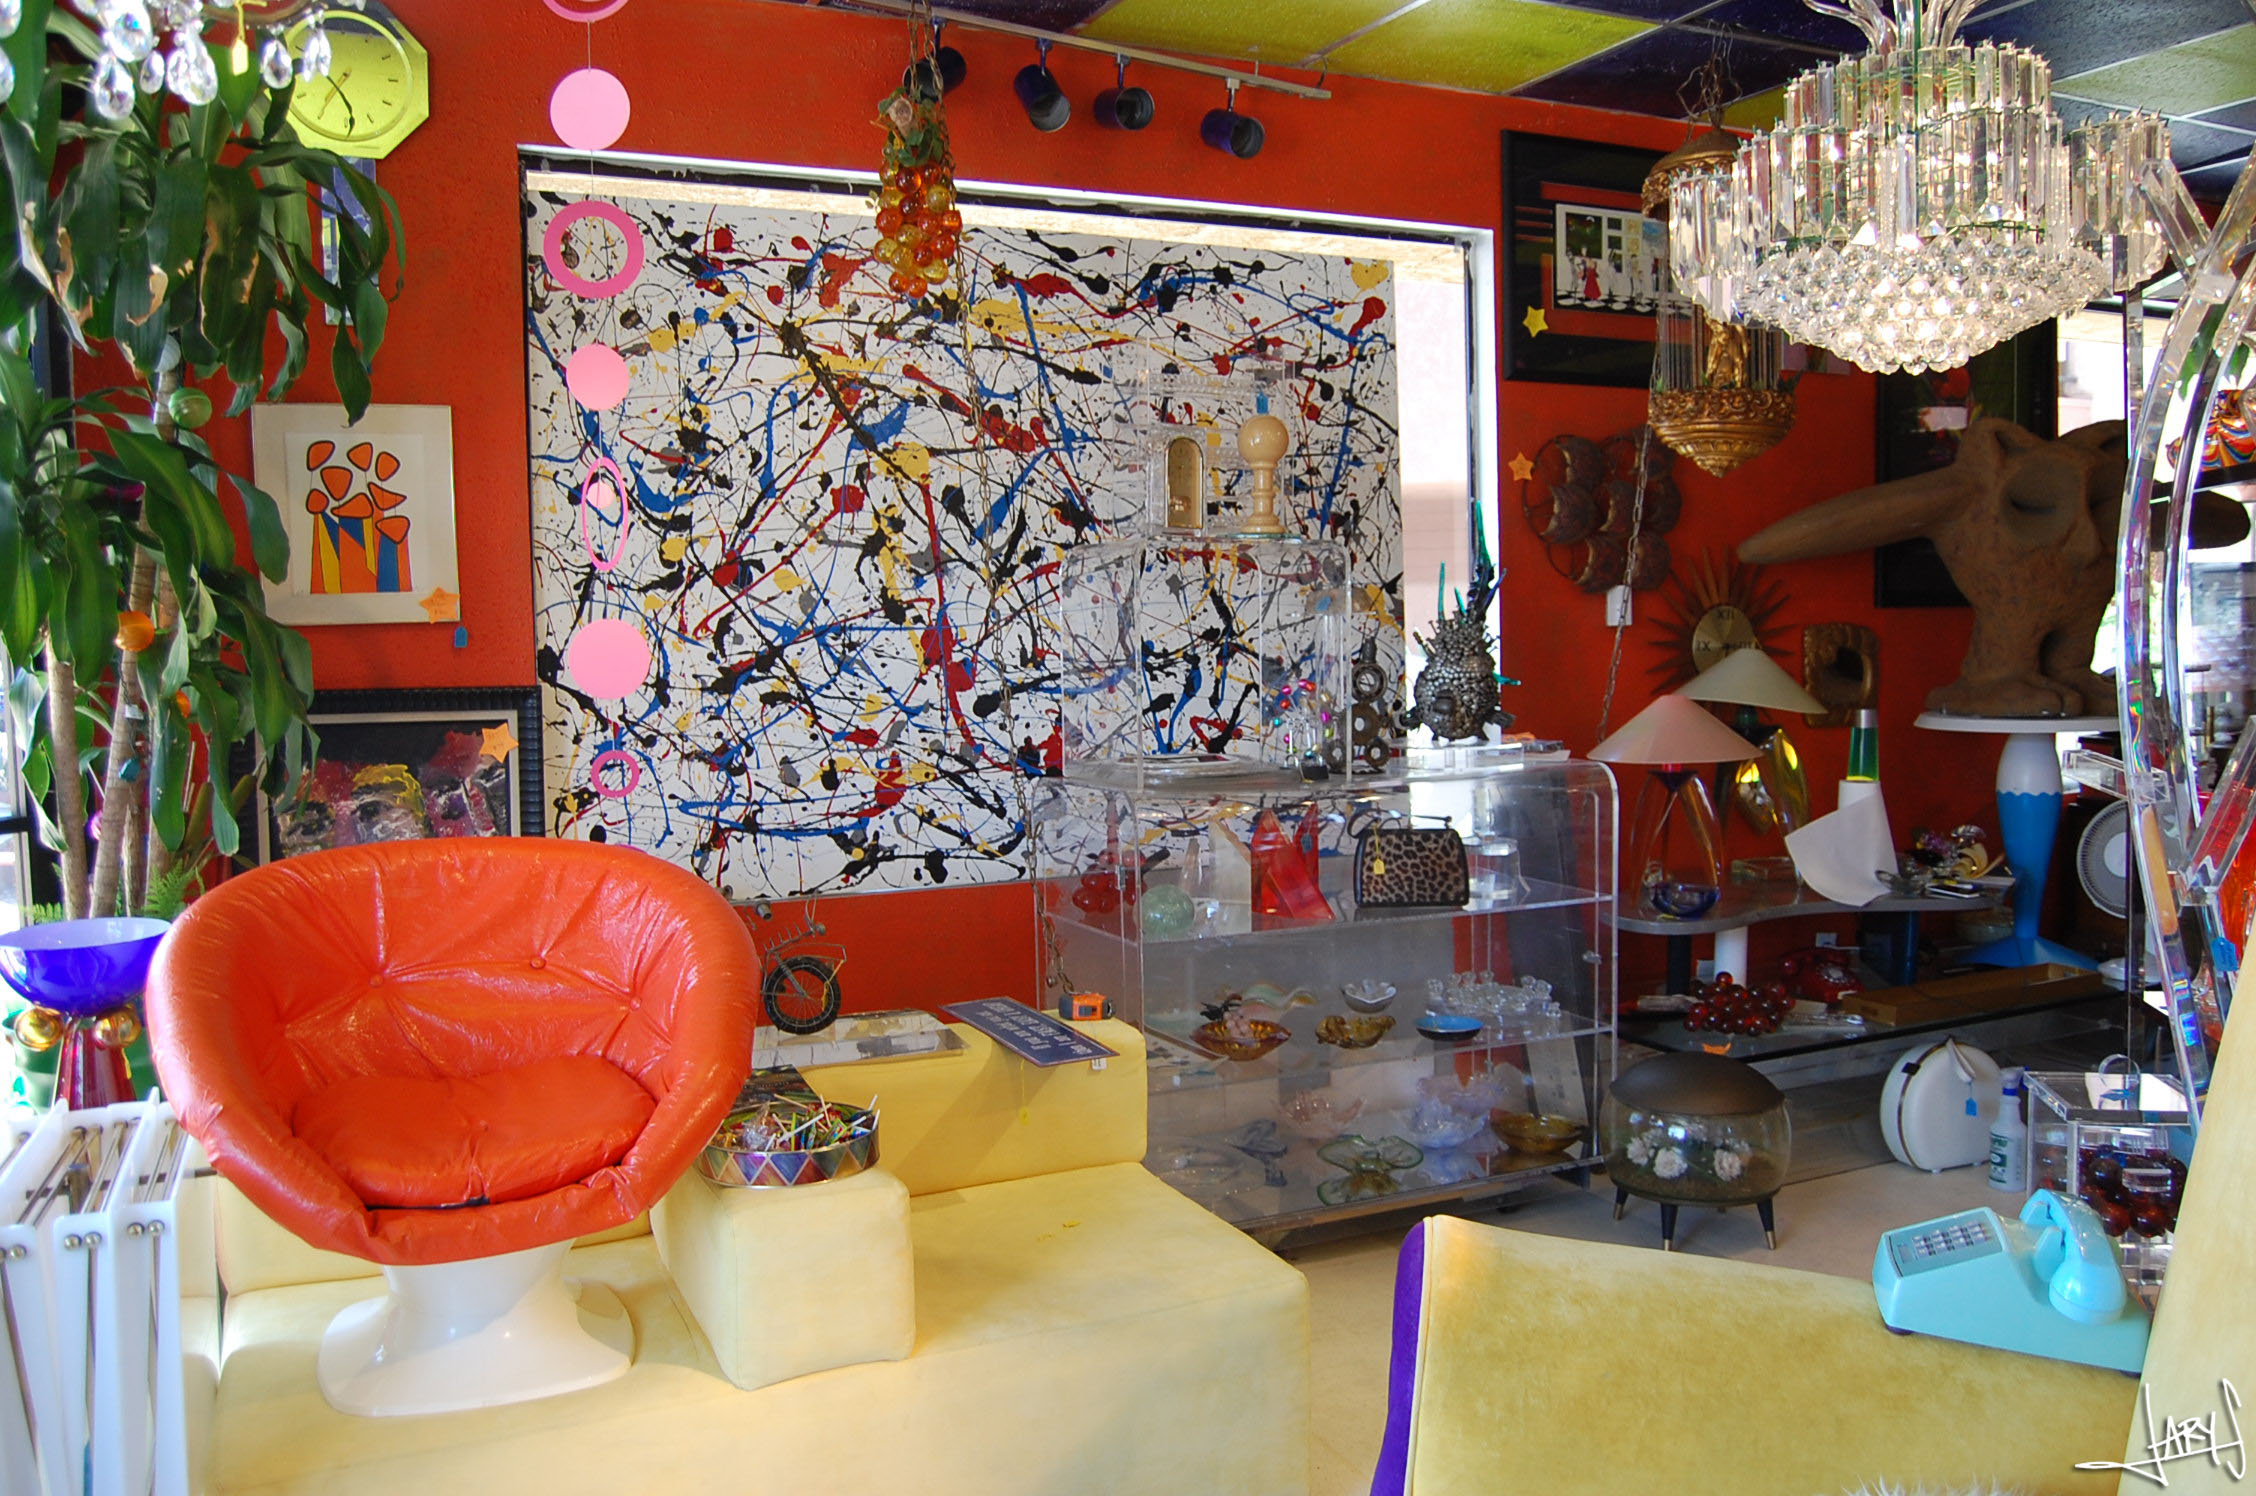
Wednesday, May 29th, 2013
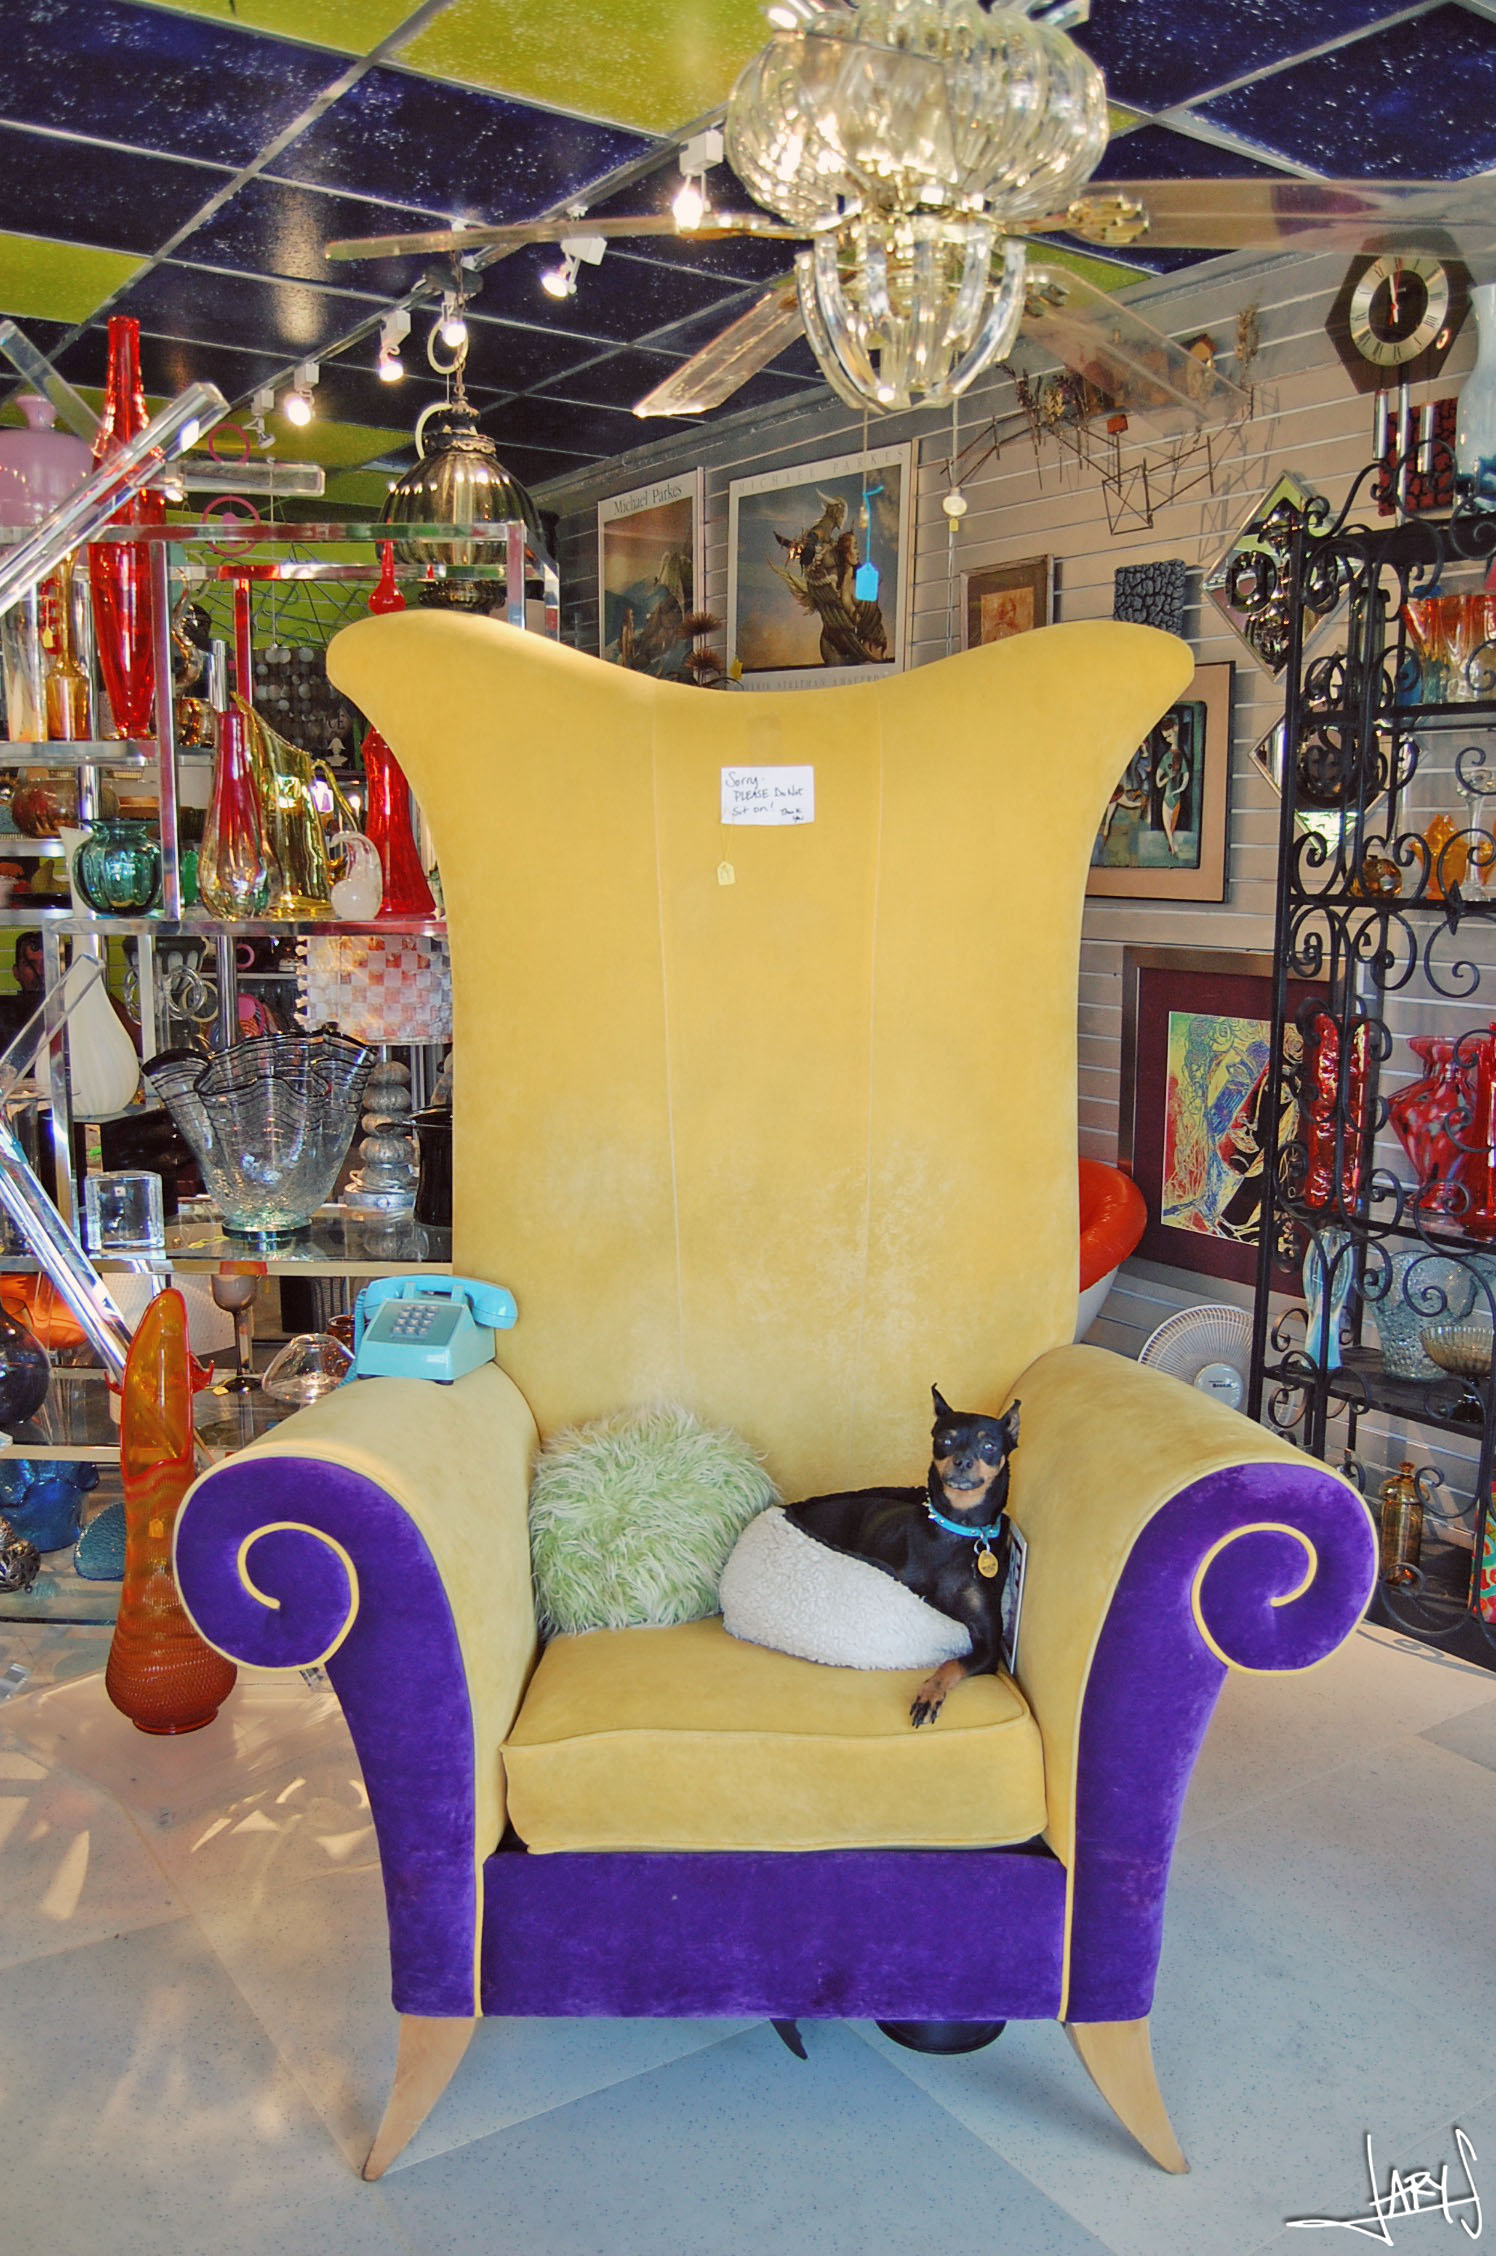
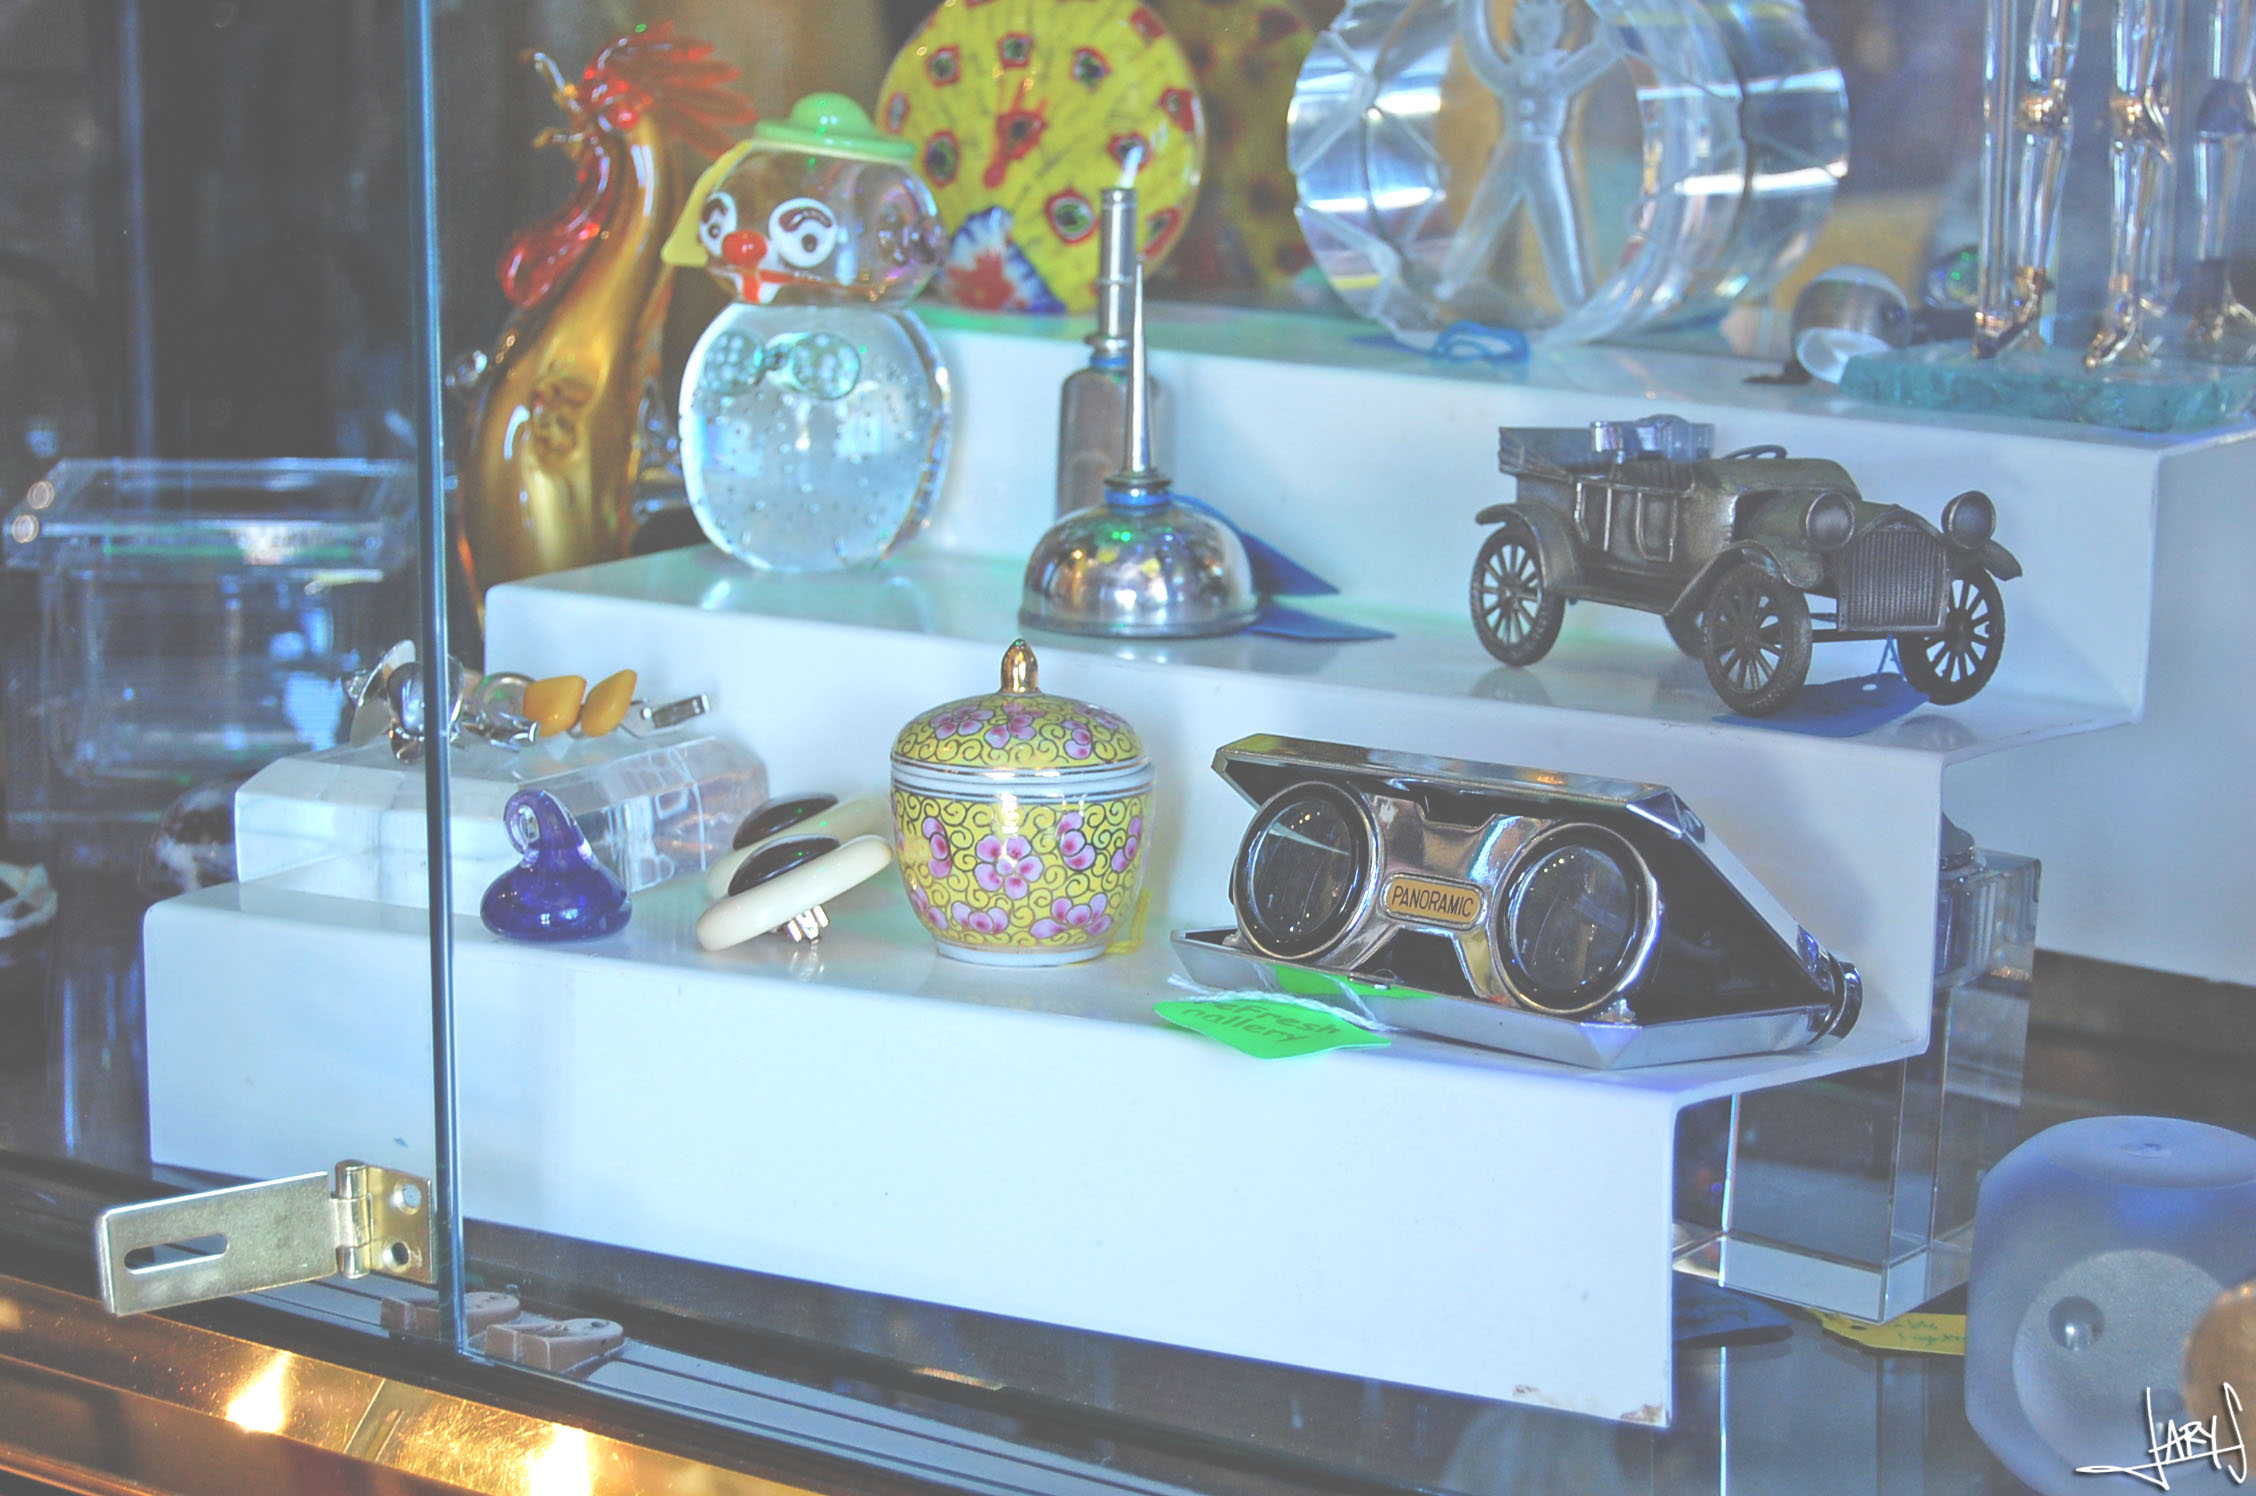
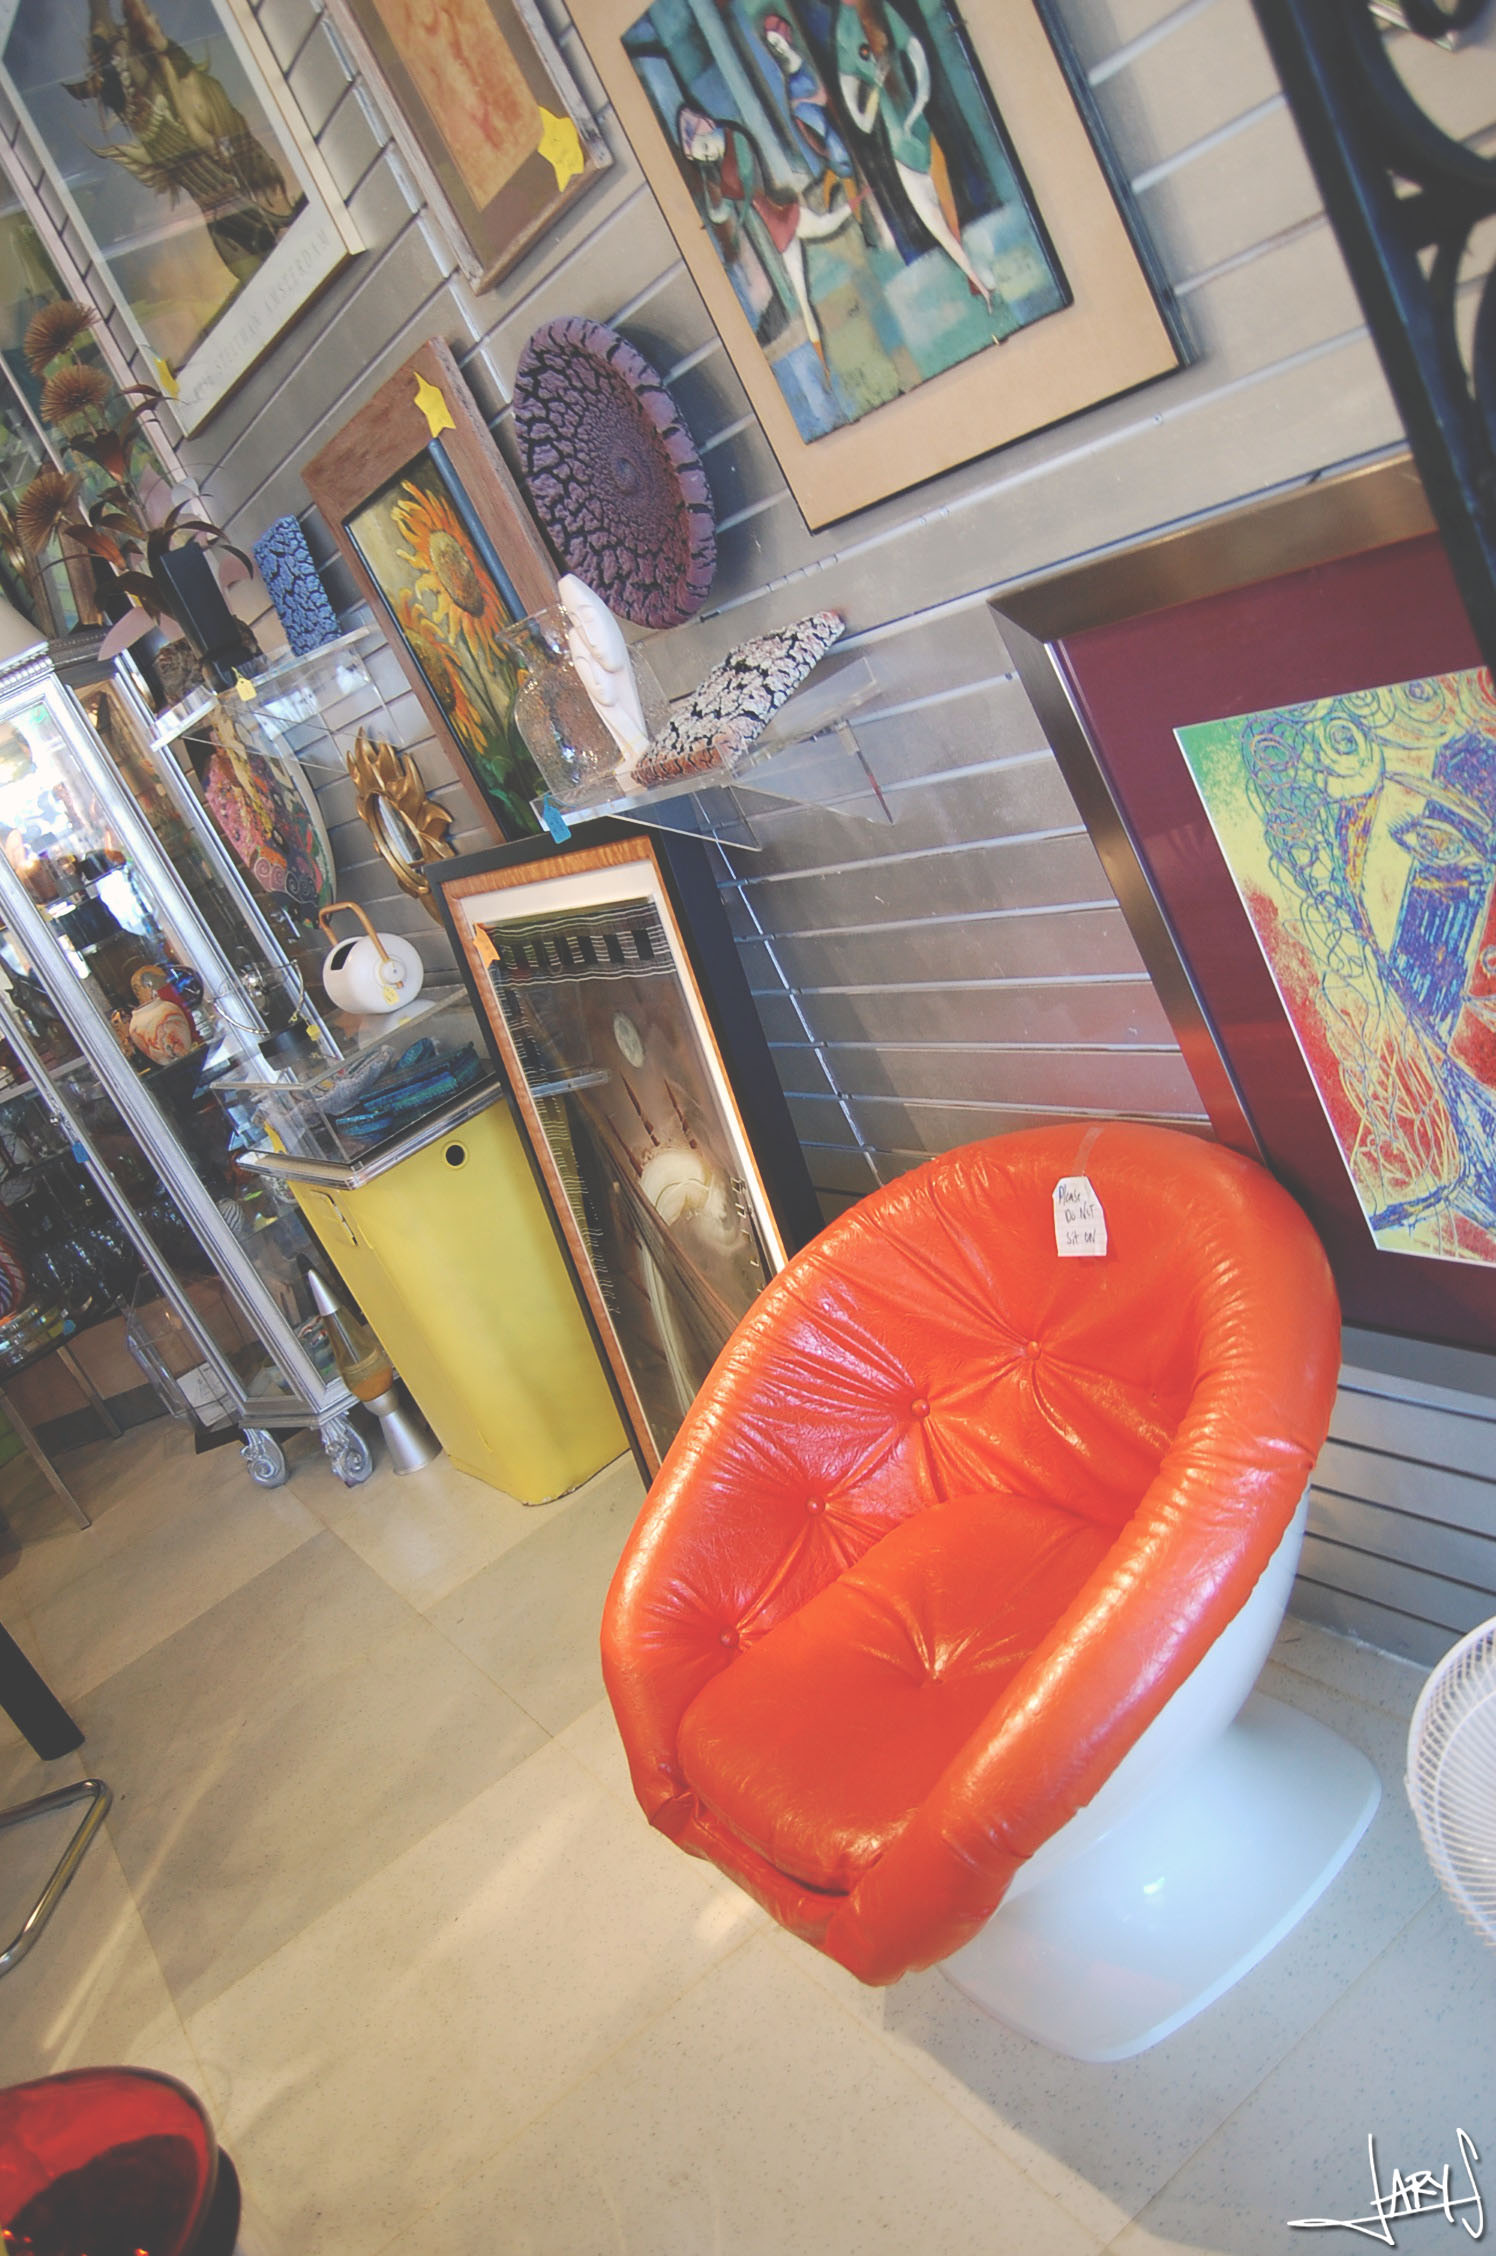
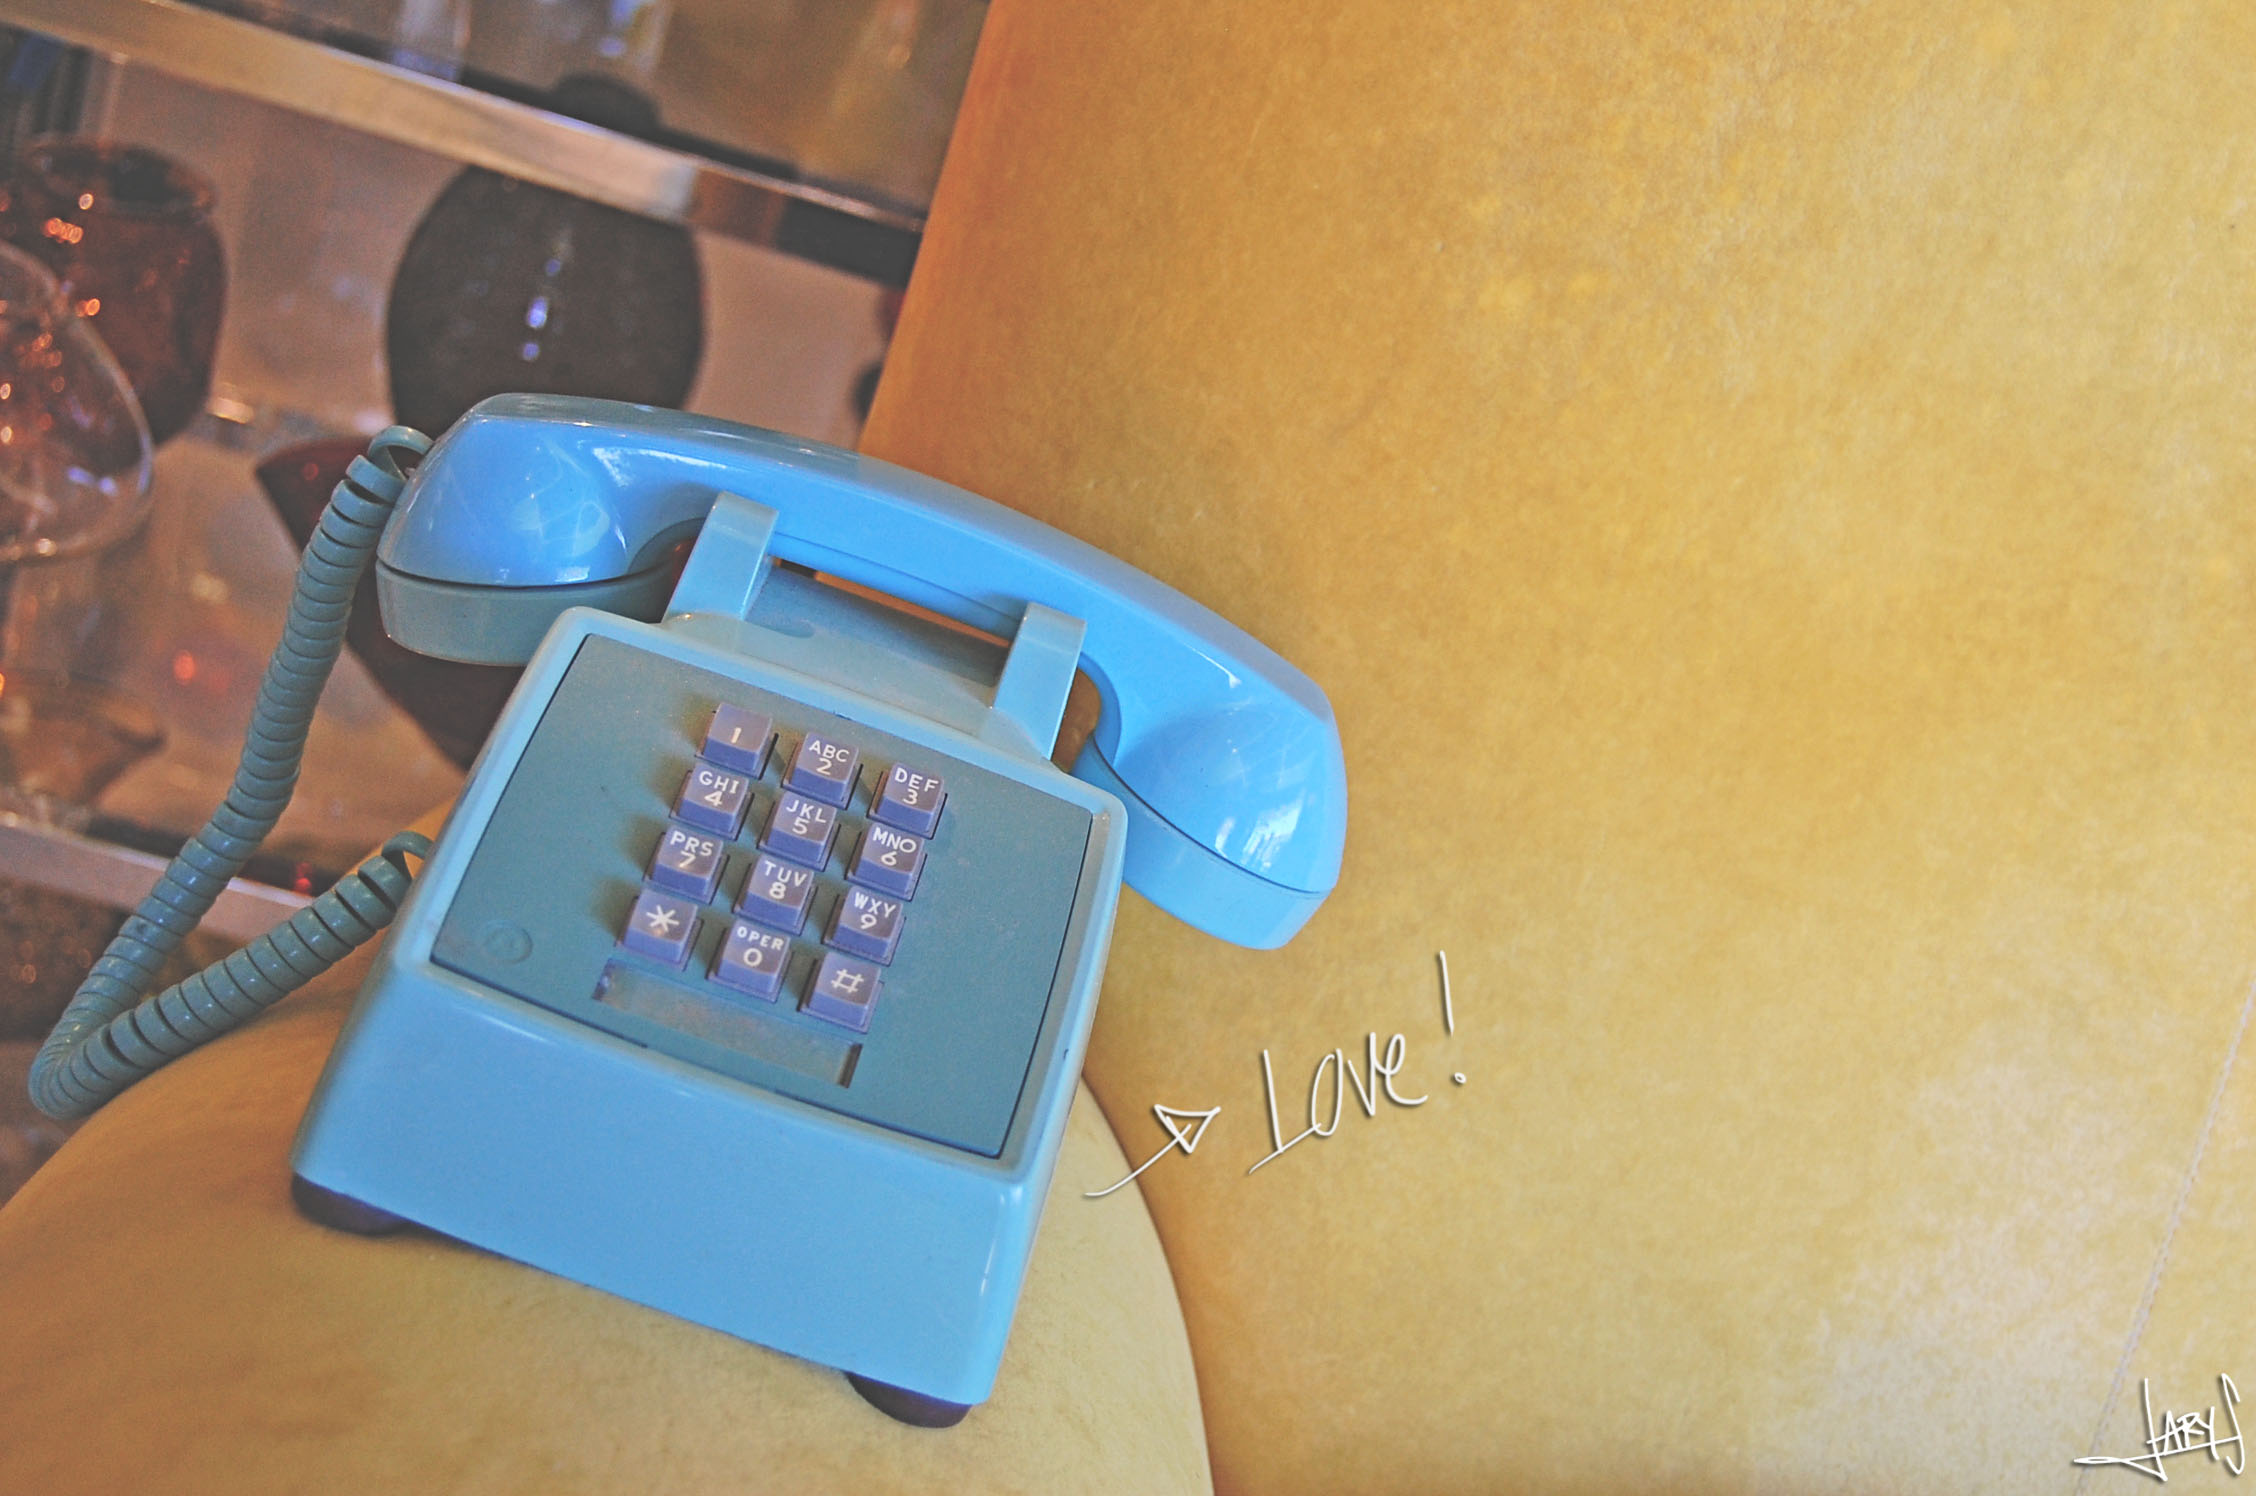
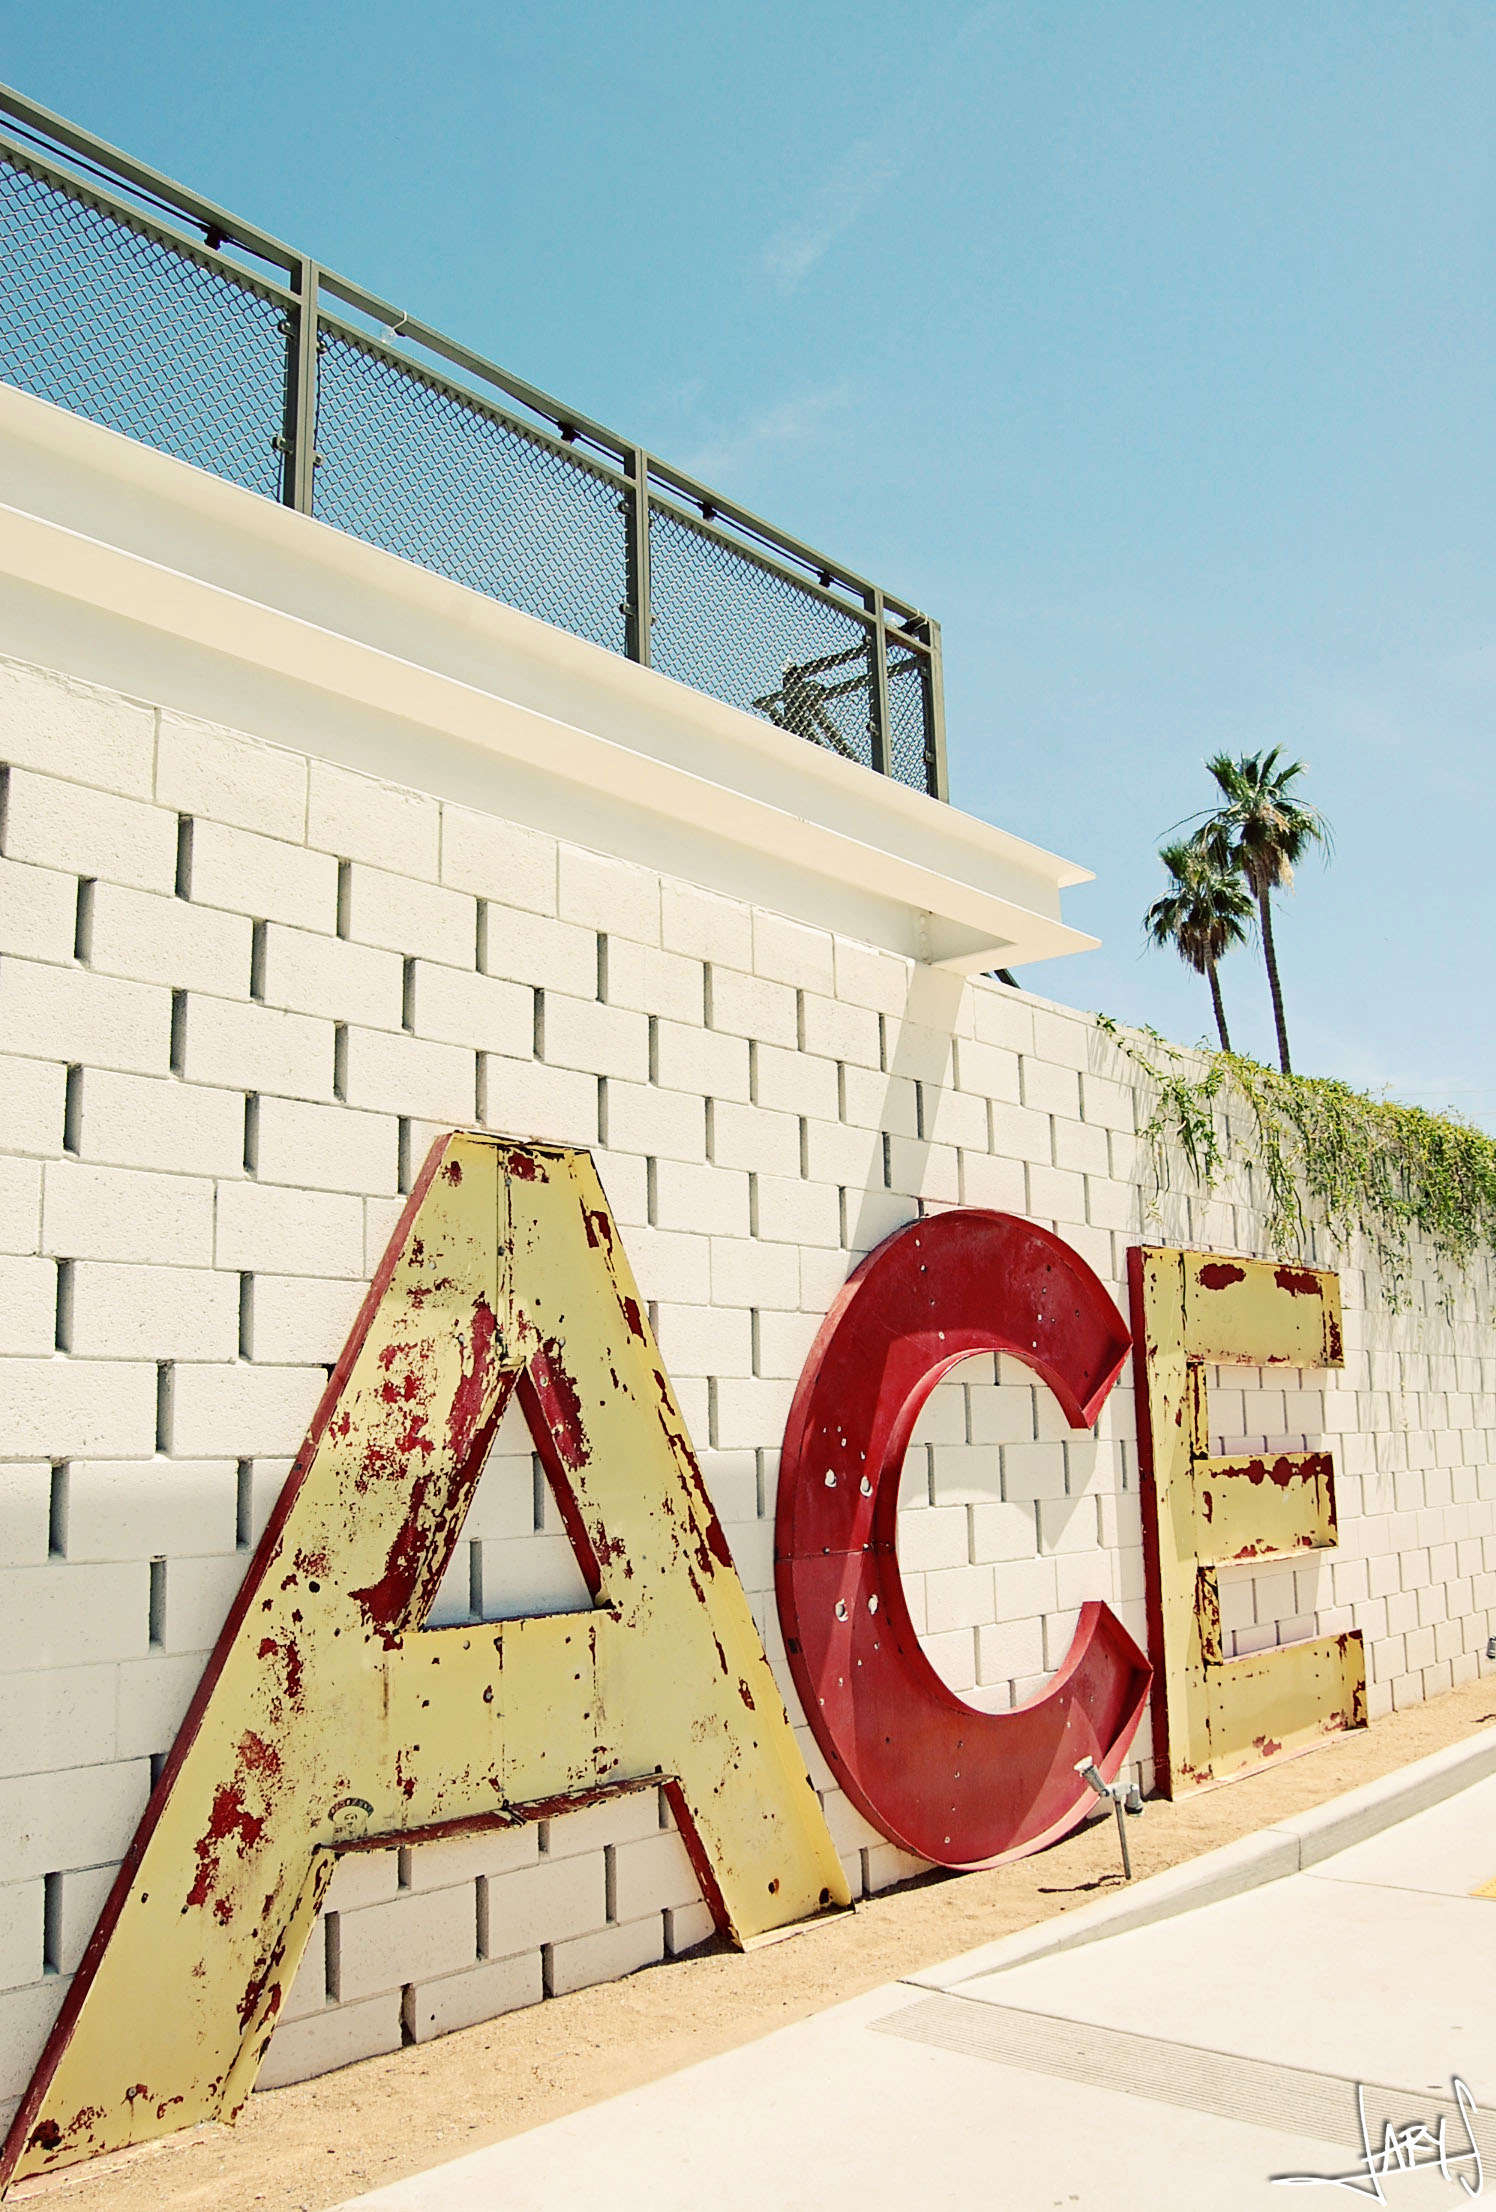
To kick start my posts from Palm Springs, here are some photos from one of the first spots we stumbled upon, reFresh gallery! If you are into unique one of a kind 50s – 70s stuff then this is the spot for you! A cute doggie welcomes you as you enter, I mean, it doesn’t get any better than that.