Friday, November 10th, 2017
Ever since we became homeowners I’ve been way more cautious about what we hang on our walls. I am having way too much fun making our home “us” and even creating some things here and there to add that extra DIY touch. I always knew I wanted to keep our room simple with minimalist decor to create a more serene vibe. That’s how this Yarn Wall Art DIY was born.
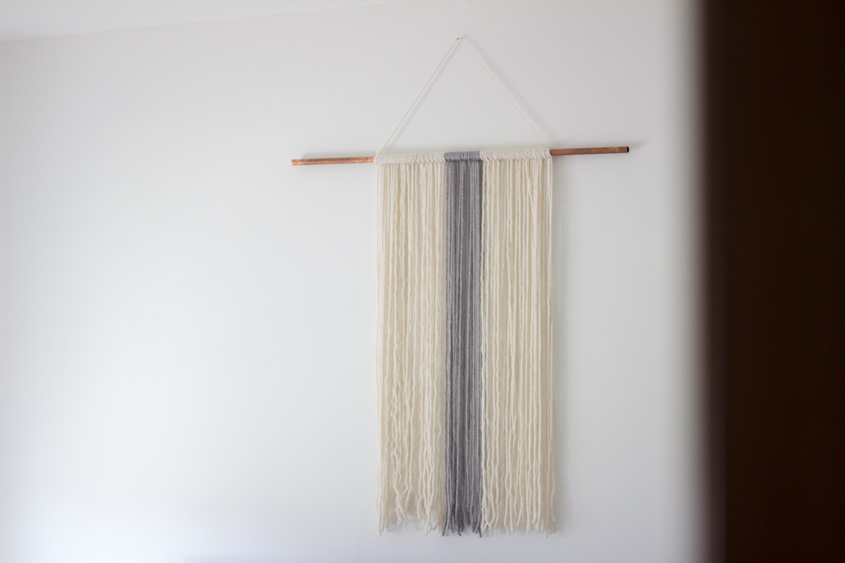
I used copper pipe to add a quick modern look. Home Depot, as you know, will cut it for you which makes things way easier. I then picked some neutral colors of yarn at a craft store and made this during nap time one afternoon. The impact it had in our master bedroom was just what I envisioned. To create your own you will need: copper pipe (whatever length you desire), yarn in as many colors as you like. The thicker the better. Plus a pair of scissors.
Gage how long you want your string to hang at the longest point and double it so you can create a larks head knot onto the pipe. To create this loop the front yarn tails through the back loop to create a loose knot. Tighten the knot to secure it by pulling down on the tails, as shown below. Continue making this through the lengh of the pipe, alternating colors as you wish. It’s super easy and your yarn wall art piece will be done in no time. Isn’t lovely? Will you make your own?


Leave a Reply